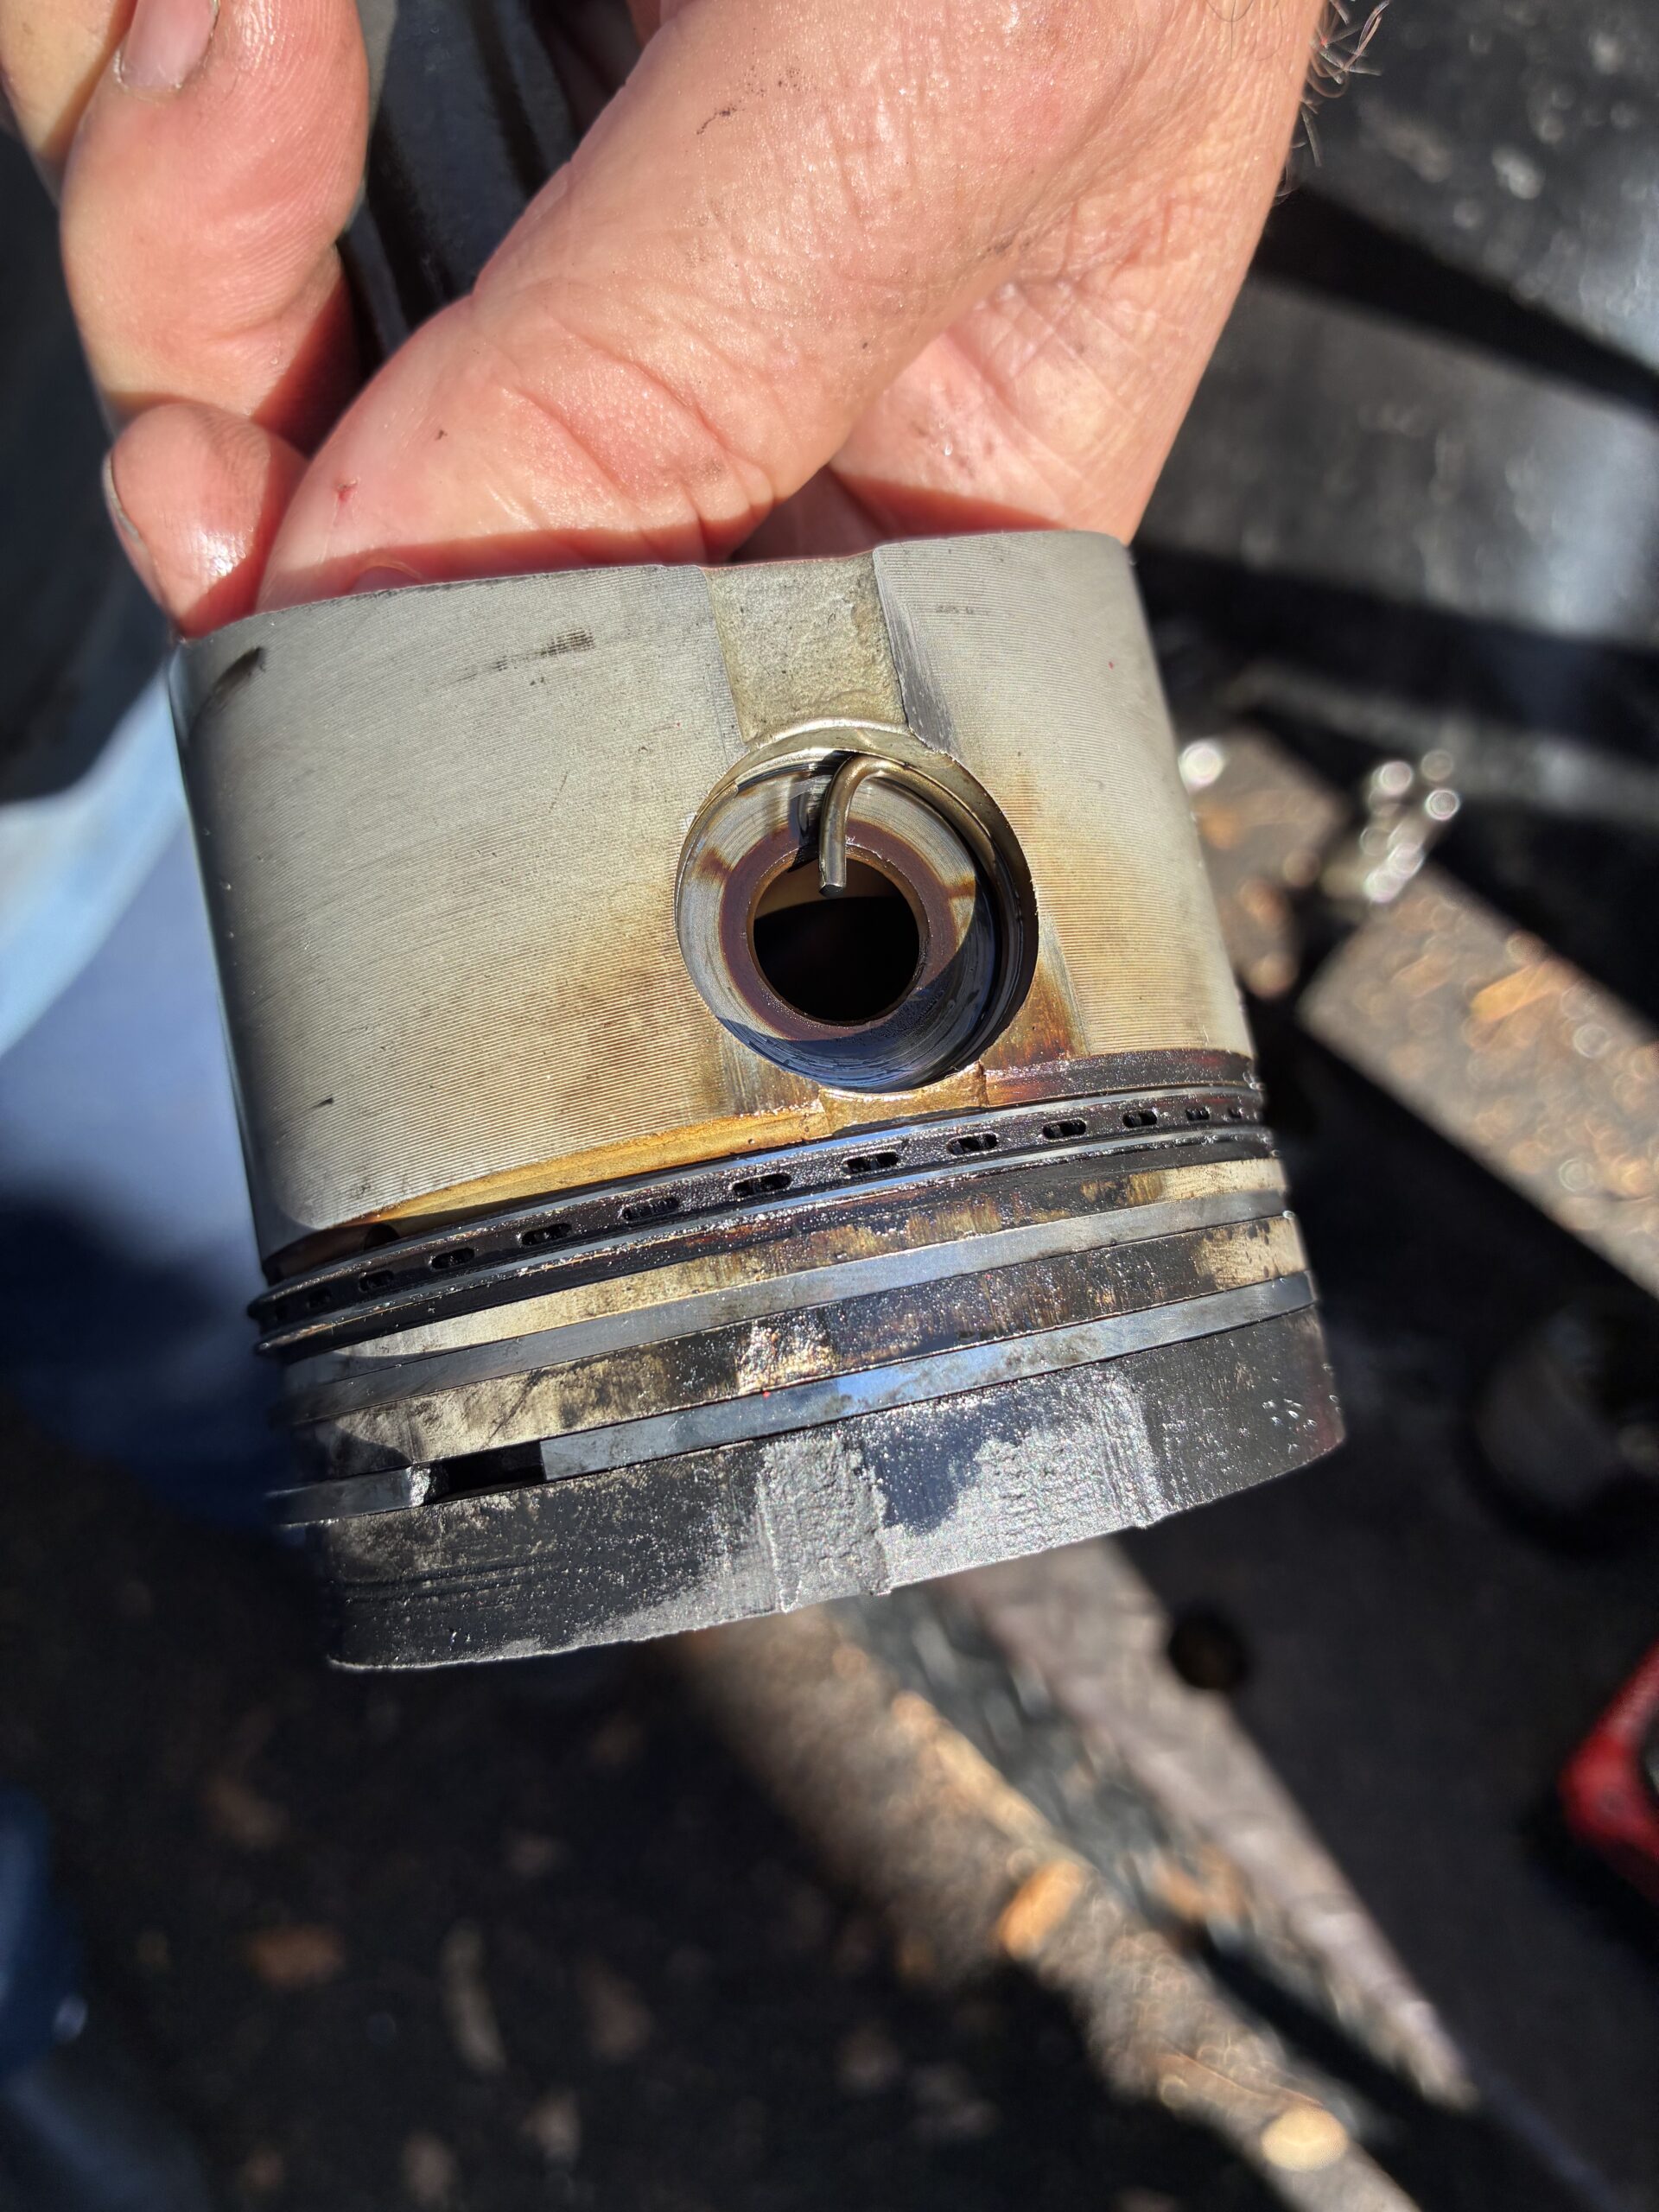
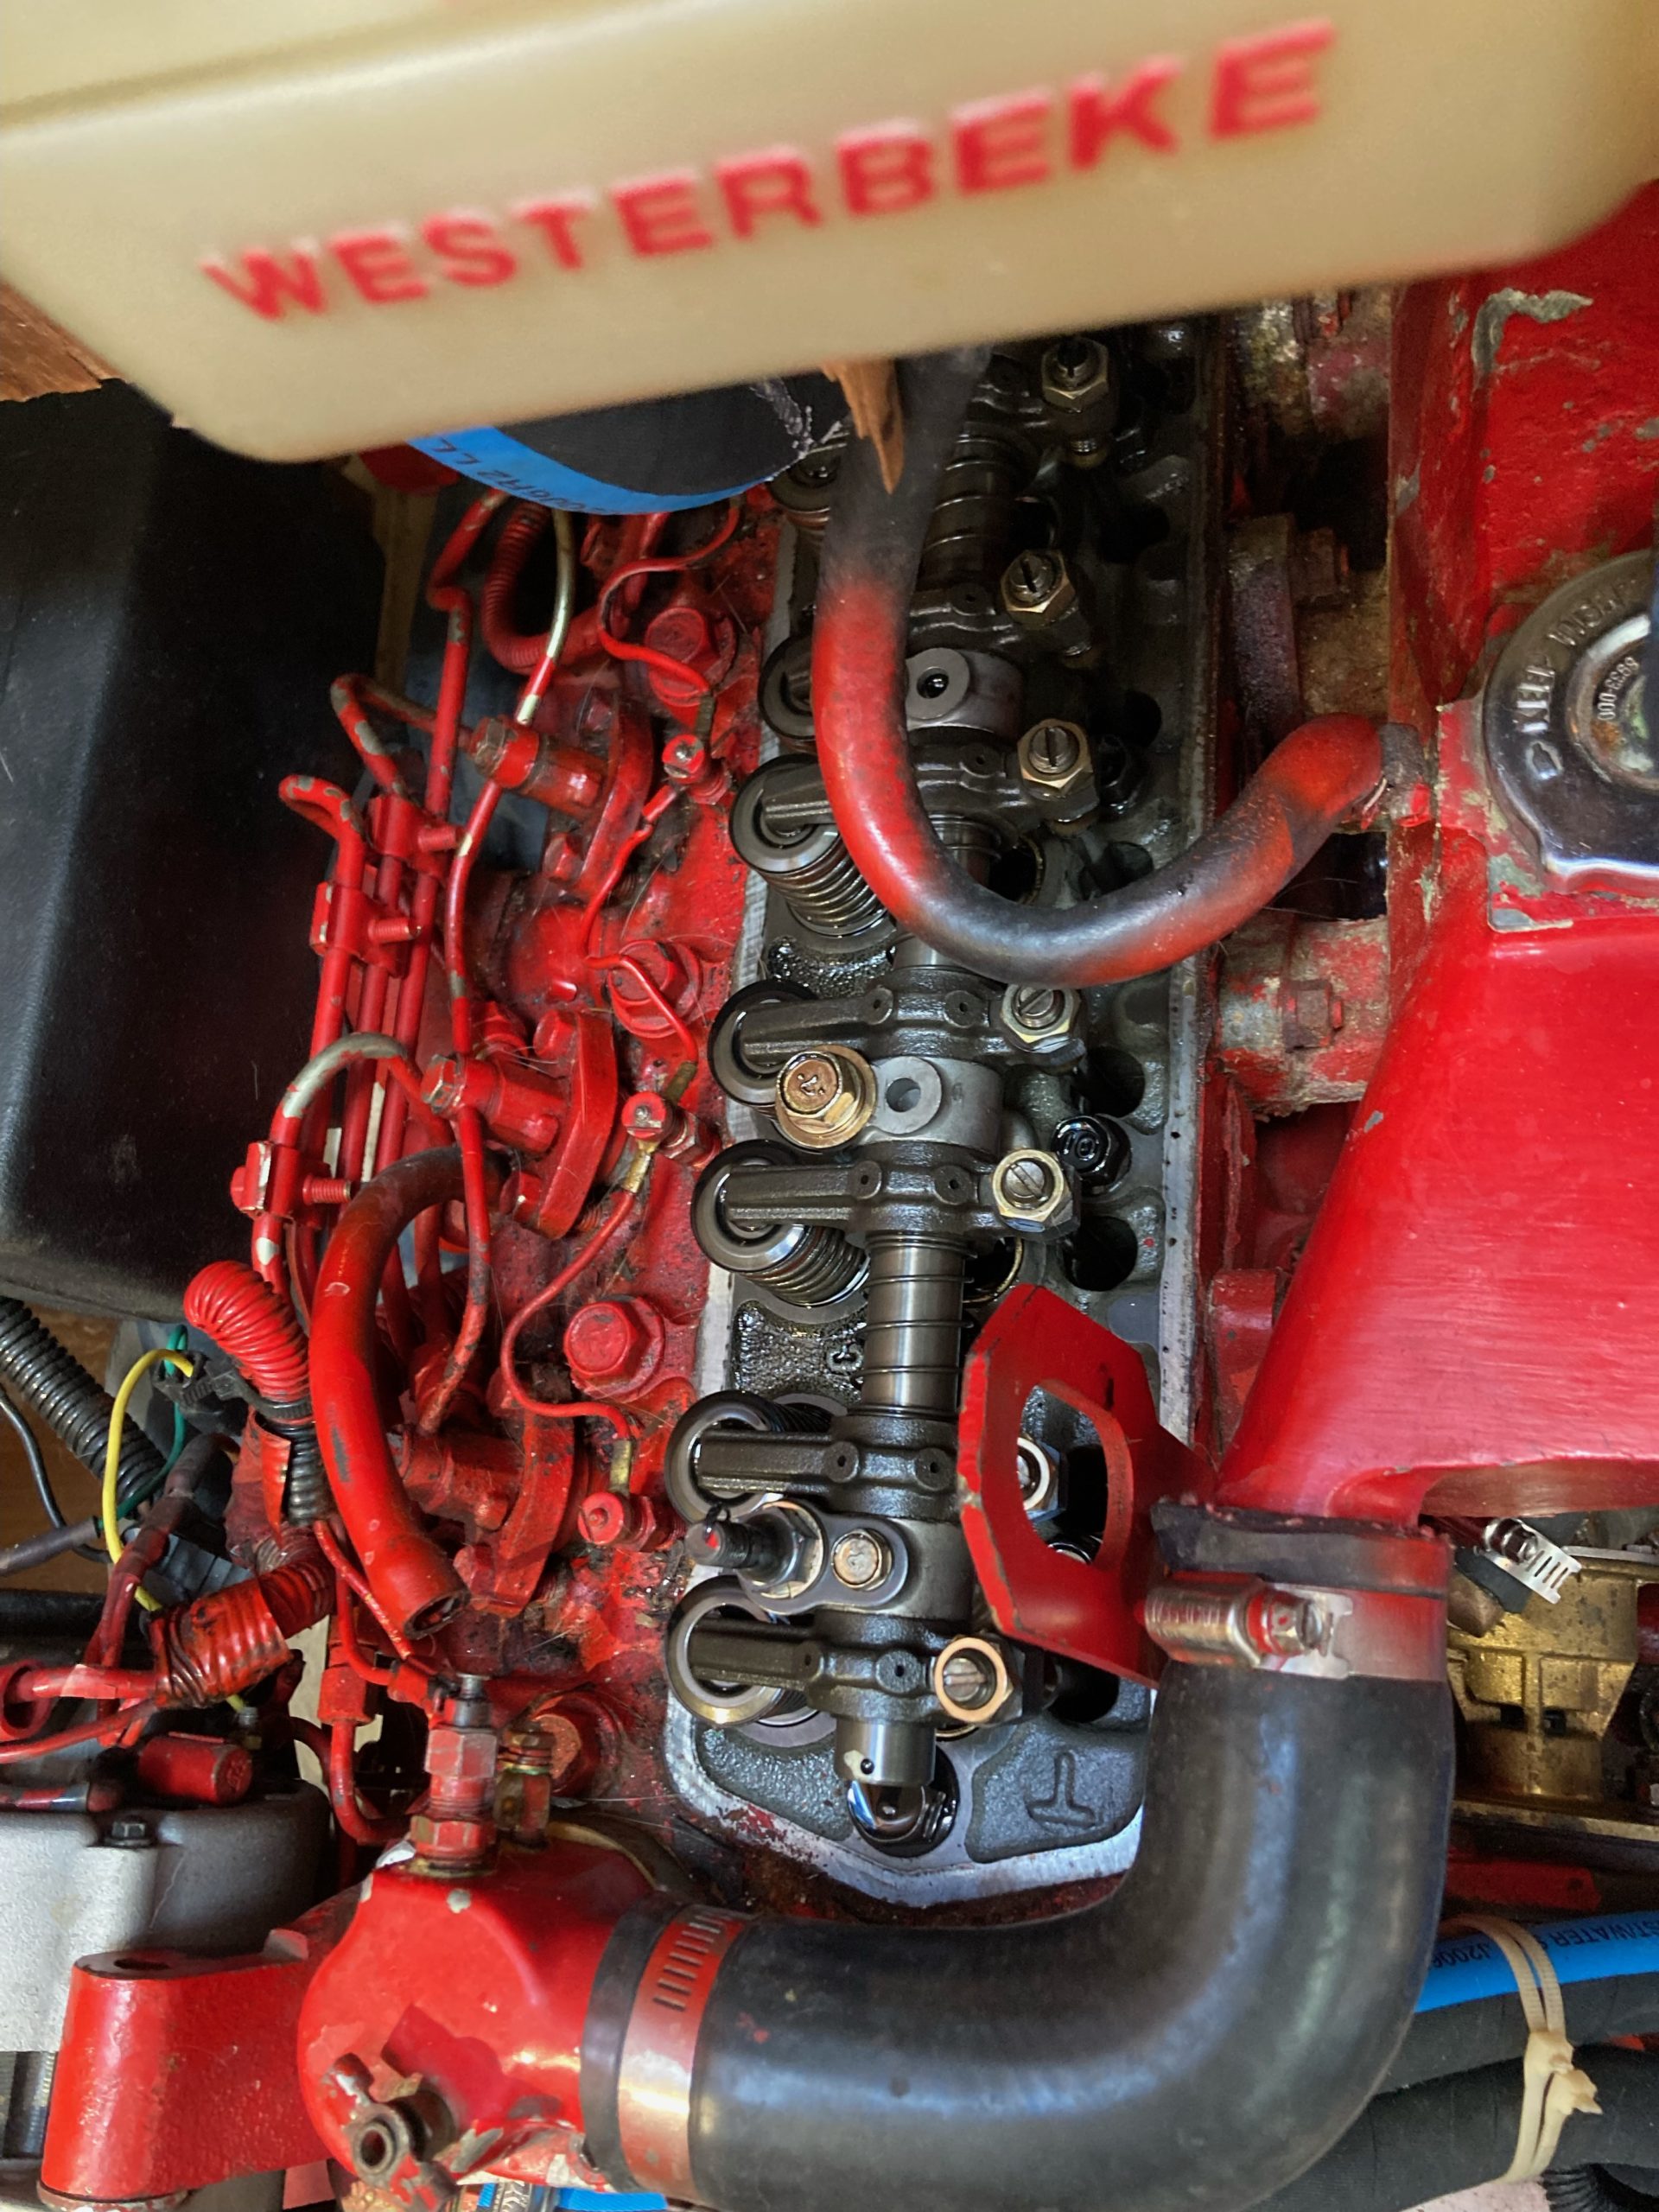
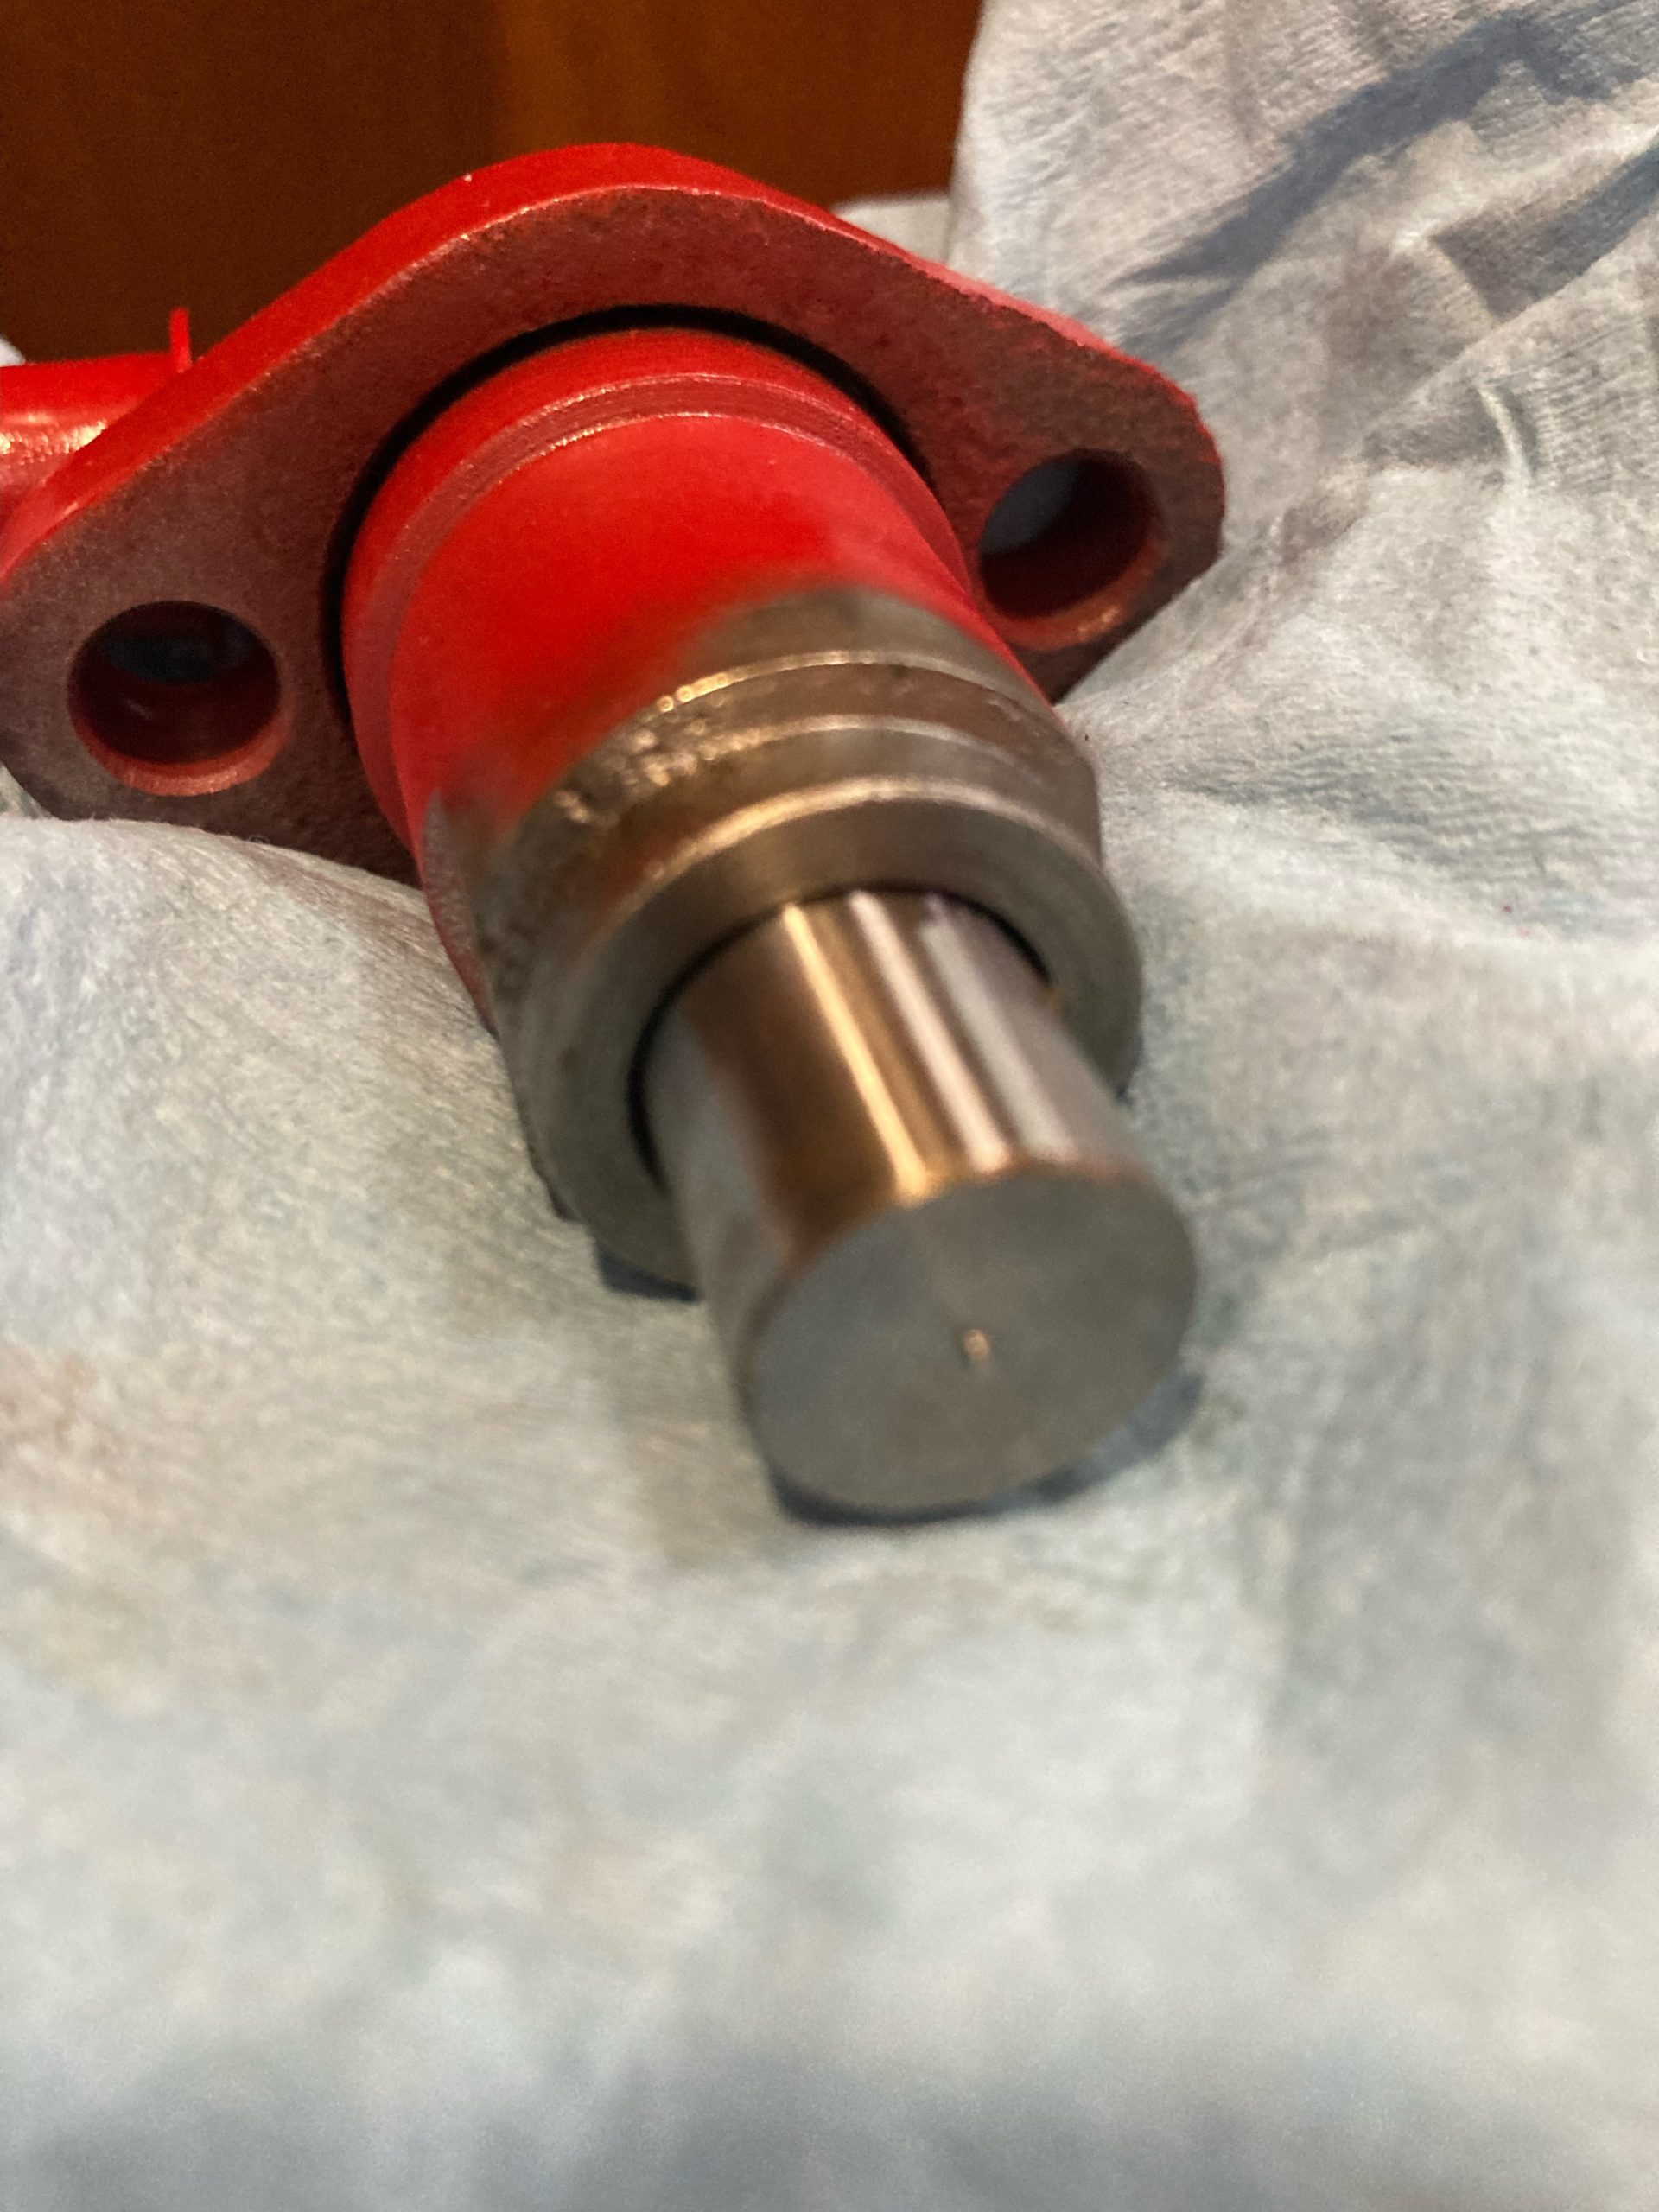
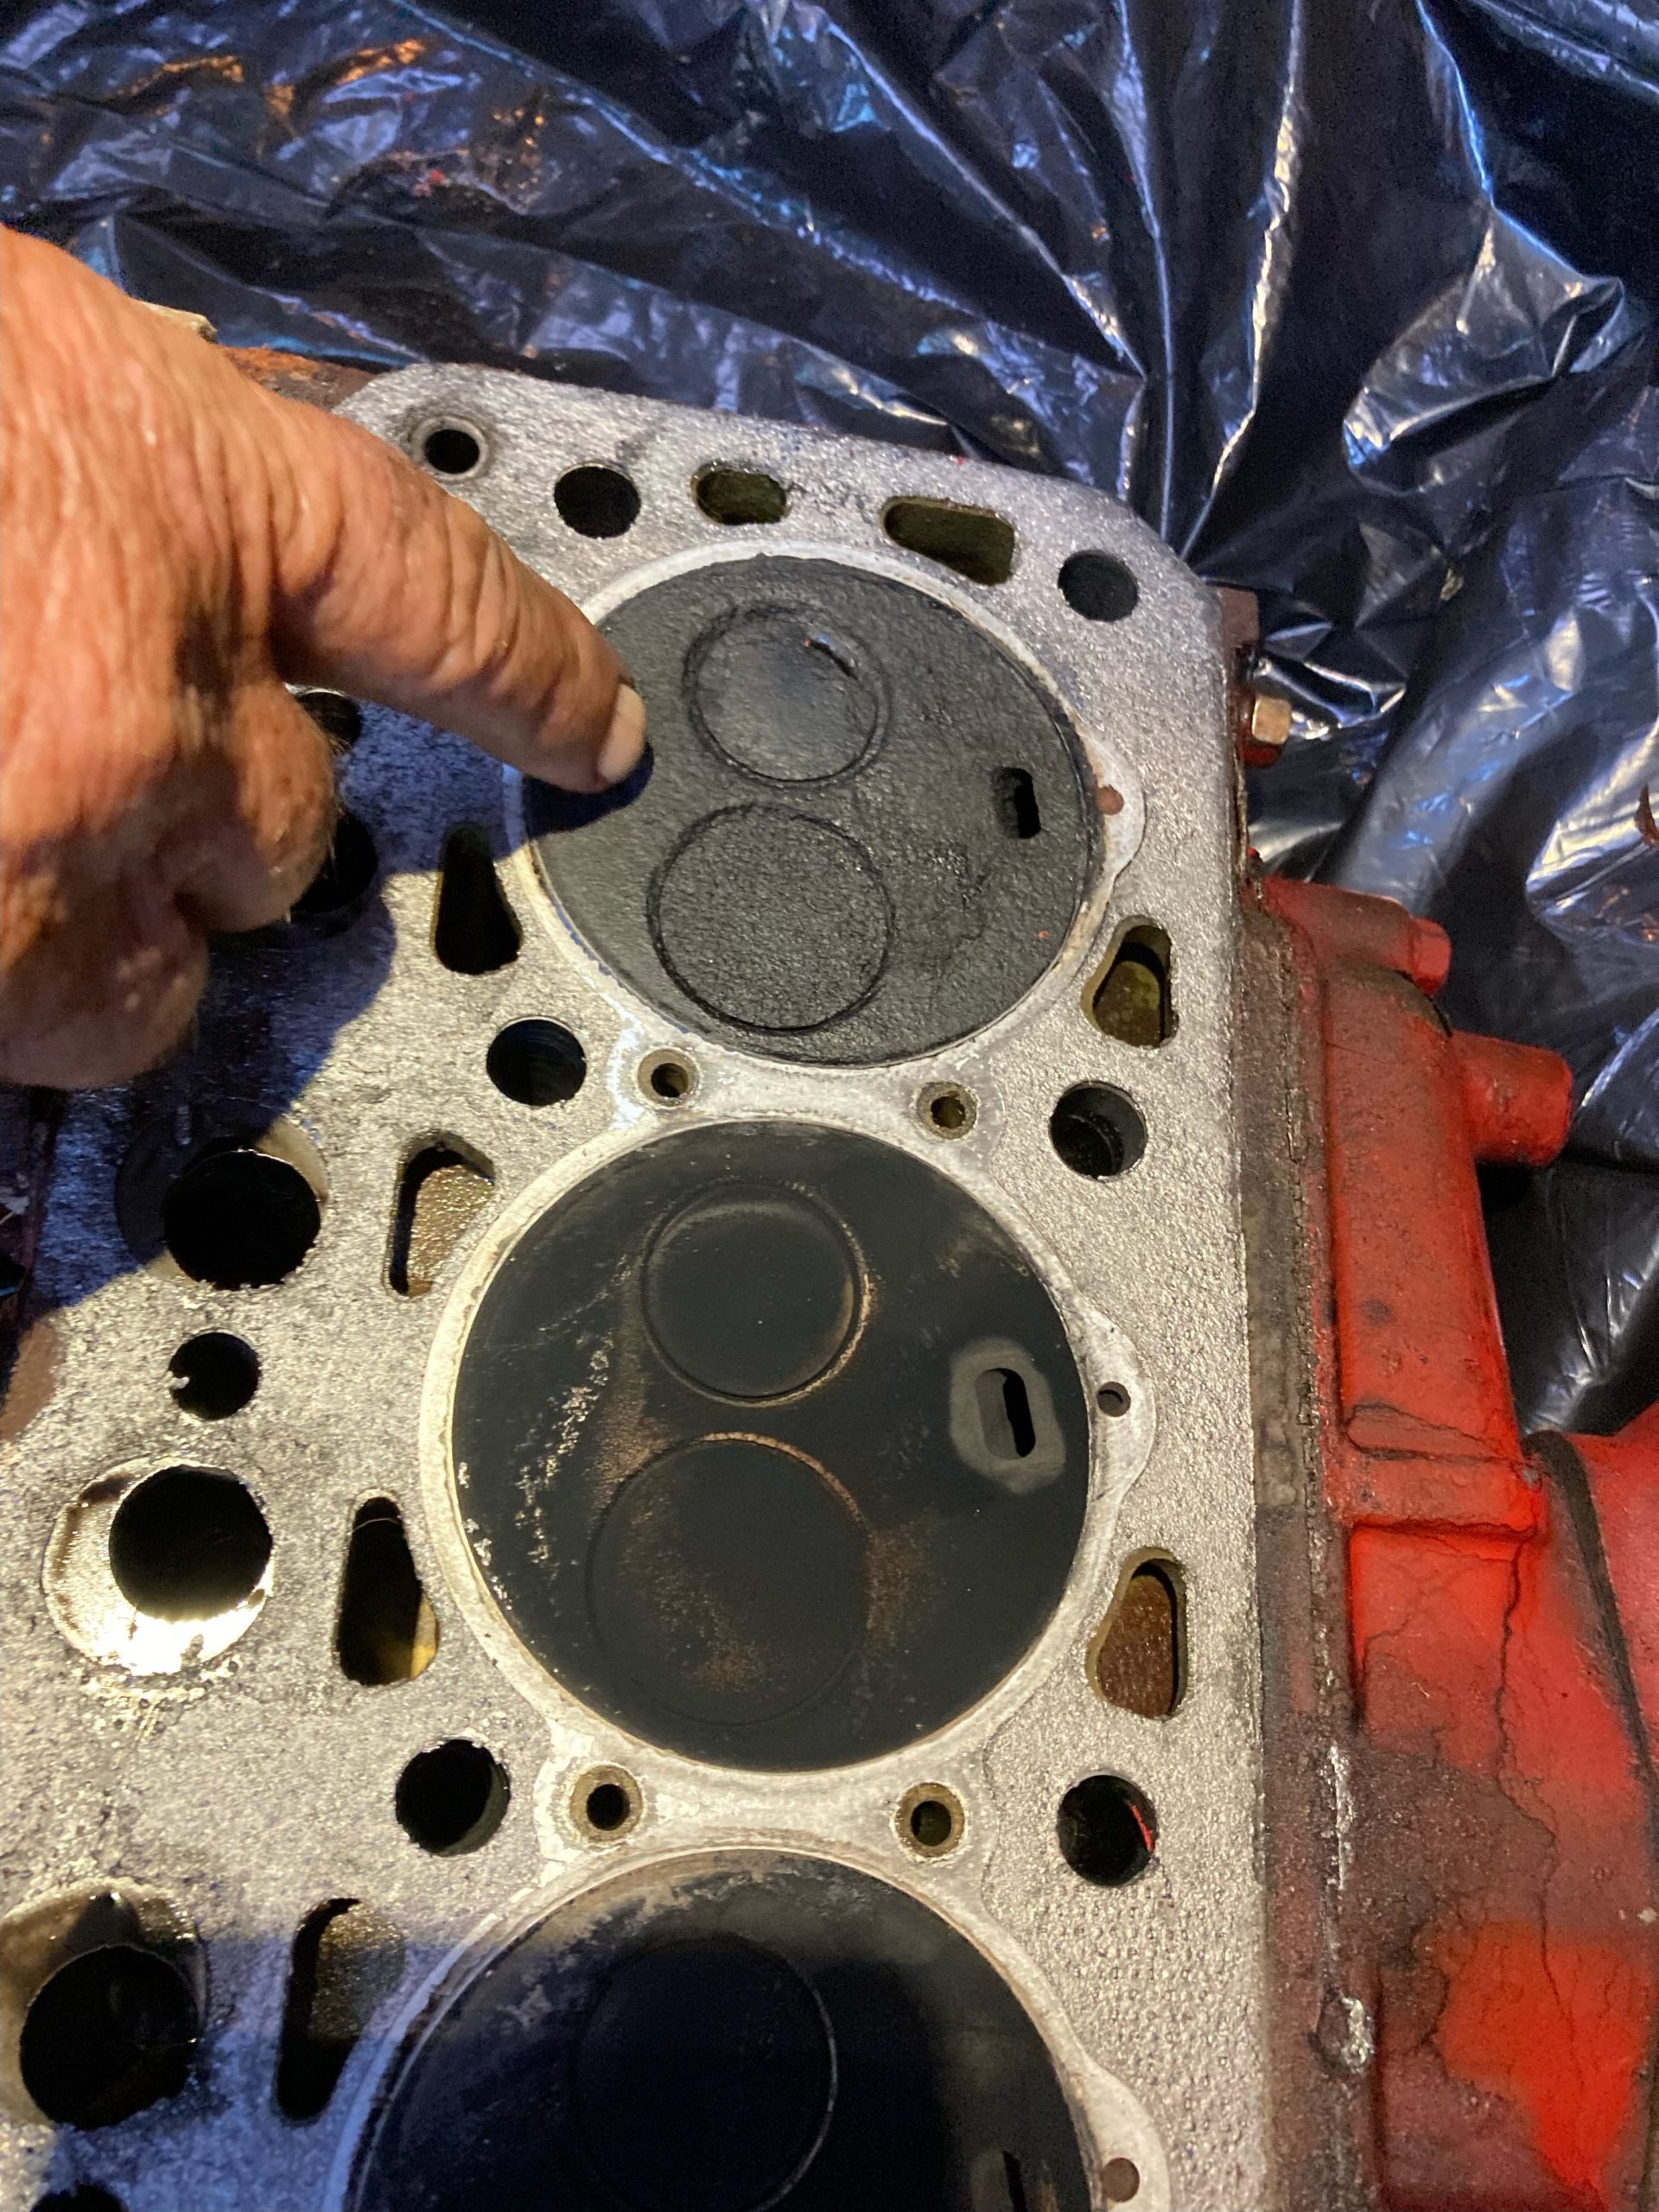
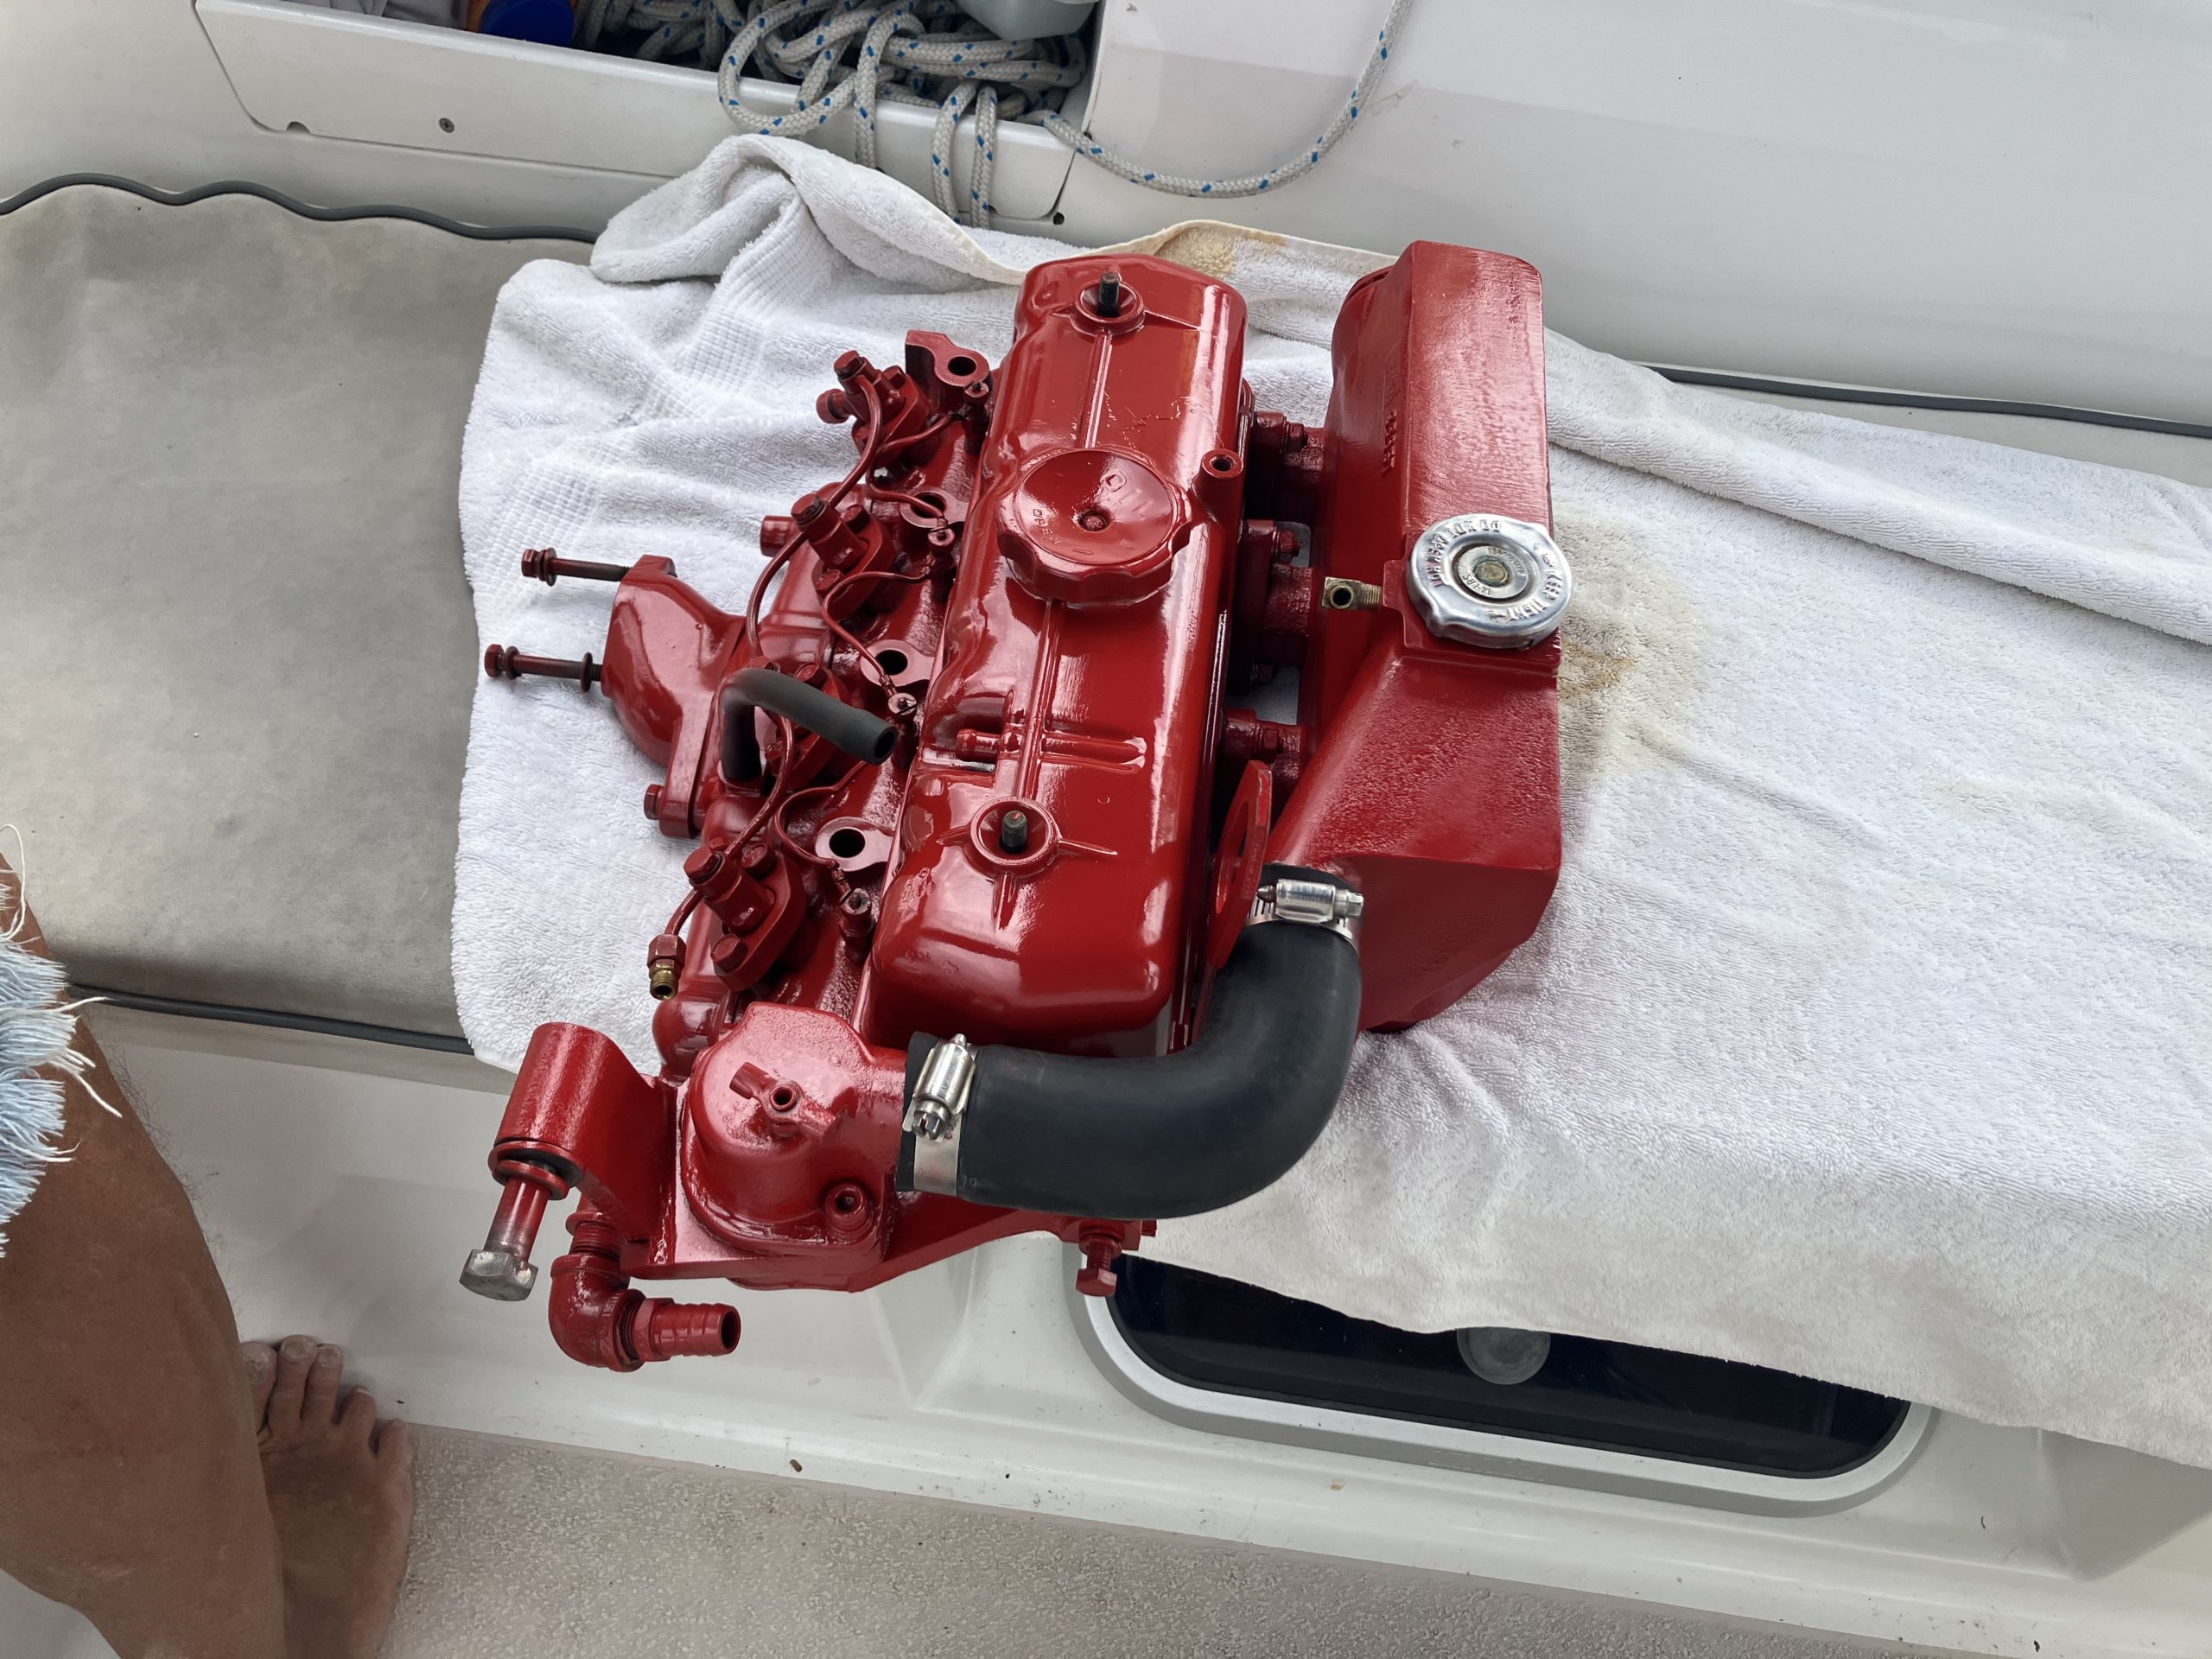
“Acceptance is the fifth stage of grief,” Kay assured me when we finally pulled the trigger to purchase an expensive new diesel engine to replace the 27-year-old Westerbeke 42B that refused to start anymore.
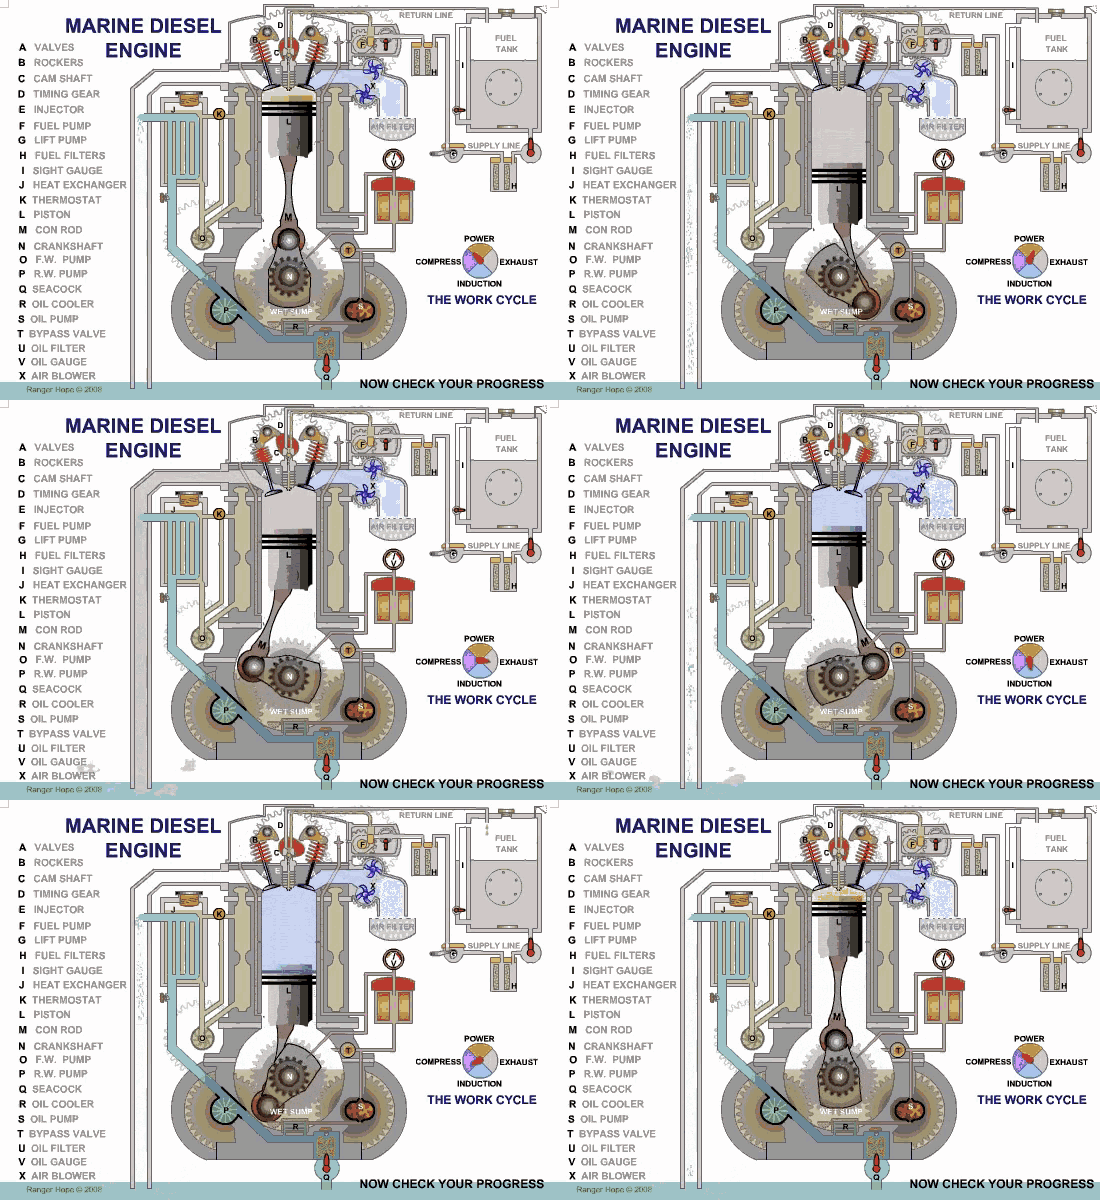
The engine to a cruising sailboat is like a heart: it requires fluids, fuel, muscle, and electricity to make everything work. You cannot live without one.

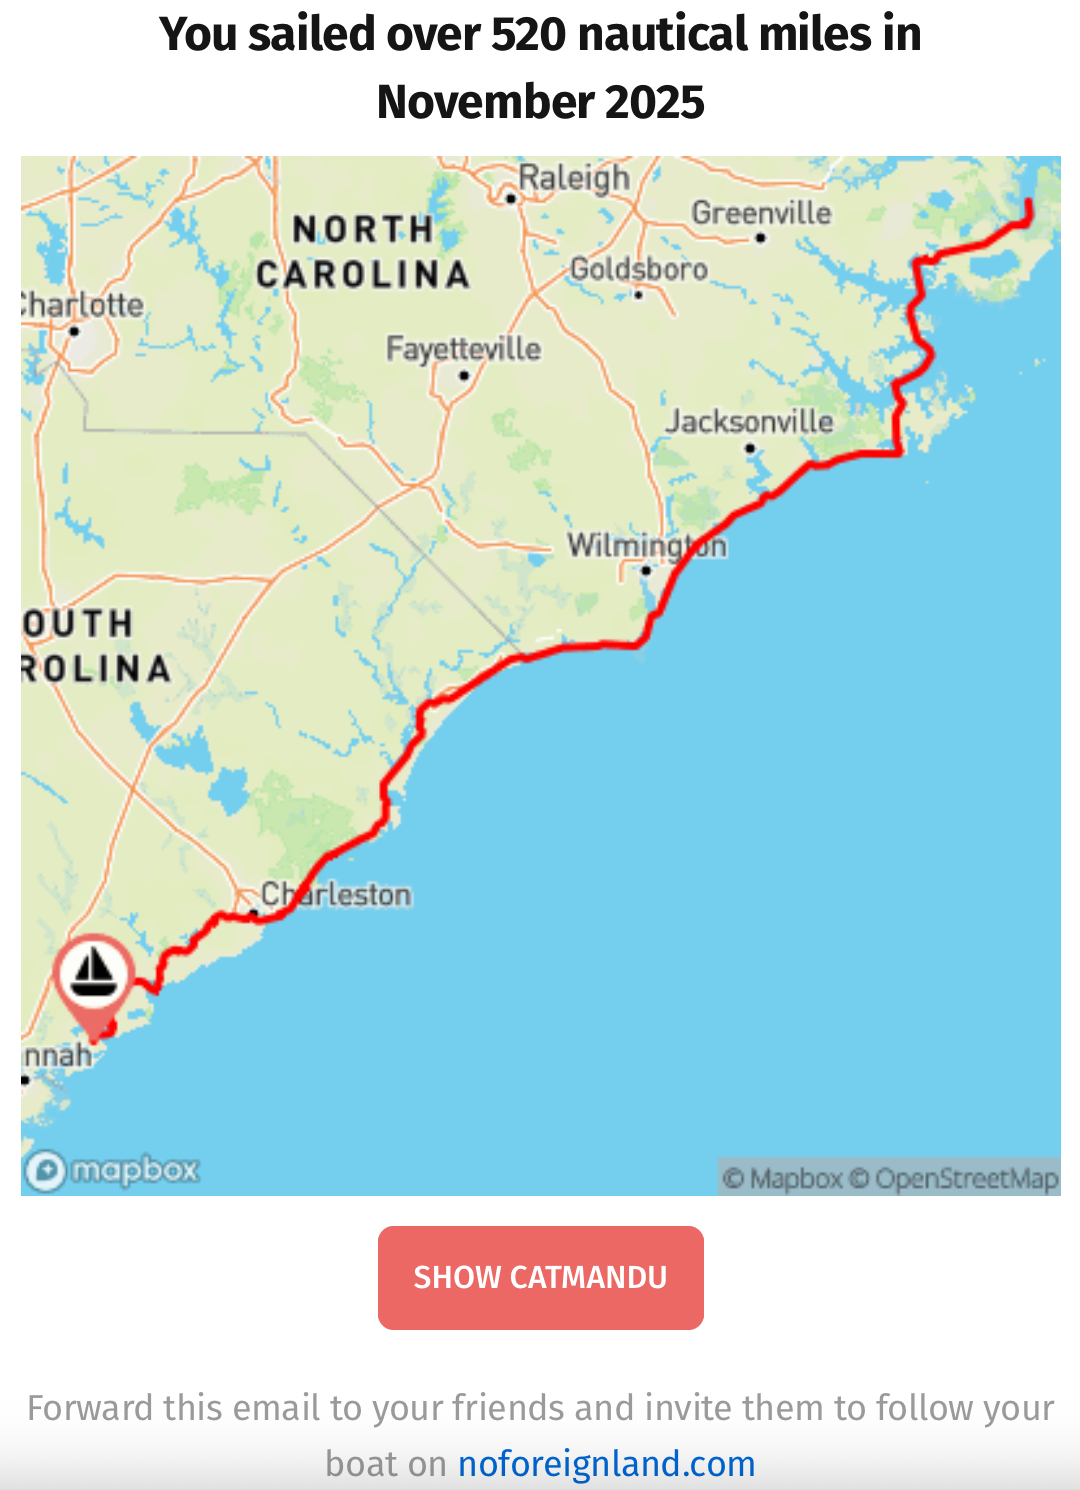
How did we choose the Beta 38? We had a short list of criteria to consider: availability, price, similarity to our old engine, and the ability to install it in our engine compartment with only a minimum of modifications. Also, consider the facts that we had broken down far from home in Hilton Head, were paying high transient slip fees, and the winter weather was getting colder. We wanted to get out of South Carolina quickly and return to our warmer cruising grounds of South Florida.
Engine Choices
There are a handful of reasonable options for re-powering a Catalina 380 sailboat. Here are the choices:
- Westerbeke 42B, our old model, but refurbished with new parts. Westerbeke no longer makes propulsion engines for the North American market. If we could have found a used refurbished engine of the same model as our old one, it would have been cheaper and everything would have fit perfectly. However, after searching the interwebs and the coconut telegraph, we could not find any.
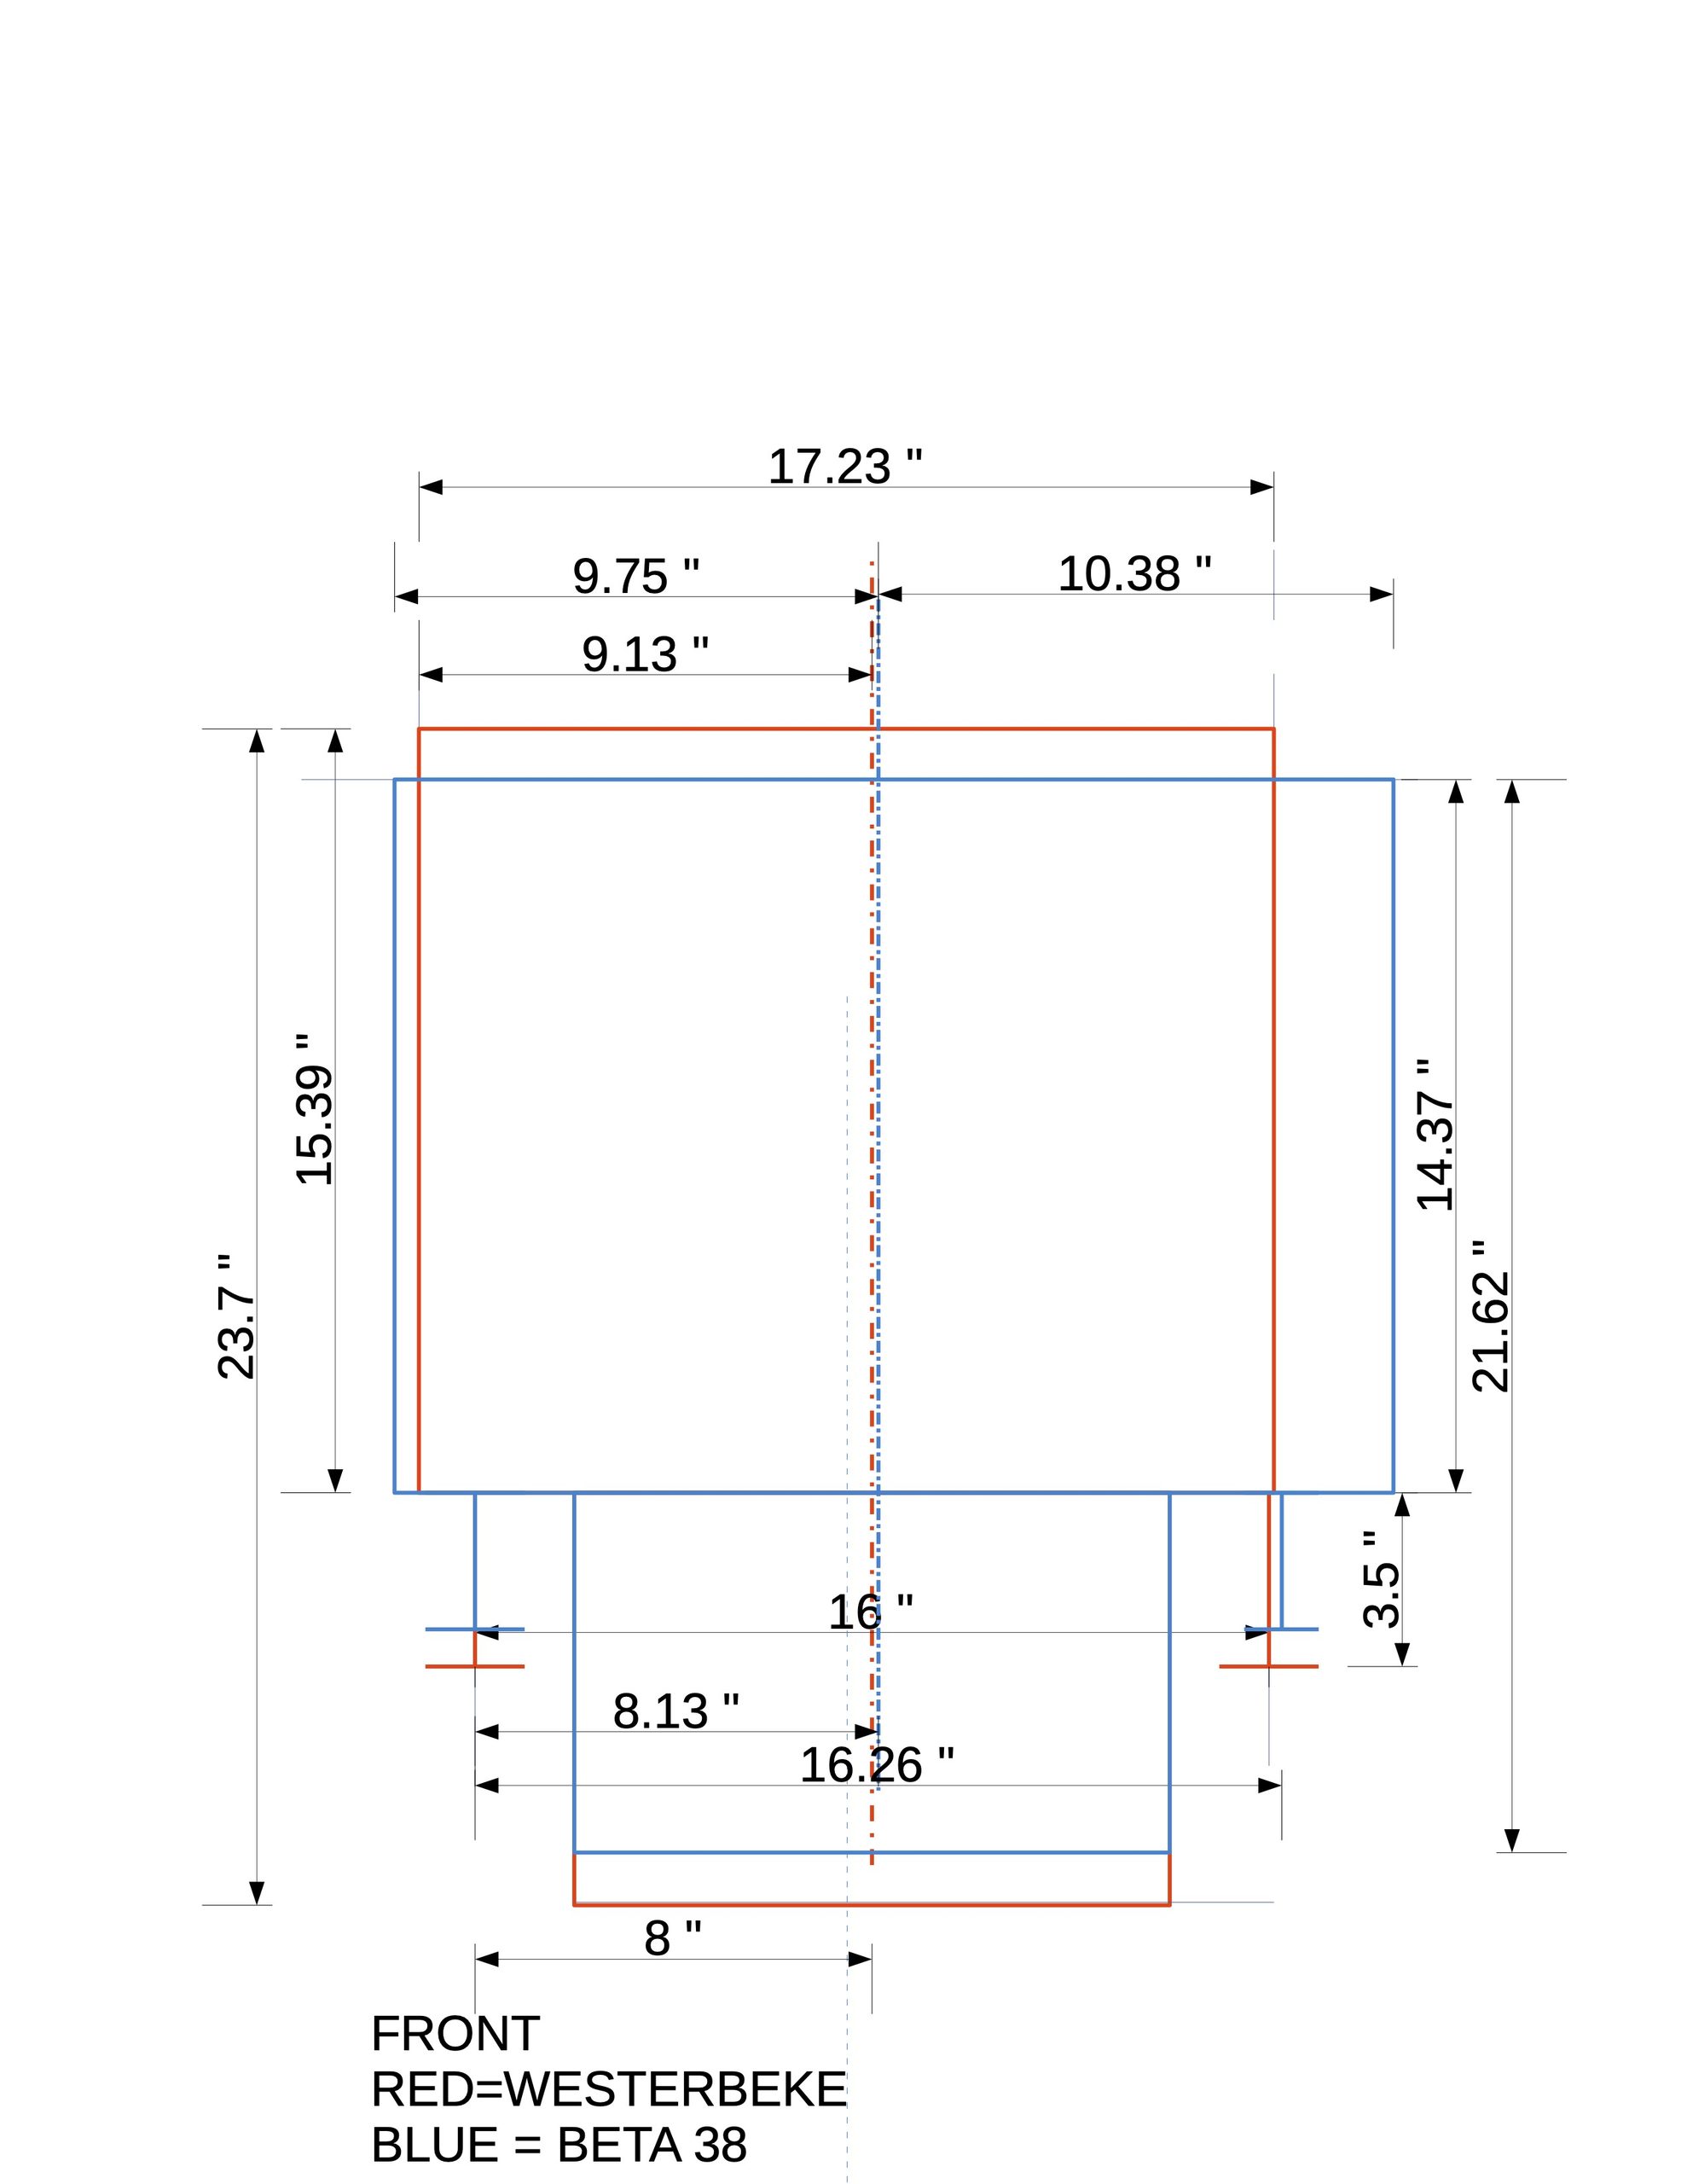
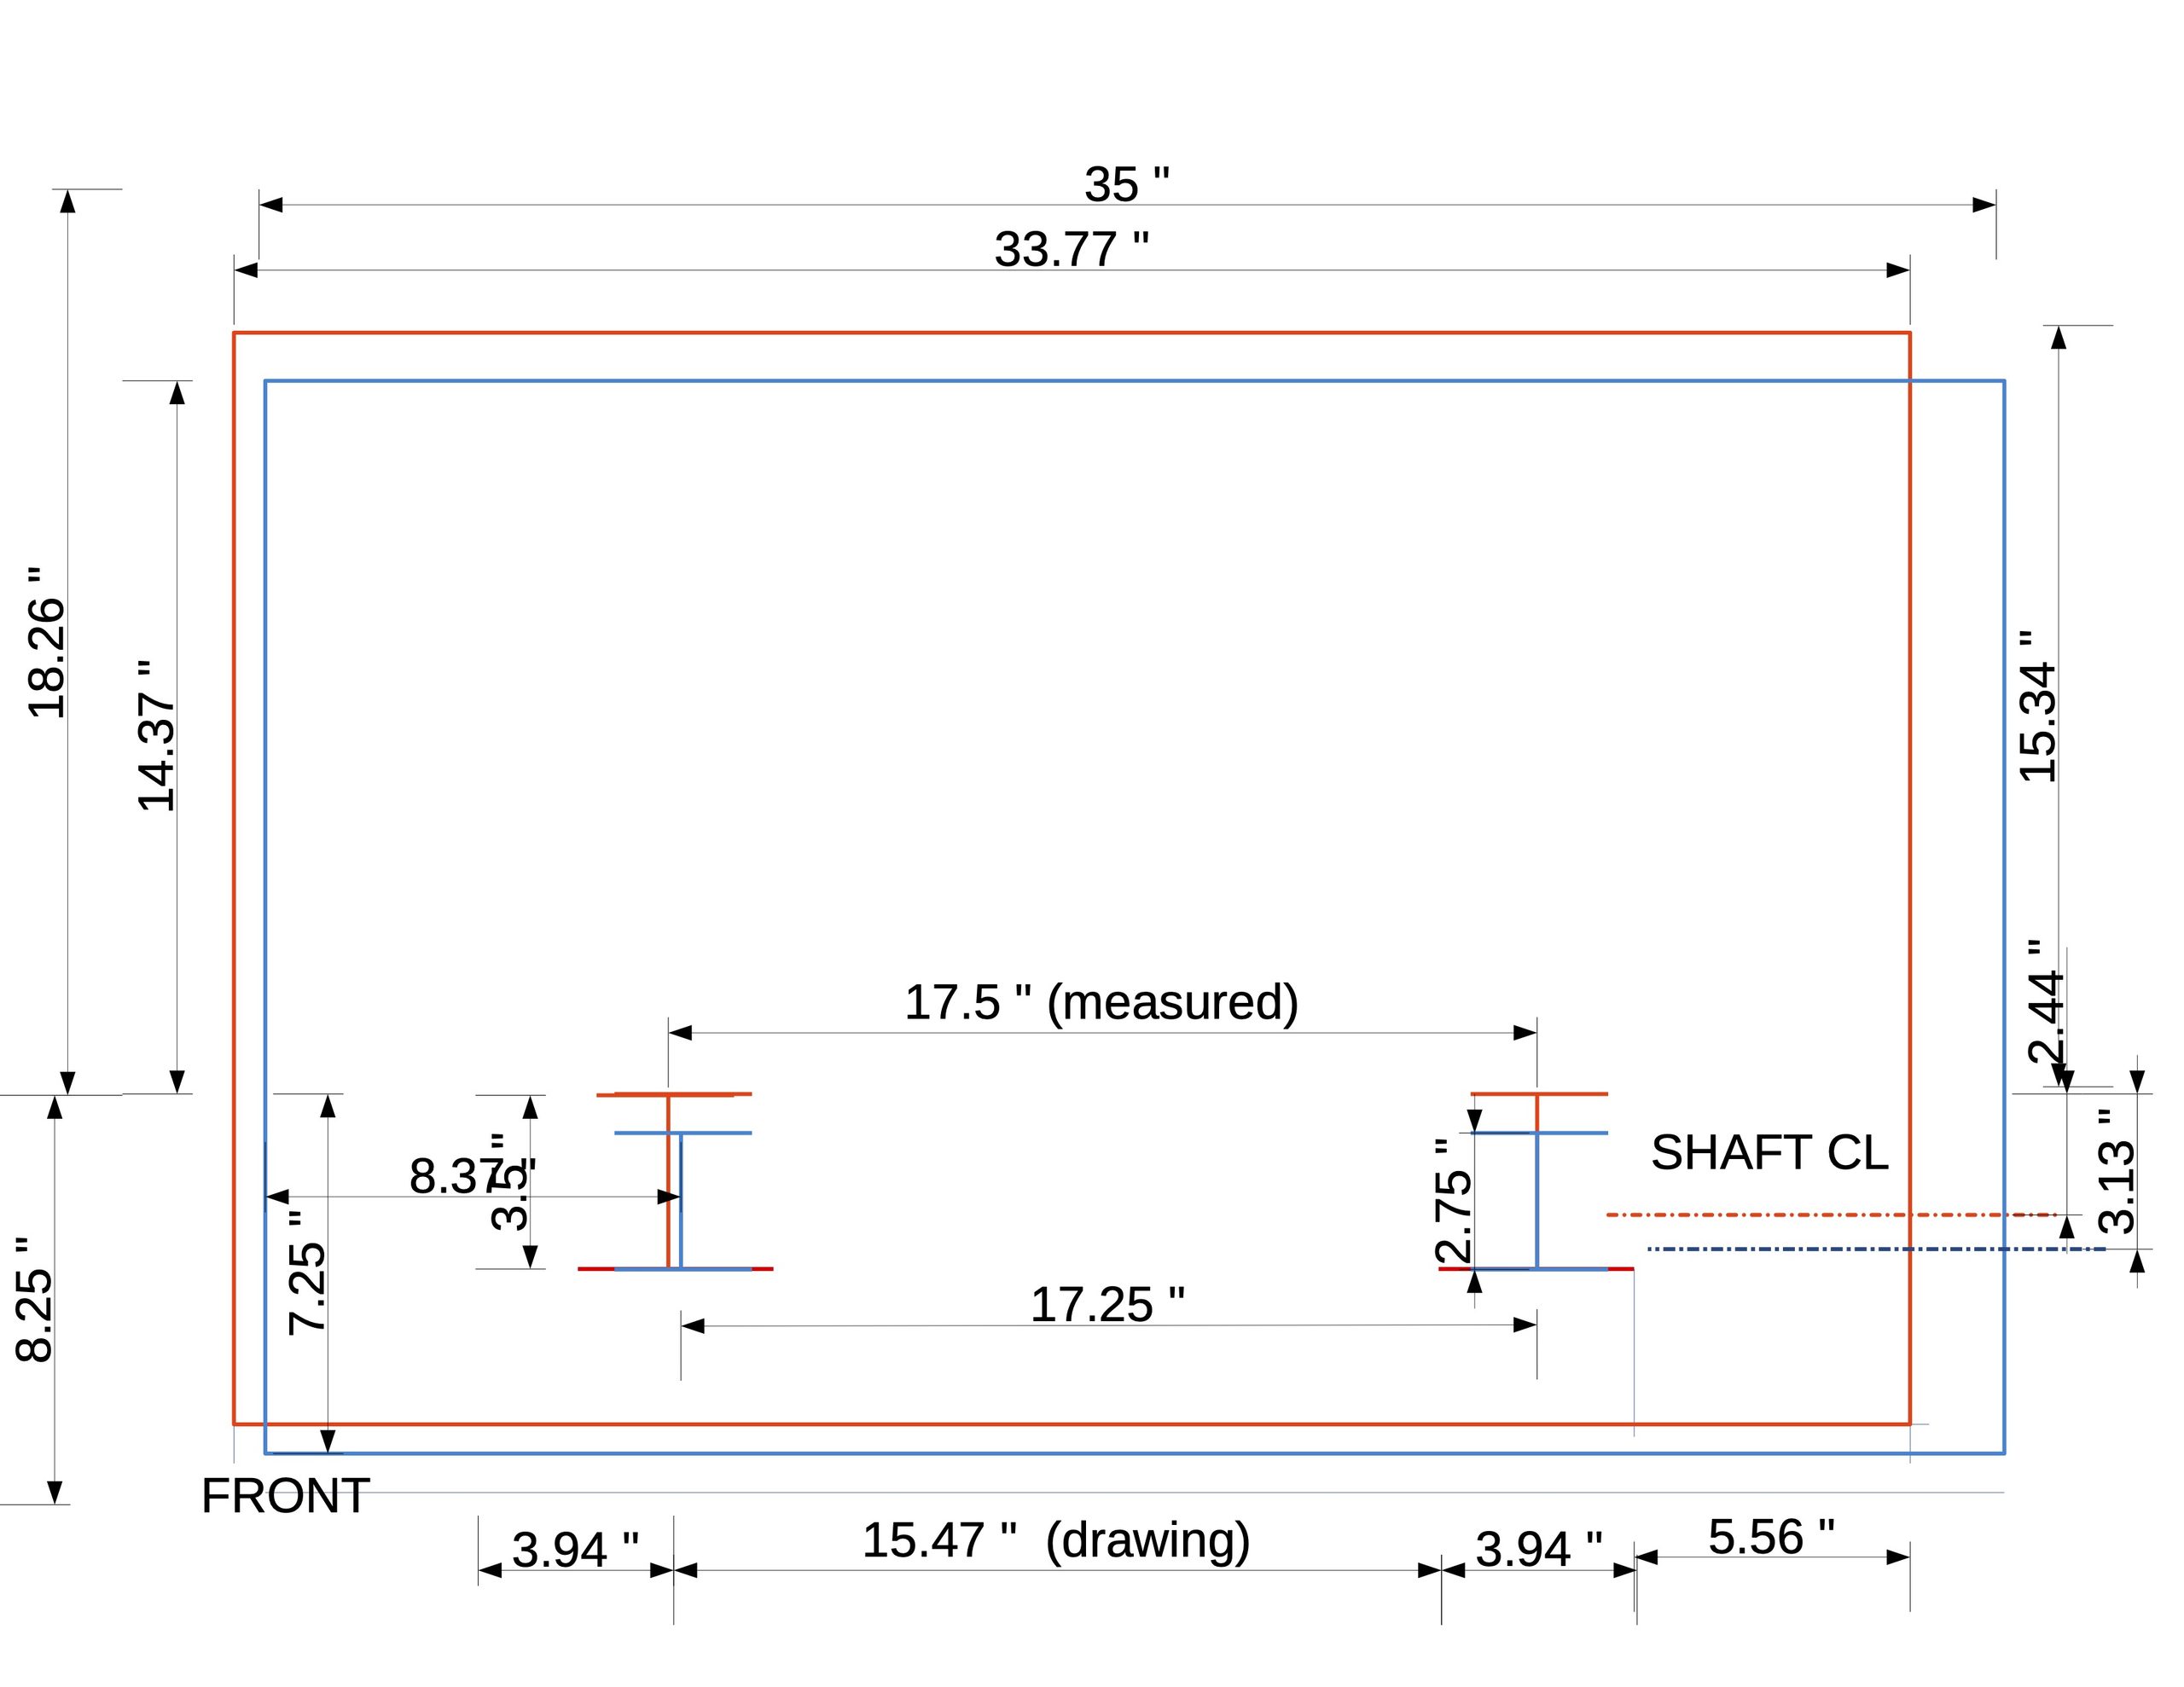
- Yanmar 3JH40 is a three-cylinder, 40 horsepower engine, whereas our old engine was a four-cylinder, 42 HP unit. It is close enough to our old engine, and Yanmar is probably the most popular inboard marine engine manufacturer in the world. Yanmar has been the stock engine provided on all Catalinas for many years. However, it was also the most expensive engine of all that I researched. I laid out the engine dimensions, and it would have fit in our engine compartment. However, the engine mount locations would have required modifying the engine bed or making odd-shaped engine mount flanges. Another consideration is the ECU. All Yanmar engines are equipped with an ECU, i.e. “computer,” and cannot run without one. Because of the ECU, they run smoother and quieter than other brands. However, one mechanic warned me that if we had a lightning strike or electrical engine problem, and we were in a remote area like the far islands of the Bahamas, it would be difficult to obtain a replacement ECU. They cost $5000 apiece anyway.
- Beta 43 is a four-cylinder, 43 HP engine, very close to our 42 HP engine. I spoke with Beta reps on the phone, and they said a Catalina 380 owner had recently re-powered with a Beta 43. I asked for photos and contact information, but they could not provide them. I laid out the engine dimensions using computer-aided design (“CAD”) and found the Beta 43 is larger than our old engine, and would barely fit into the engine compartment. Likewise, the engine beds or mounting flanges would have to be significantly modified.
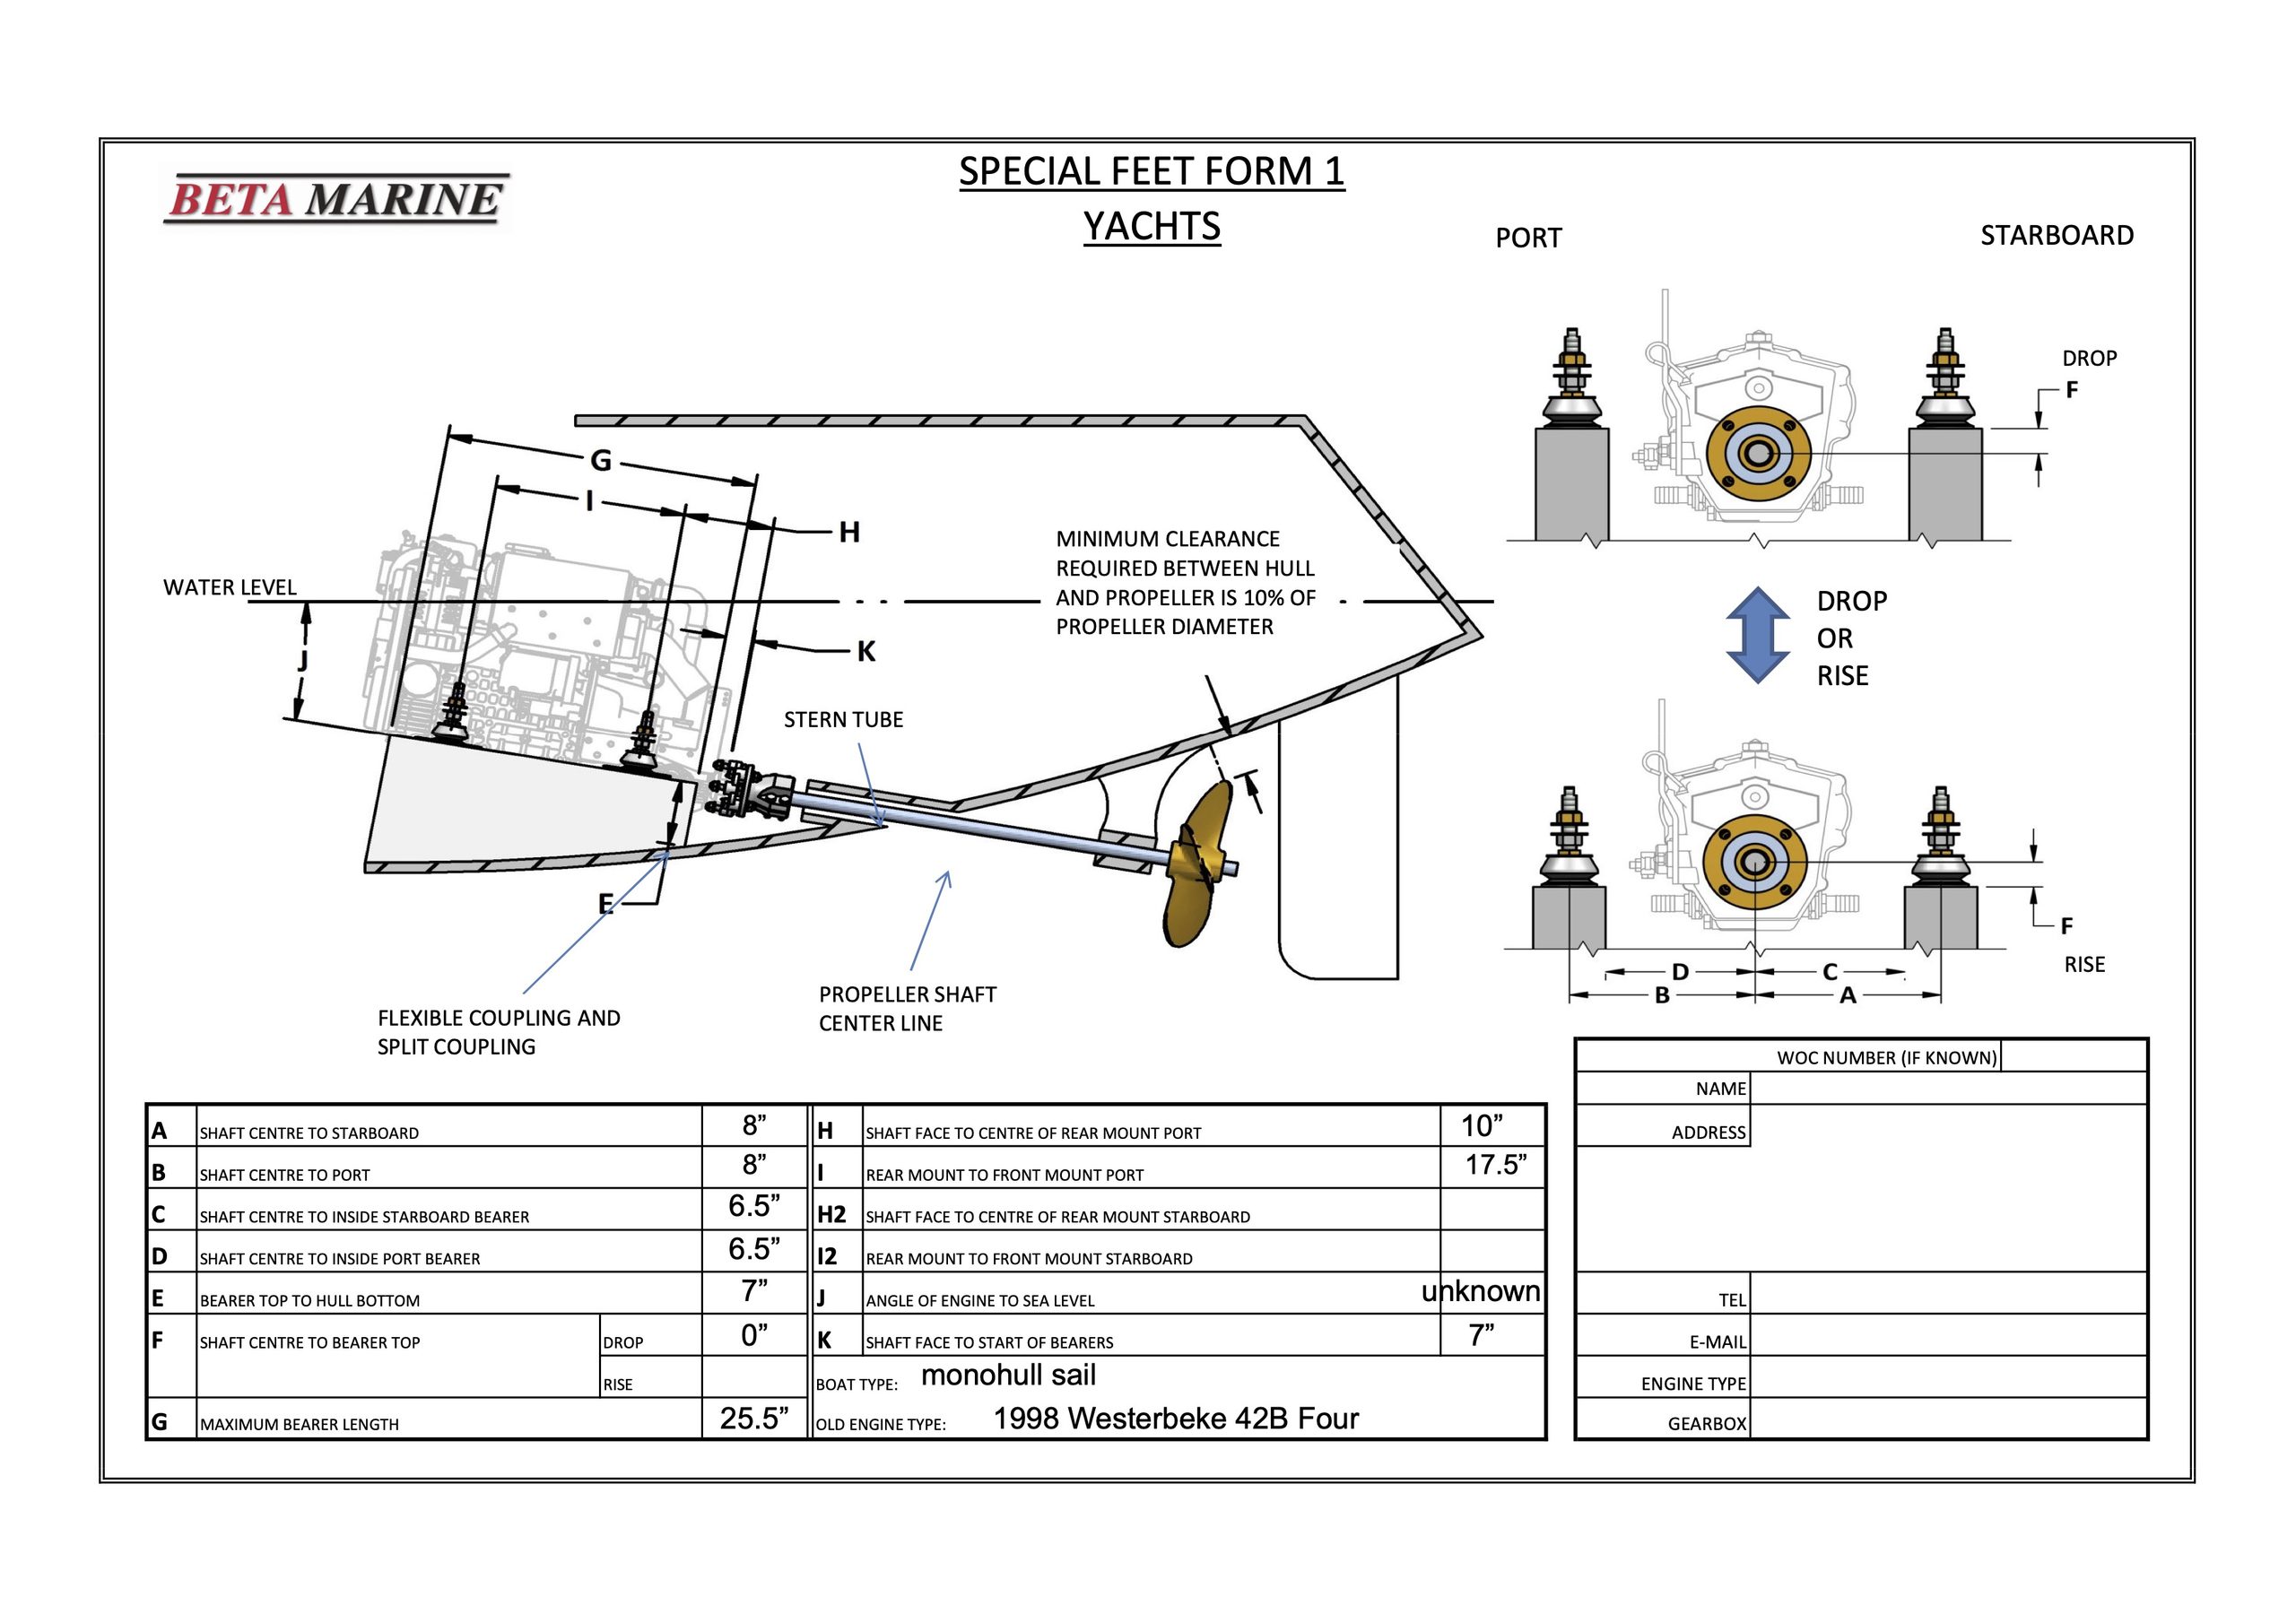
- Beta 38 is a four-cylinder, 38 HP engine, nominally a little less than the old 42. However, both the Beta 38 and Westerbeke 42B have a displacement of 1.50 liters and a compression ratio of 24:1. They should have the same horsepower. I laid out the dimensions in CAD and found the engine would easily fit my space. The Beta engine mounts were so close to old engine mounts that it would be a drop-in replacement, requiring no modifications.
- Although Beta is a British company, its US office is in North Carolina and they had Beta 38 engines in stock. Shipping to South Carolina would only take three days or so. Beta engines are simple and based on a Kubota engine block. There are no computers or electrical pumps, and replacement parts are easy to find worldwide. Dipsticks and filters are on the front of the engine, which makes makes maintenance much easier than other brands, including Westerbeke. Beta engines also have a built-in oil change pump in the front to make oil changes easy. The Beta 38 was also the least expensive of all the options.
- Nanni 4.38 is just like the Beta 38: a four-cylinder, 38 HP, 1.5 liter displacement engine based on the Kubota engine block. The Nanni 4.38 has many of the same benefits of the Beta 38, like the filter and oil pump locations. Like Beta, Nanni is a British company. However Nanni is not as well-known as Beta in the US. Being satisfied with finding the Beta 38, I did not explore the Nanni 4.38 further.
- Hybrid and All-Electric Engines. Beta Marine and other diesel engine manufacturers offer hybrid diesel electric engines. They would require adding special batteries, making many modifications, and be more expensive than a drop-in diesel replacement. Several all-electric inboard engines are available, including Oceanvolt. However, they are also more expensive overall and would require many modifications to the boat.
Beta 38 Options
After considering the options, we ordered the Beta 38. We consulted with the Beta Marine reps and added the following options to our order:
- TMC 60 Technodrive transmission. This transmission has a 7 degree down angle, matching that of the Hurth HBW 15A transmission that came with the Westerbeke 42B Four. The transmission swap from Beta’s non-angled transmission was free of charge.
- R&D Flexible Coupling with flexible polyester elastomer disc. Free of charge. The flexible coupling is a much better coupling than the Globe Drivesaver® coupling that came with the Catalina 380.
- ‘C’ Deluxe control panel, but without the fascia. This deluxe package comes with a tachometer containing a built-in digital hour meter, temperature gauge, oil pressure gauge, and voltage gauge, a key-control glow plug activation and engine starting switch, push button stop, warning buzzer, and idiot lights for the following: alternator voltage (including a light for a secondary alternator if you have it), engine temperature, oil pressure, and system energization. The old Westerbeke panel instruments did not have an oil pressure gauge and it had fewer idiot lights. One could order a simpler instrument package from Beta that would be less expensive and less complicated to install. NOTE: The Beta control panel fascias are rectangular, but the existing control panels on the Catalina 380 are trapezoidal. I adapted the old Catalina / Westerbeke control panel myself to fit the new Beta instruments to save money. More on that later.
- Three-meter wiring harness extension. Added to the standard three-meter harness, you get six meters total. It is just long enough to link the engine to the instruments by a couple of inches with the extension. This is a necessary upgrade for a Catalina 380 installation.
- High-rise exhaust elbow. This helps prevent water from entering the engine through the exhaust causing hydrolock. The water inlet on the elbow must be 30 cm above the waterline, and the high-rise elbow give you extra height compared to the standard exhaust elbow. Beta convinced me to buy the high-rise elbow, but it created some interference with the rear engine cover after installation.
- Water heater fittings with shut-off valves. Beta calls it a “calorifier.” It must be a British thing.
- 70 amp alternator, standard, no extra charge. Beta can upgrade the alternator to 120 amps for an extra charge.
The total price of the new Beta 38, including shipping to Hilton Head Island, was $17,200. Beta is a British company, and I do not know how much of the price was due to tariffs, if any.
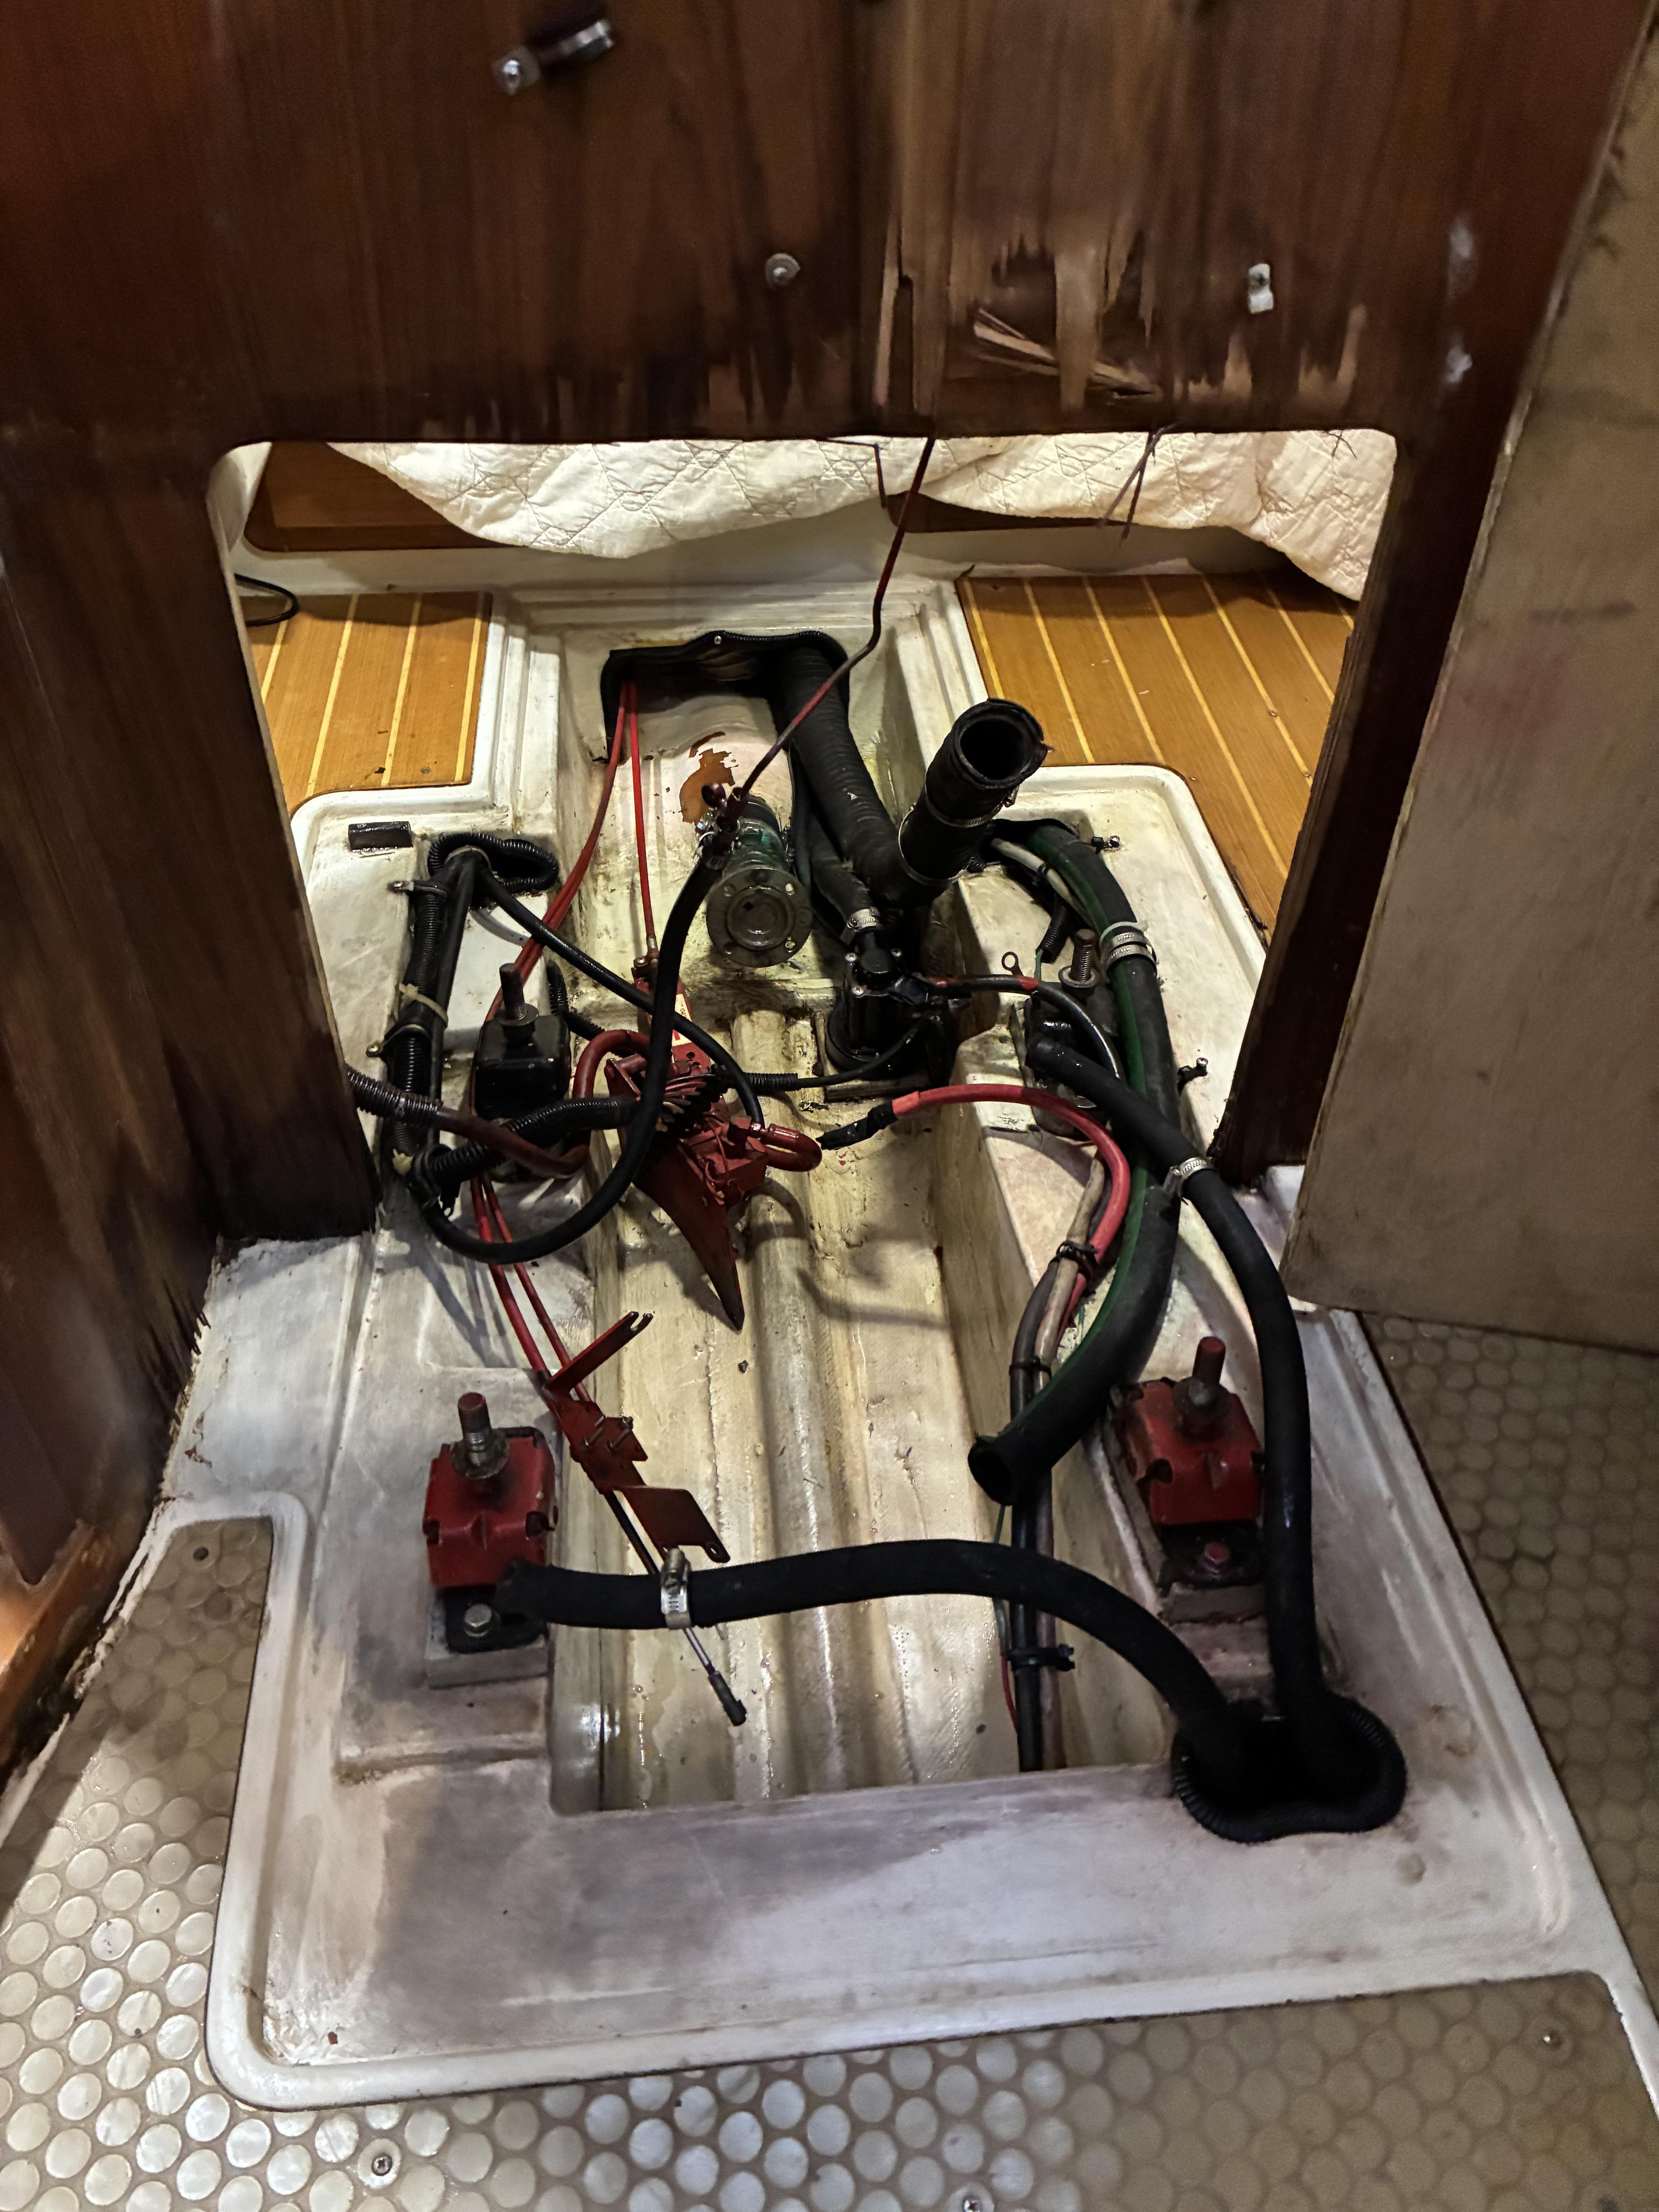
Removing the Old Engine
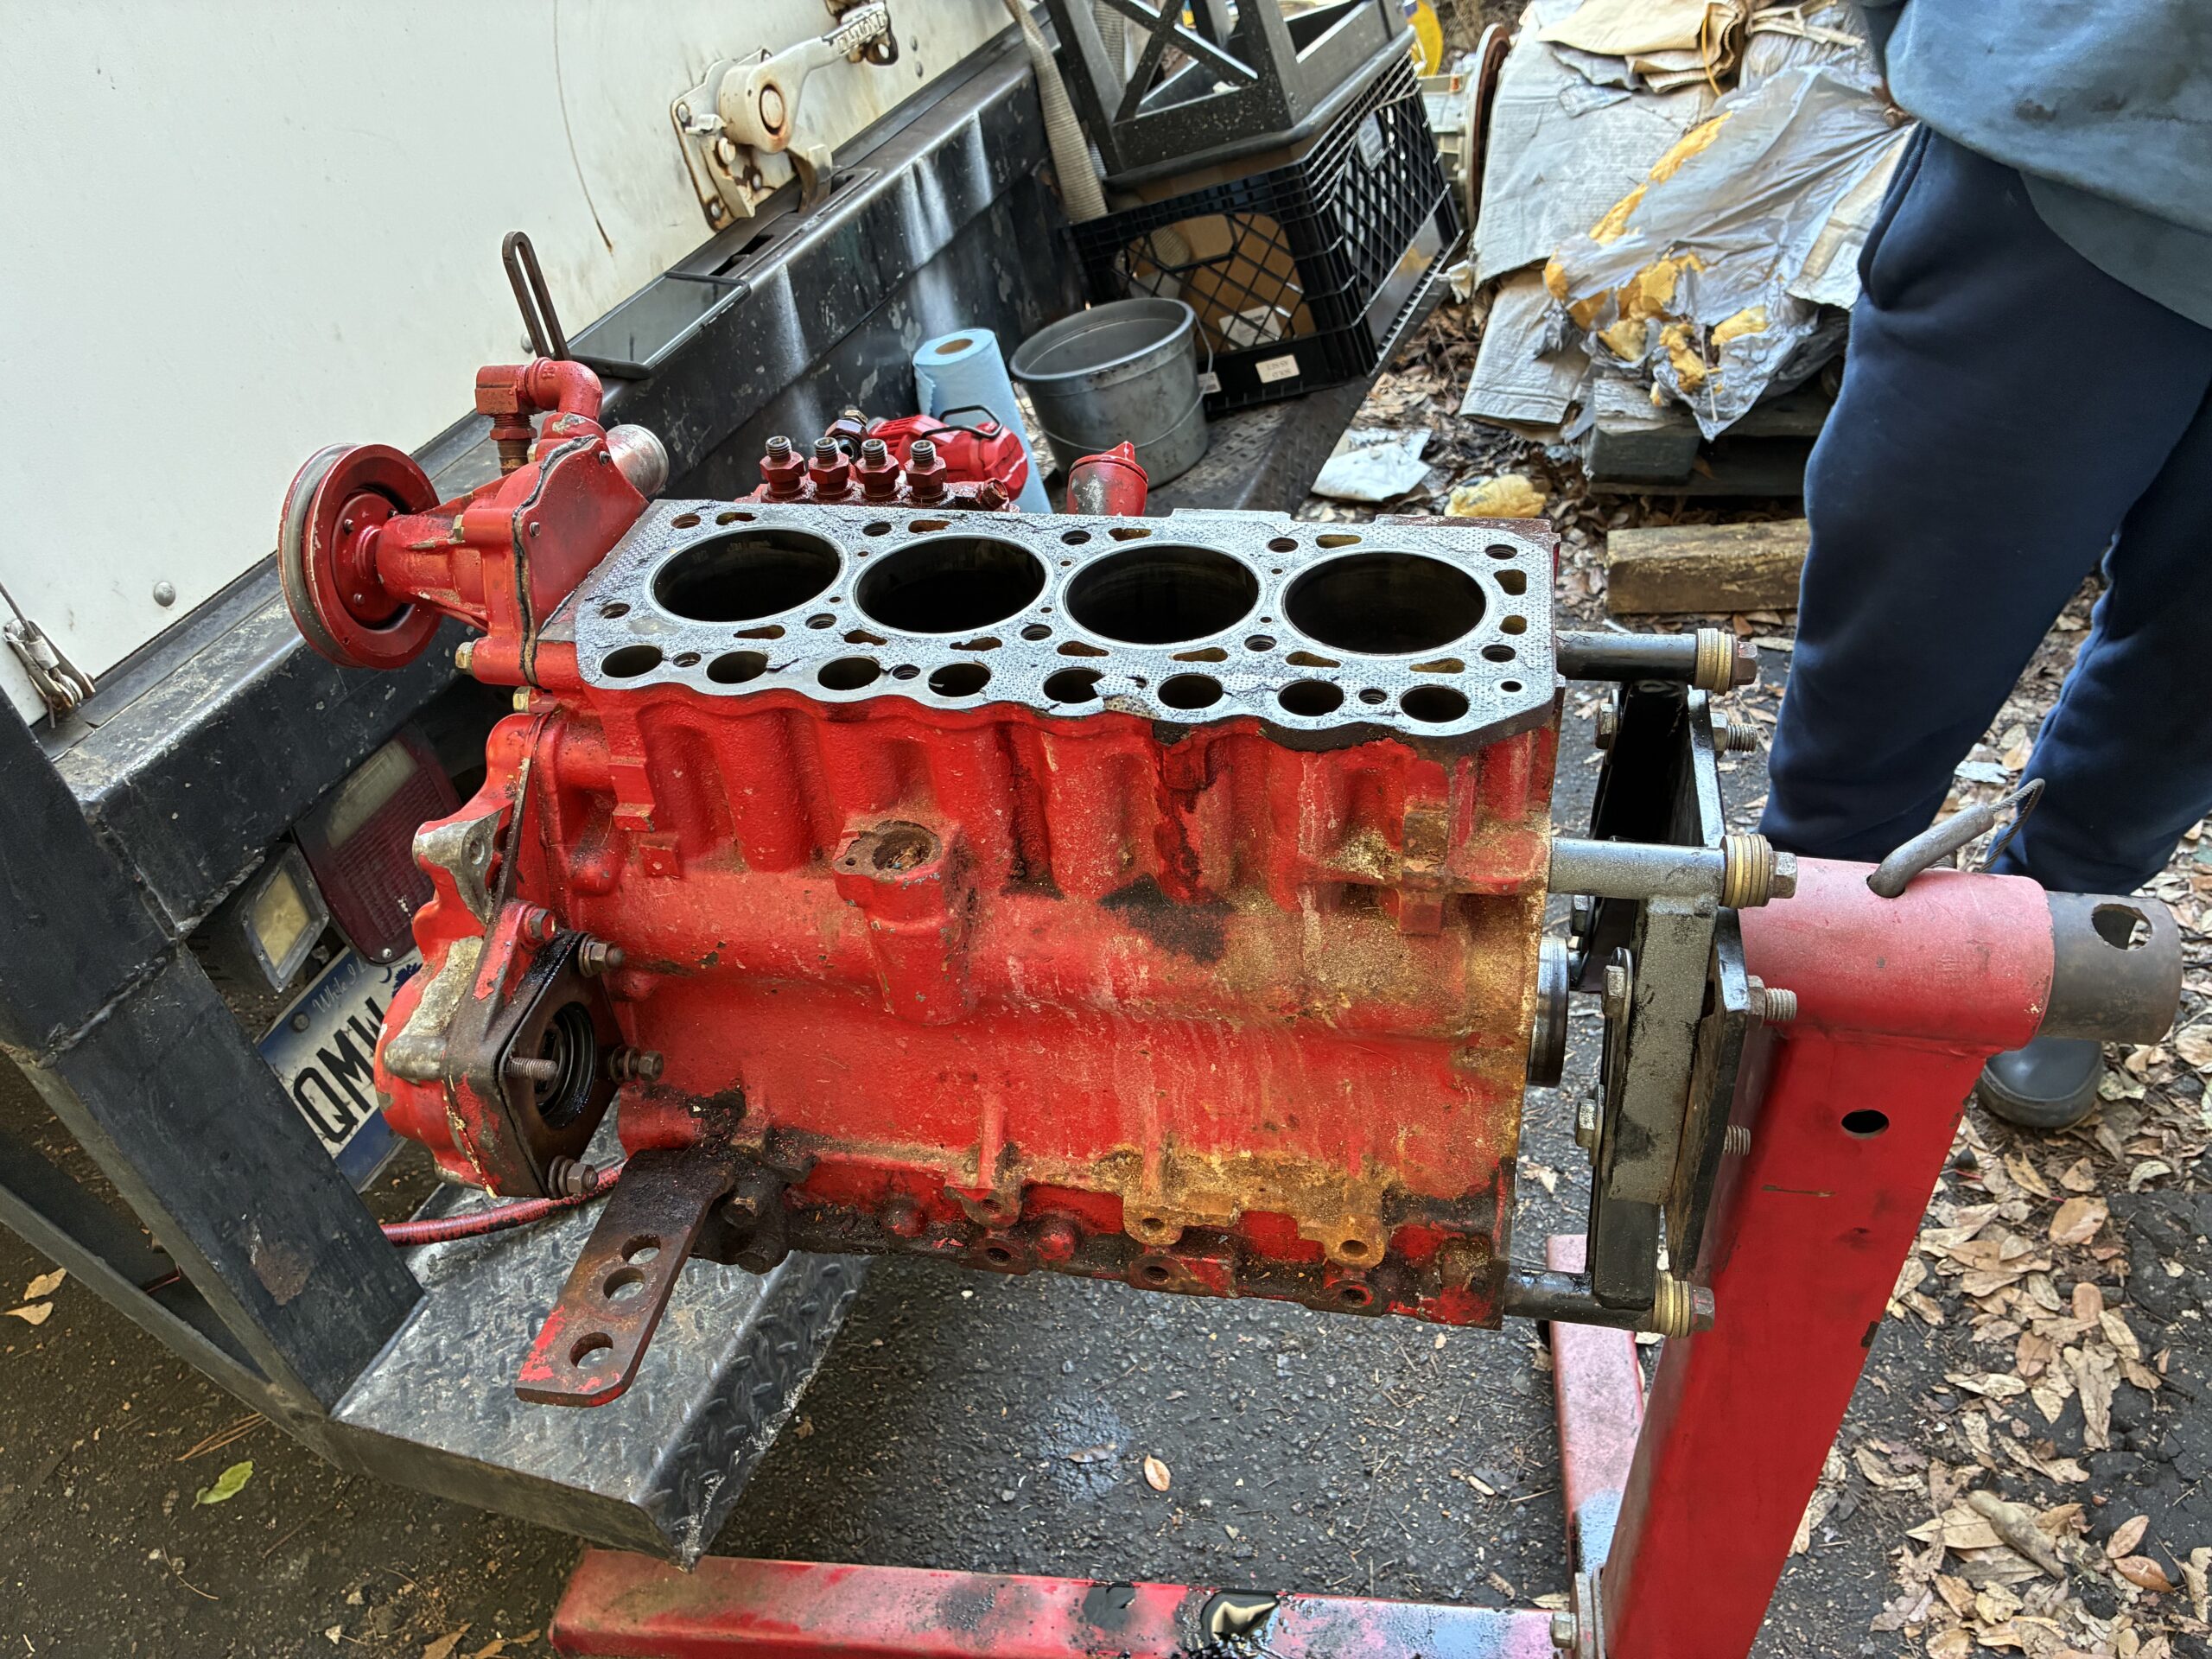
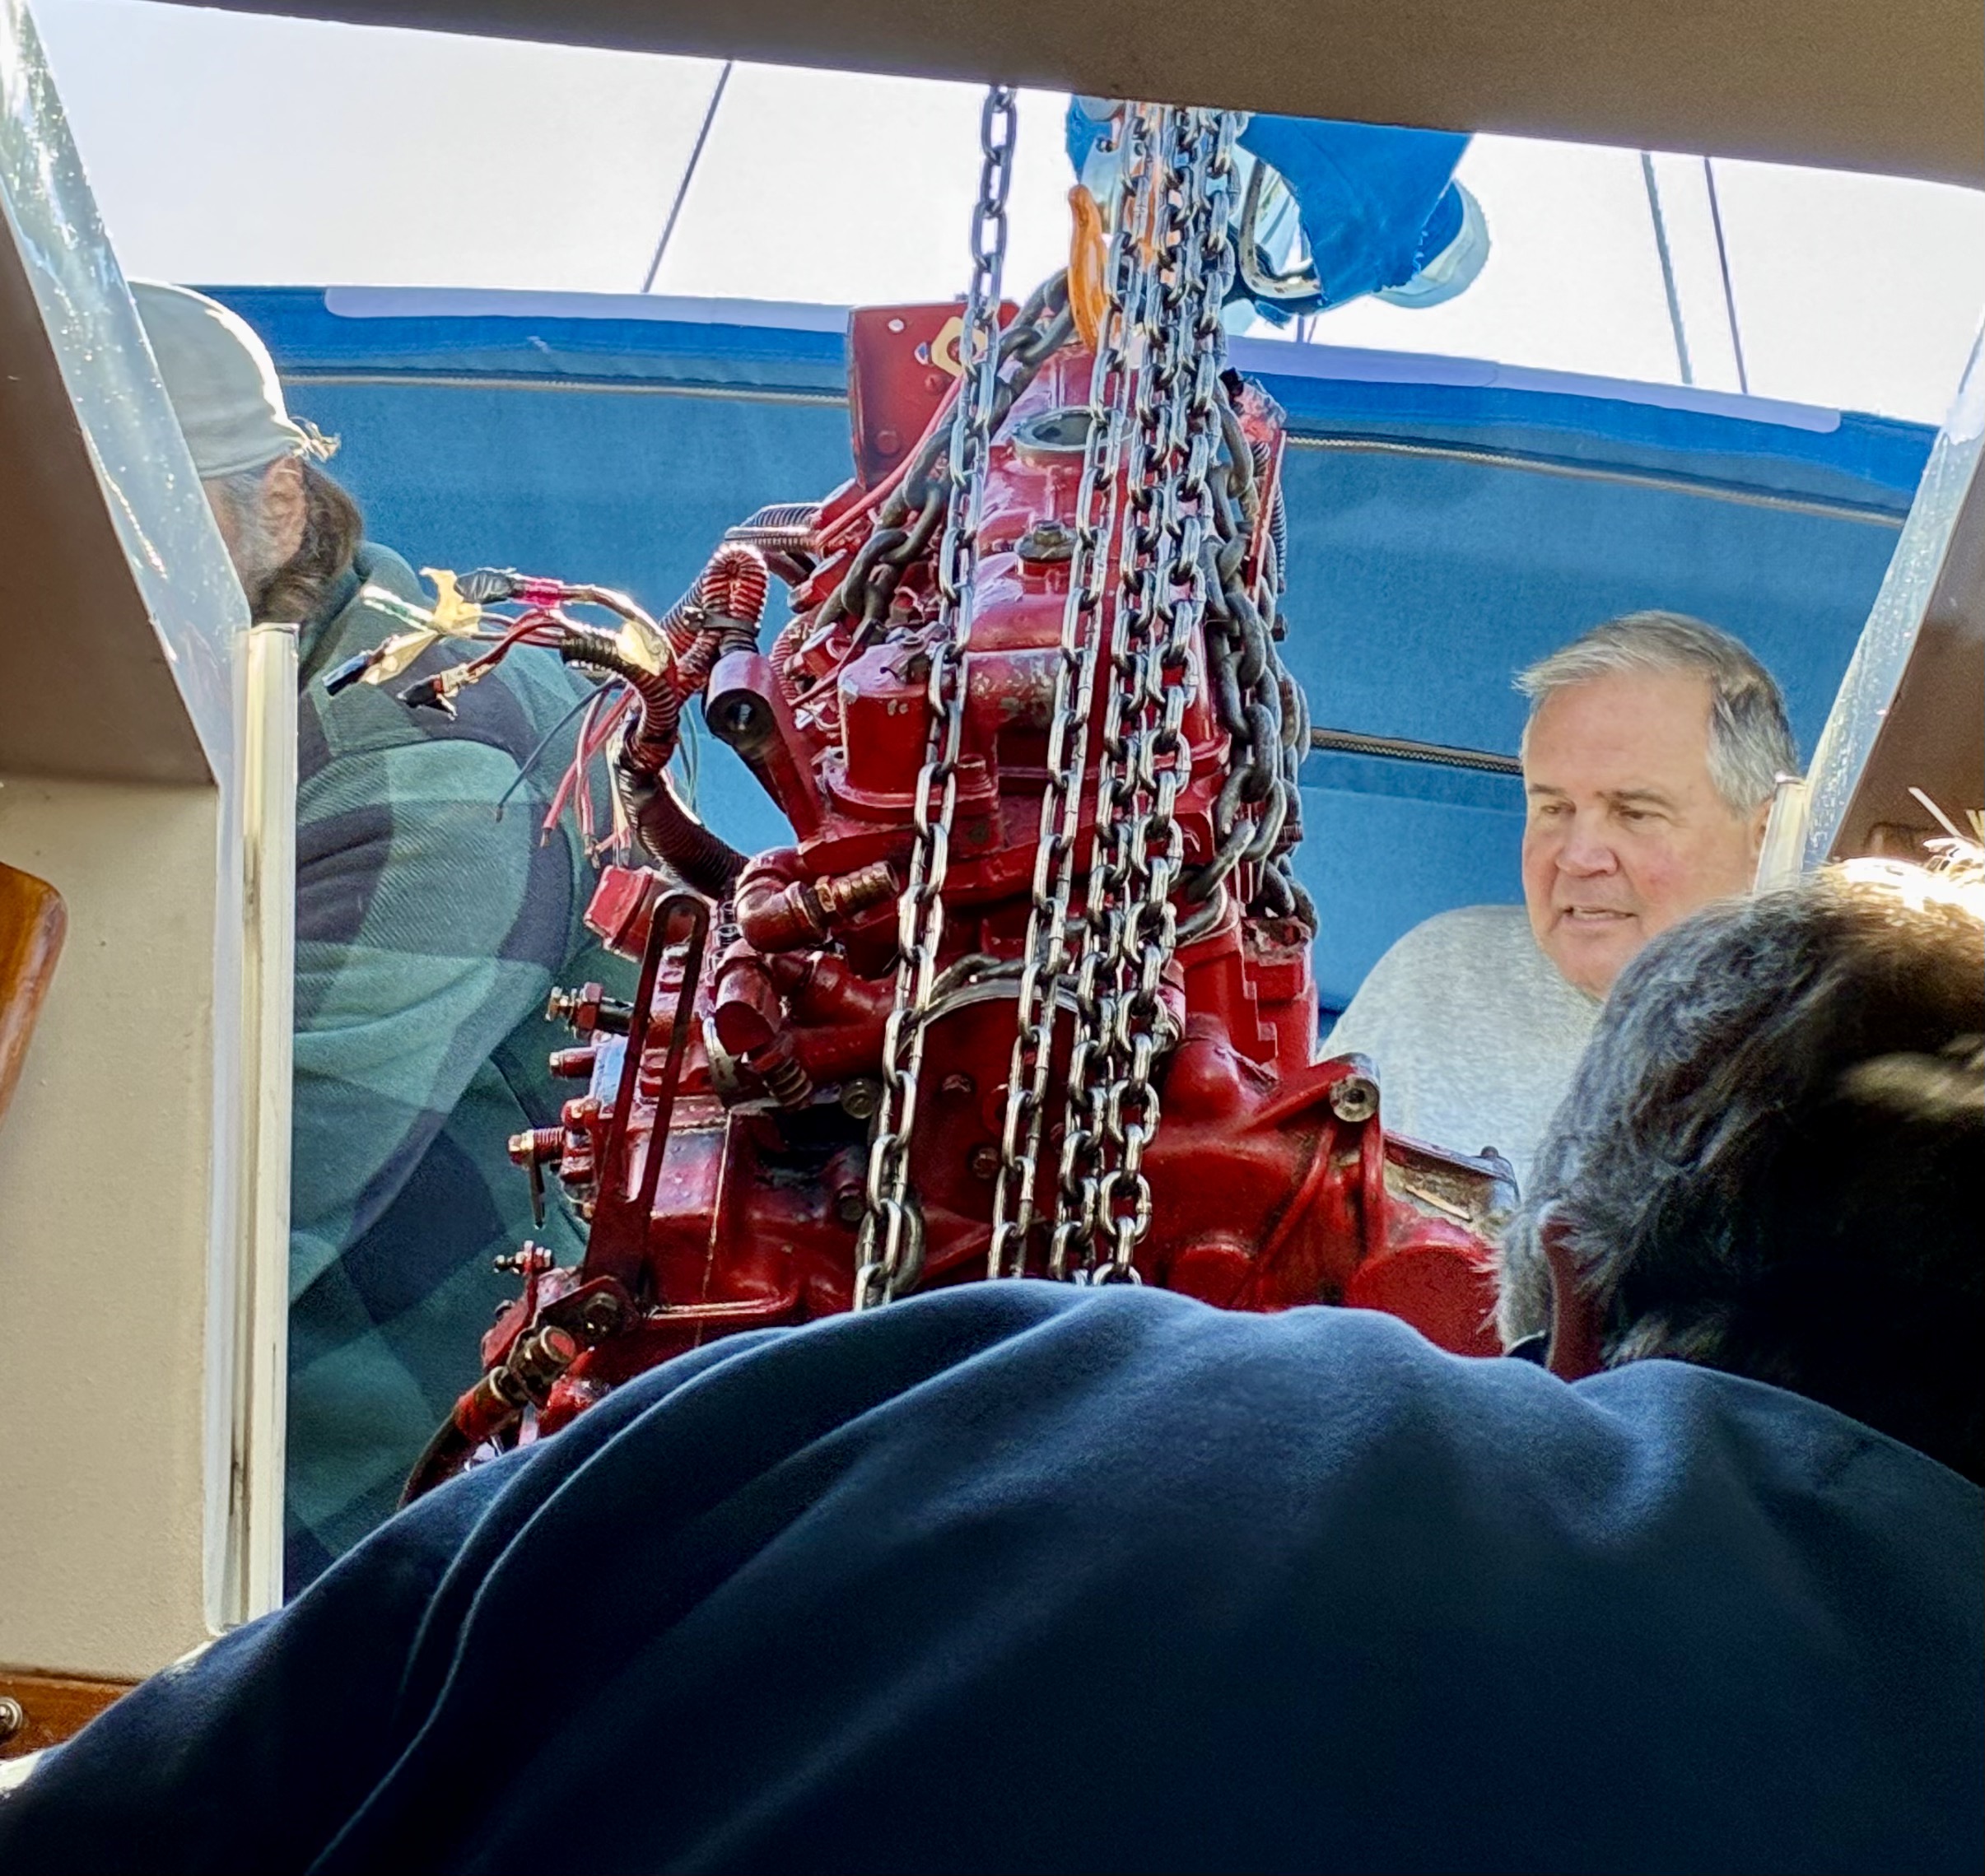
One mechanic and a helper were able to remove the old engine and install the new one. The whole process of removal and tearing down the engine sufficiently to confirm its demise took about 16 hours of labor. Here is a quick summary of the removal process:
- Close the diesel fuel tank valve on top of the fuel tank. Close the engine water inlet through-hull valve. Turn the battery switch to OFF.
- Detach the diesel inlet and return hoses from the engine.
- Detach the exhaust hose, water inlet hose, and coolant hoses.
- Drain the engine of coolant. Use either the drain valve or a shop vac for the engine coolant and water heater loop. Drain the engine oil and transmission oil.
- Detach heavy items from the engine to make it easier to lift: transmission, alternator, starter, heat exchanger. Cover the ends of the electrical cables to the alternator and starter with electrical tape to prevent a possible short circuit.
- Detach the wiring harness, tape the loose wire ends together, and tie a messenger line to the end to facilitate running the new wiring harness under the aft cabin.
- Detach the electrical cables from the engine and cover the ends with electrical tape. NOTE: your shore power and battery charger will no longer work.
- Loosen engine mounts.
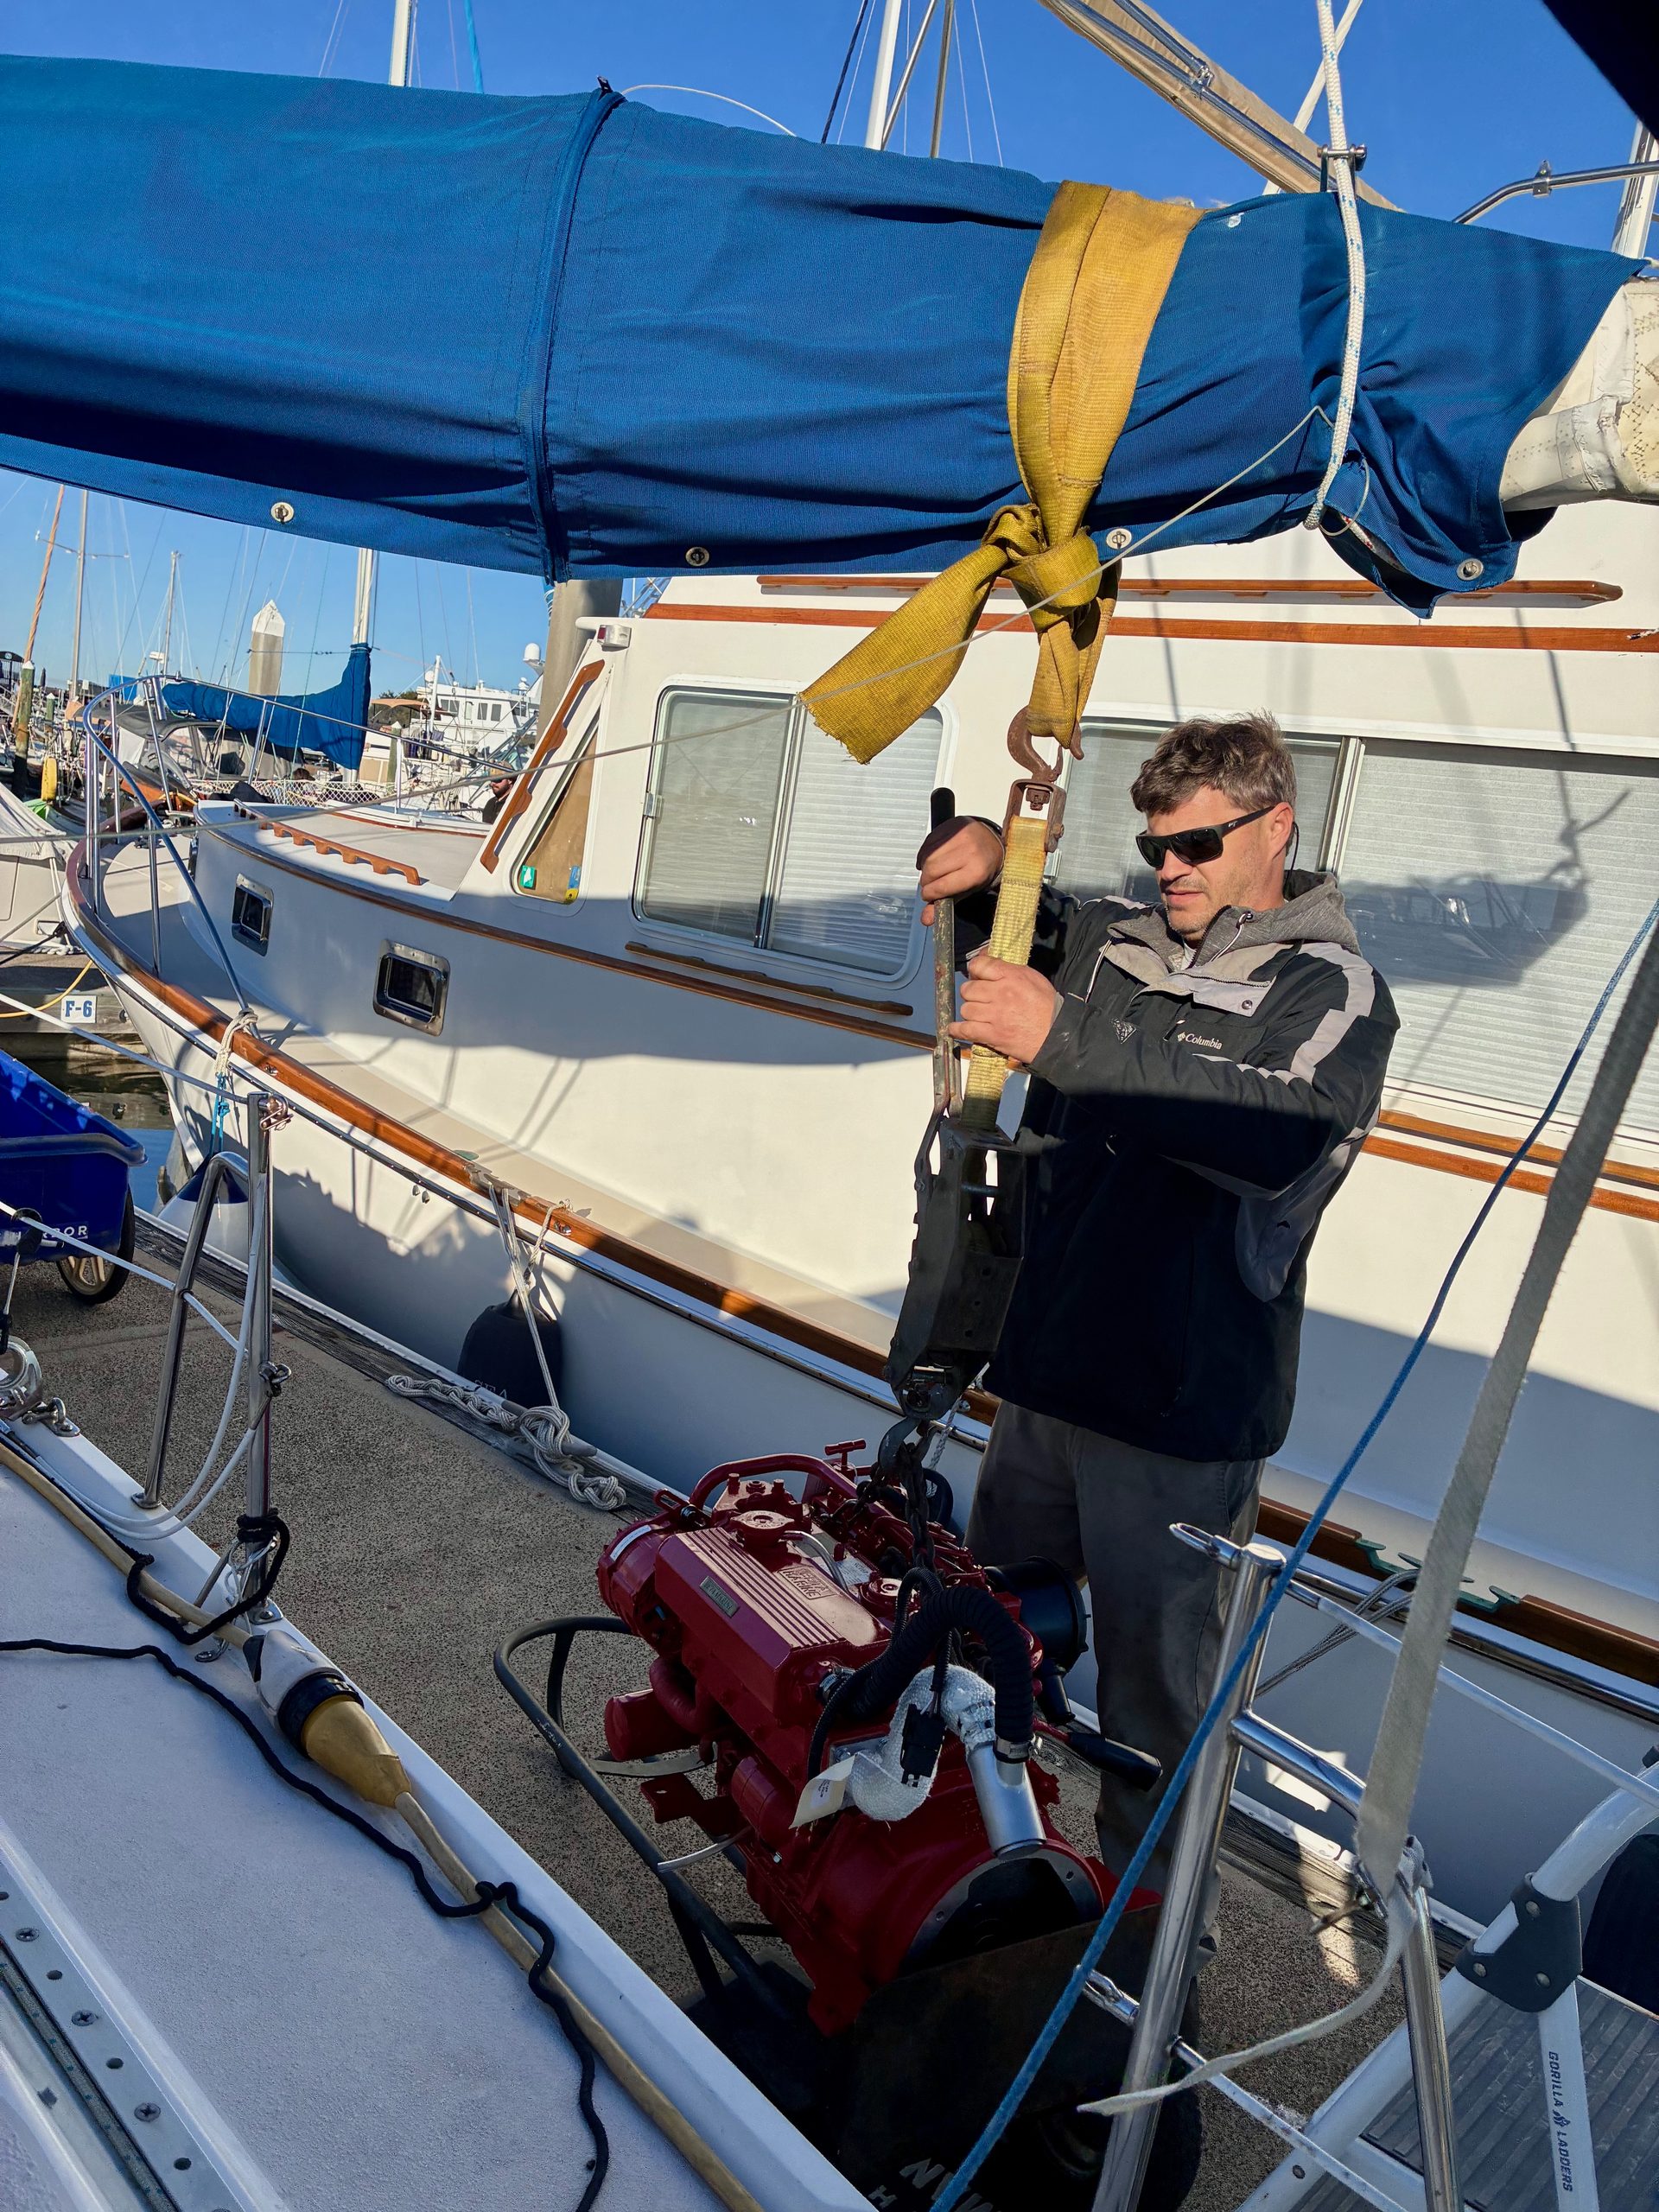
- Rig a come-along / chain fall under a strap placed over the boom above the engine compartment. For extra strength, make a loop at the end of the main halyard and position the loop just aft of the strap. Then tension the main halyard to take the weight of the engine instead of the topping lift, since the main halyard is thicker than the topping lift.
- Rig a chain around the engine and then lift it through the companionway. Set the engine temporarily on the companionway lip so you can move the strap aft by a foot or so. That way, you can clear the coach roof and swing the engine on the boom over to the dock.
Fill Out the Beta Engine Bed Worksheet
To make sure the new engine fits, Beta requests that the buyer take careful measurements in the now-empty engine compartment to make sure the new engine will fit. I used a regular tape measure.
Install the New Engine Mechanical Side
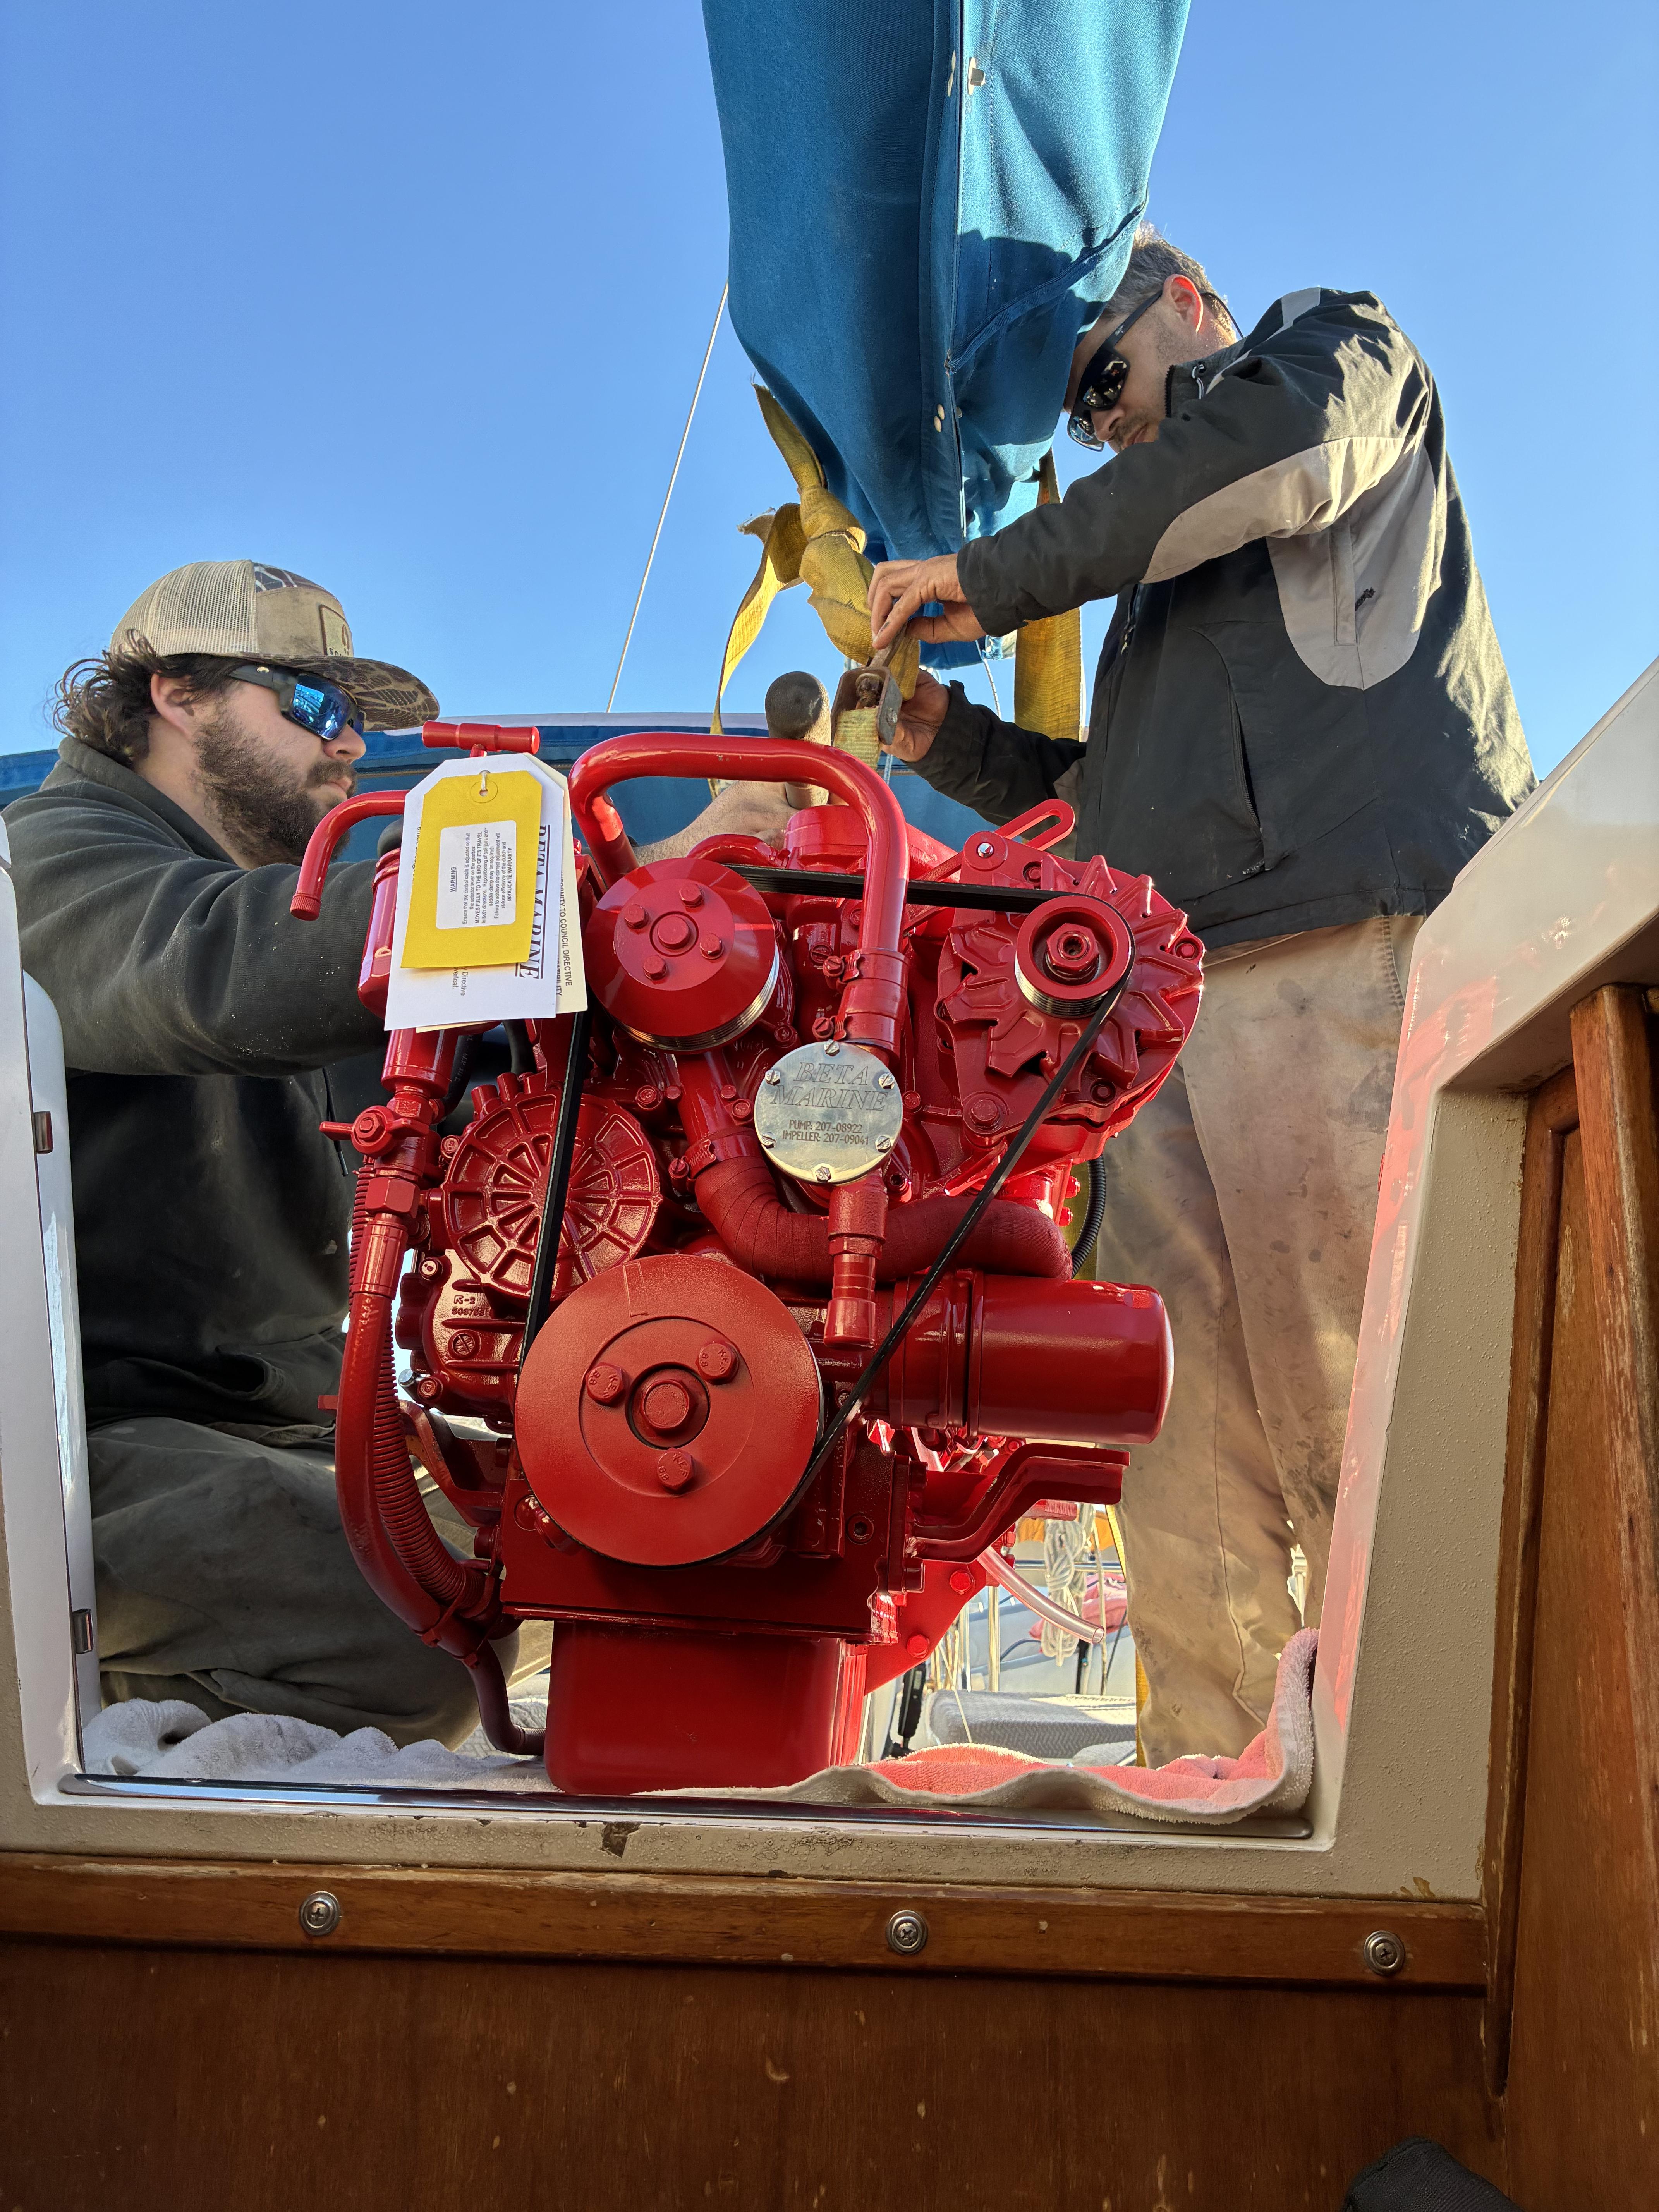
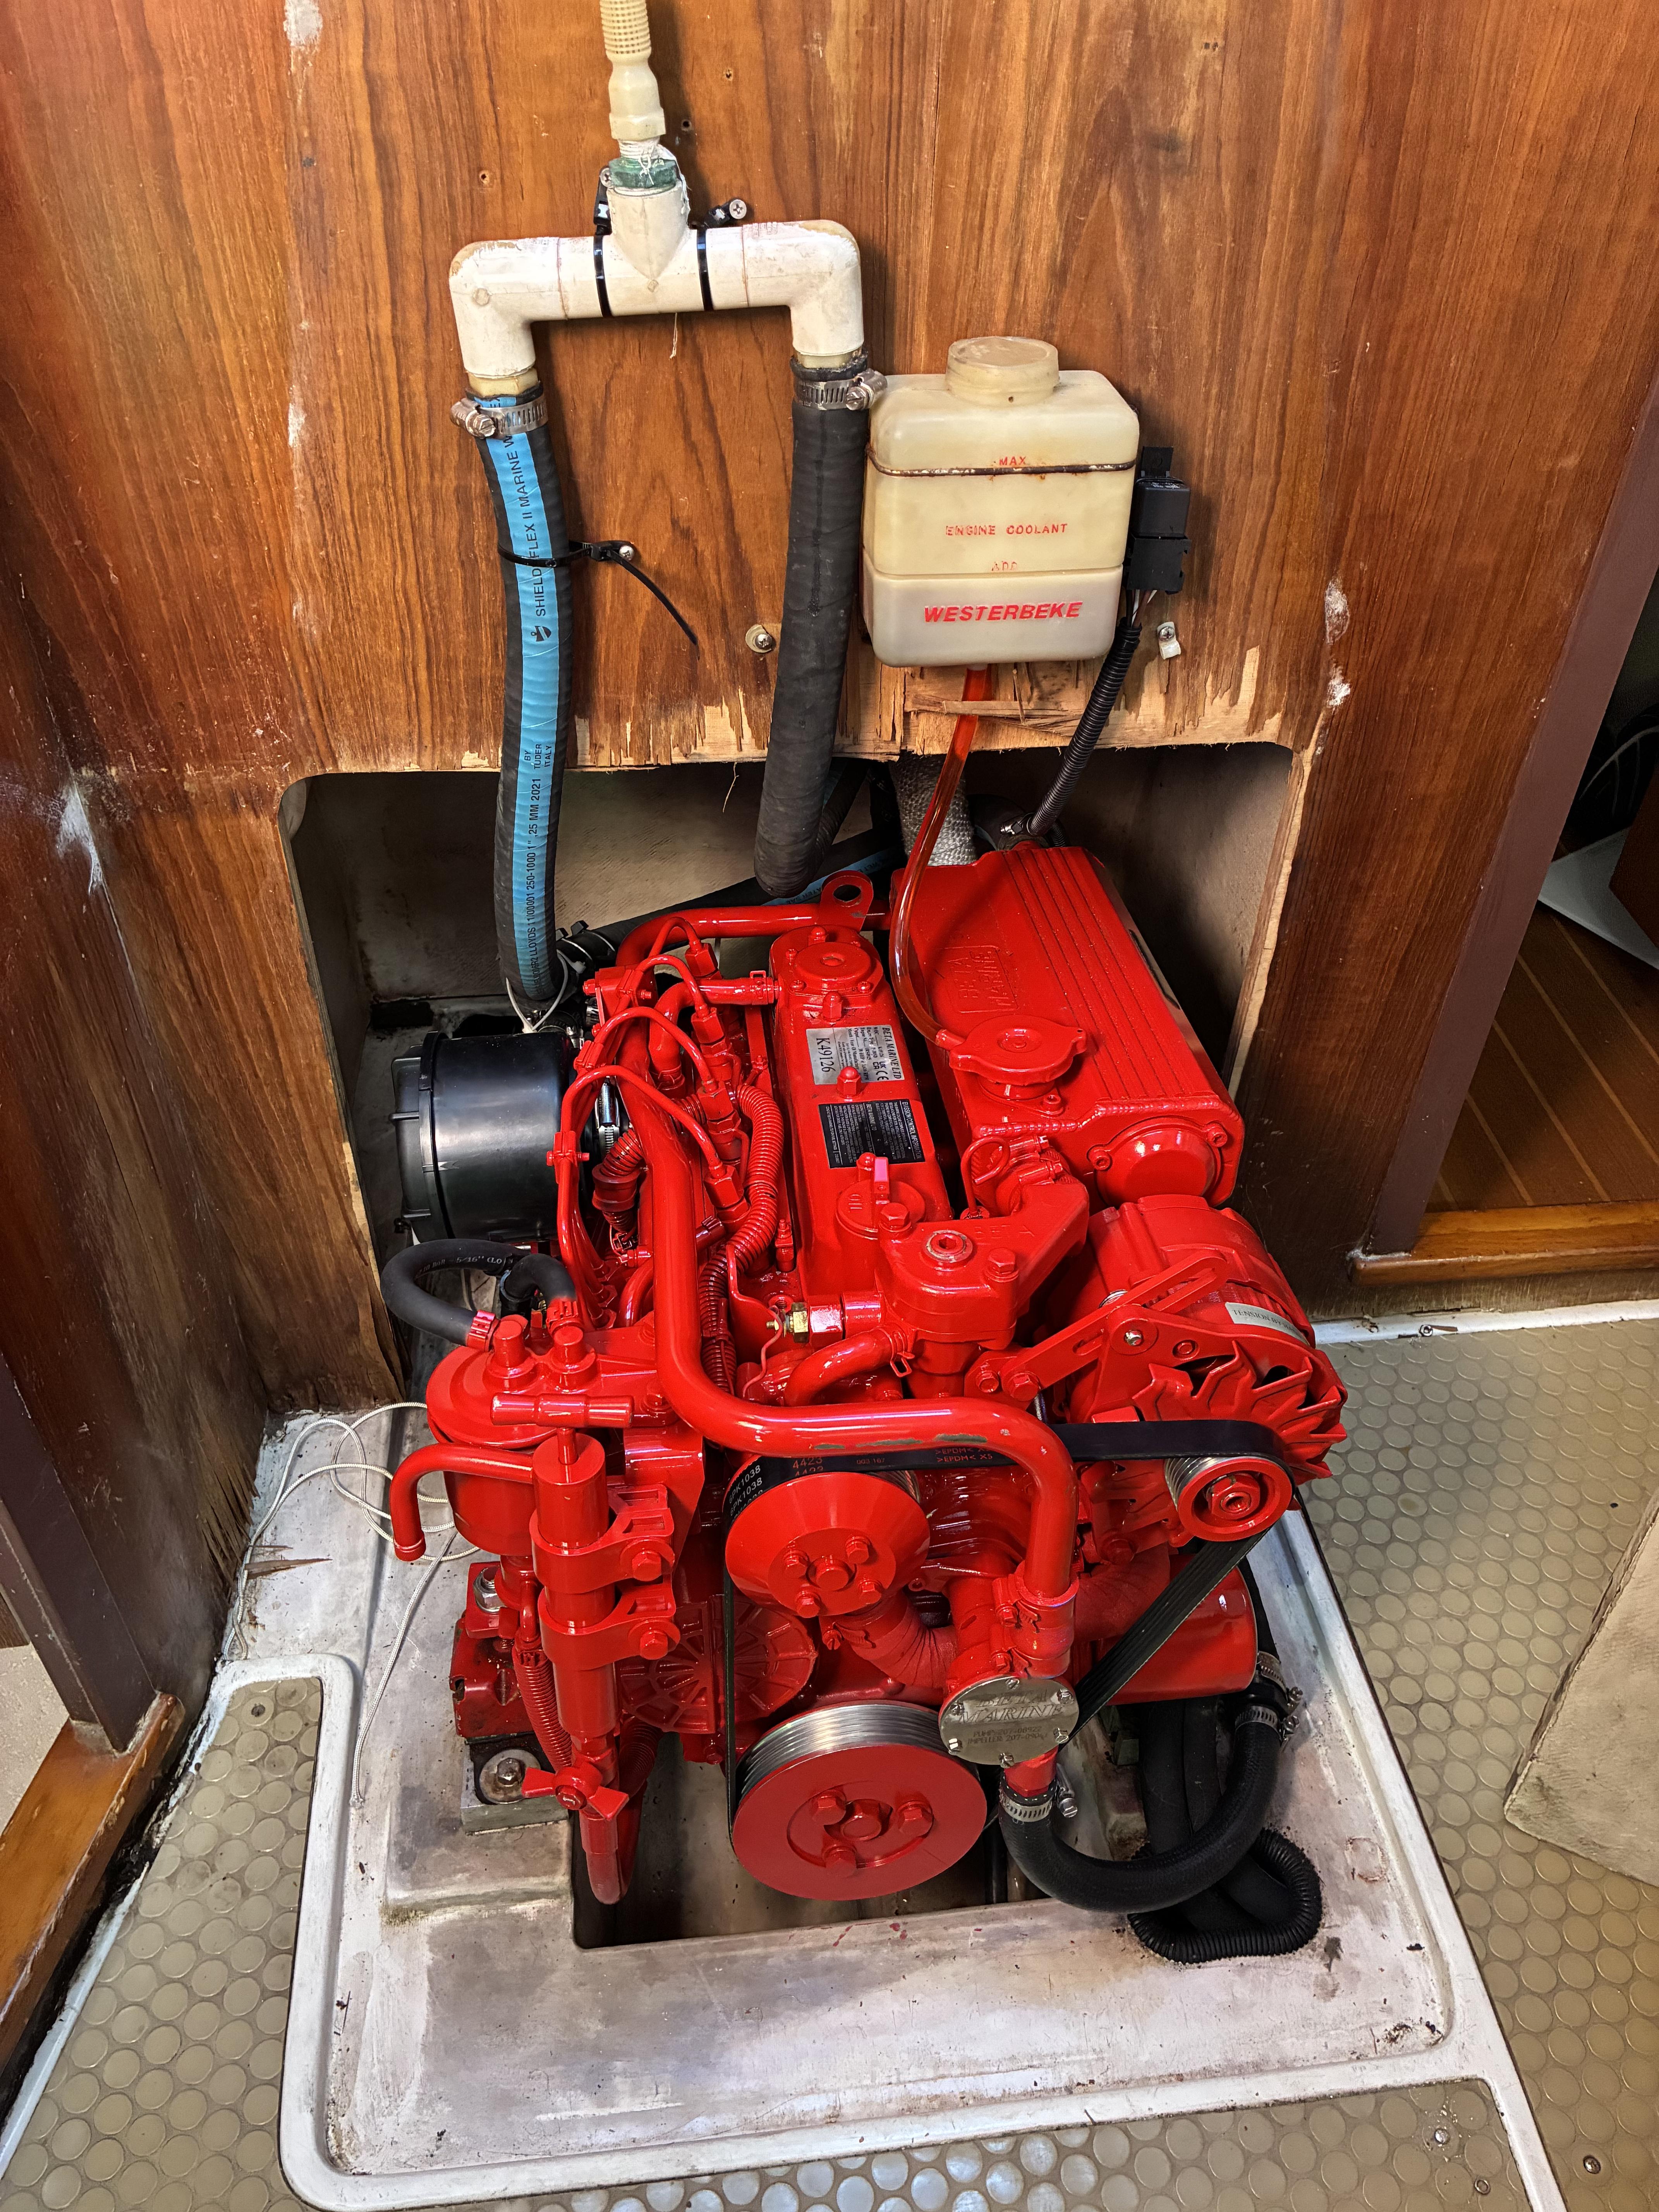
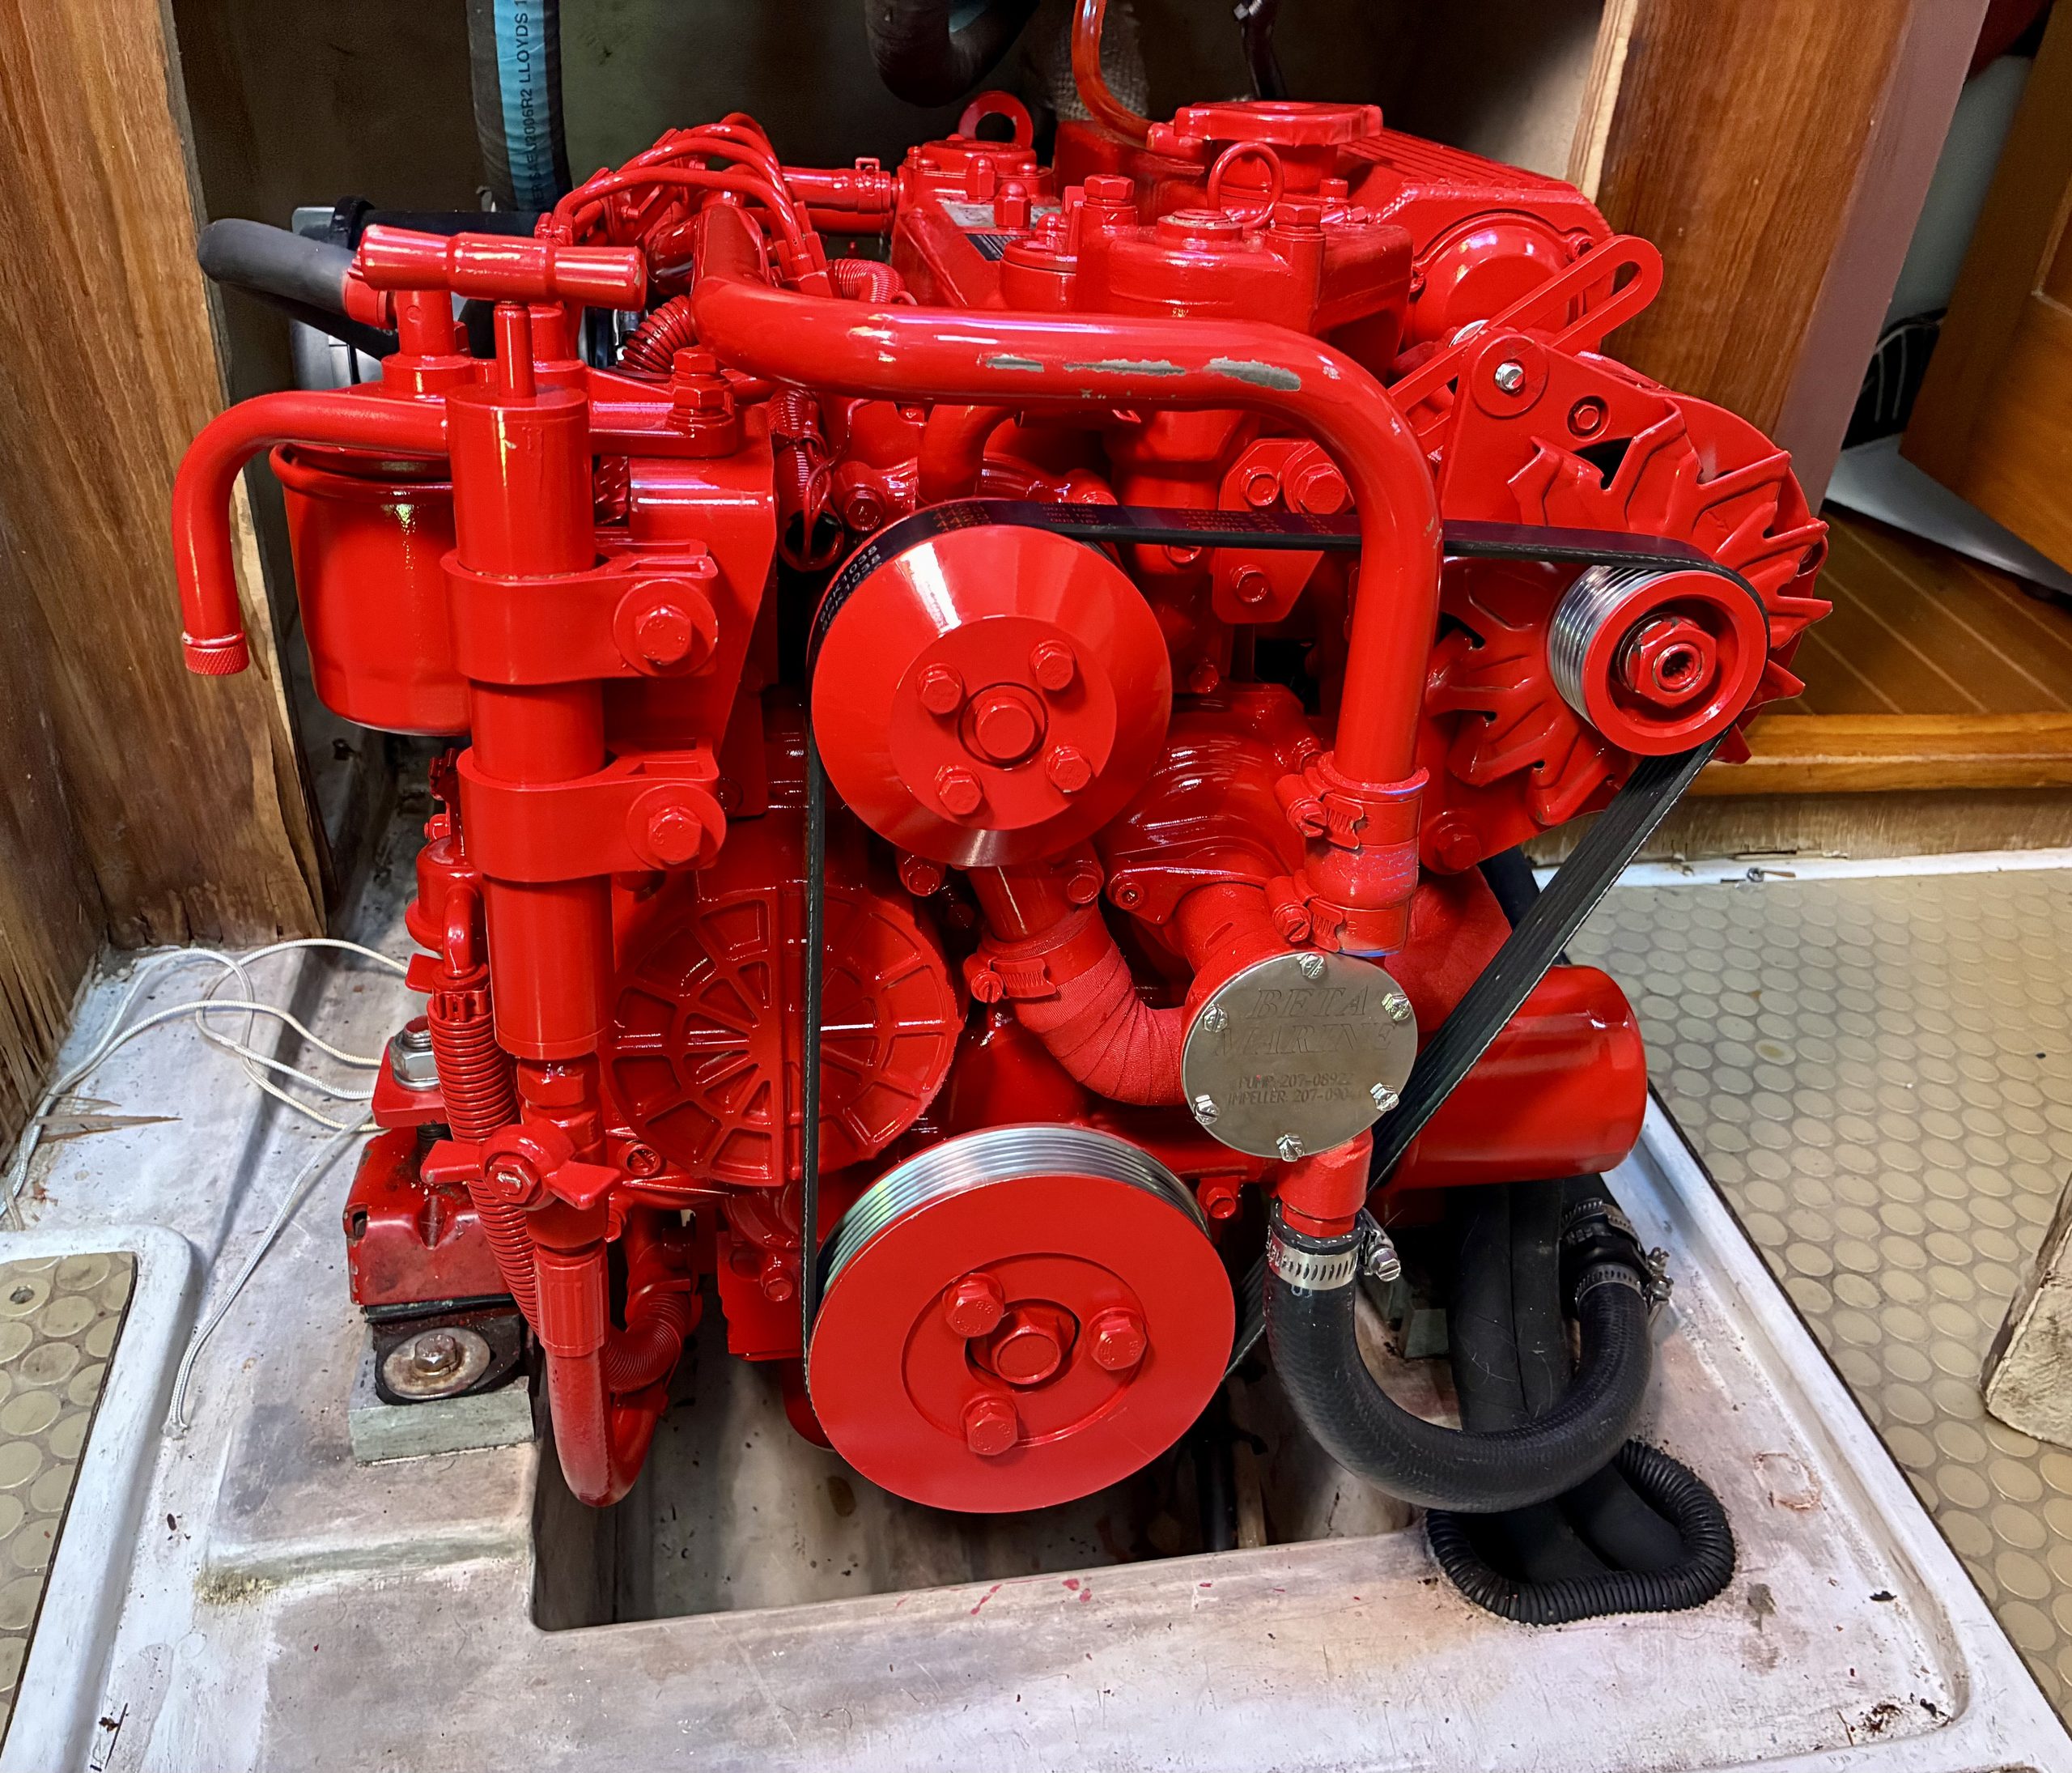
- Installation of the mechanical side is the reverse of removal. Remove the heavy items at the dock, like the transmission, to make the new engine lighter and easier to fit onto the engine mounts. Install the new coupler. Adjust the engine mounts to align the engine, and tighten the engine mount bolts. Since some of the engine mount bolts to the engine bed were frozen, and the existing engine mounts were in good shape, my mechanic simply reused the Westerbeke engine mounts.
- Install water hoses and adapters to fit the new engine. There are a few different sizes and lengths from the Westerbeke to the Beta, which will become apparent. Hoses and adapters are available at most chandleries.
- Replace the existing shift cable with an extra-long cable. The shifter on the Westerbeke transmission is on starboard, but it is on the port side on the Beta, so it needs to reach farther. Alternatively, one could drill holes in the aft engine bed port side to run the shifter cable more directly along the port side.
- Attach fuel feed and return lines; attach electrical cables.
- Add engine oil, engine coolant, and transmission fluid.
- The total labor for installation was about 16 hours.
- Trouble point: After the new engine was installed, we could not quite close the front engine compartment / companionway stairs. Somehow, the new engine was either taller or longer than the old one. Perhaps the engine sizes do not meet their specifications, or I miscalculated while making my CAD drawings. The problem could also be that the new engine is taller because we re-used the Westerbeke engine mounts, which are taller than the Beta engine mounts. We solved the problem by raising the height of the front engine cover / stairs by about three inches. It is hardly noticeable, and it works.
Install New Engine Instruments to Wiring Harness
Assembling the Engine Instrument Panel
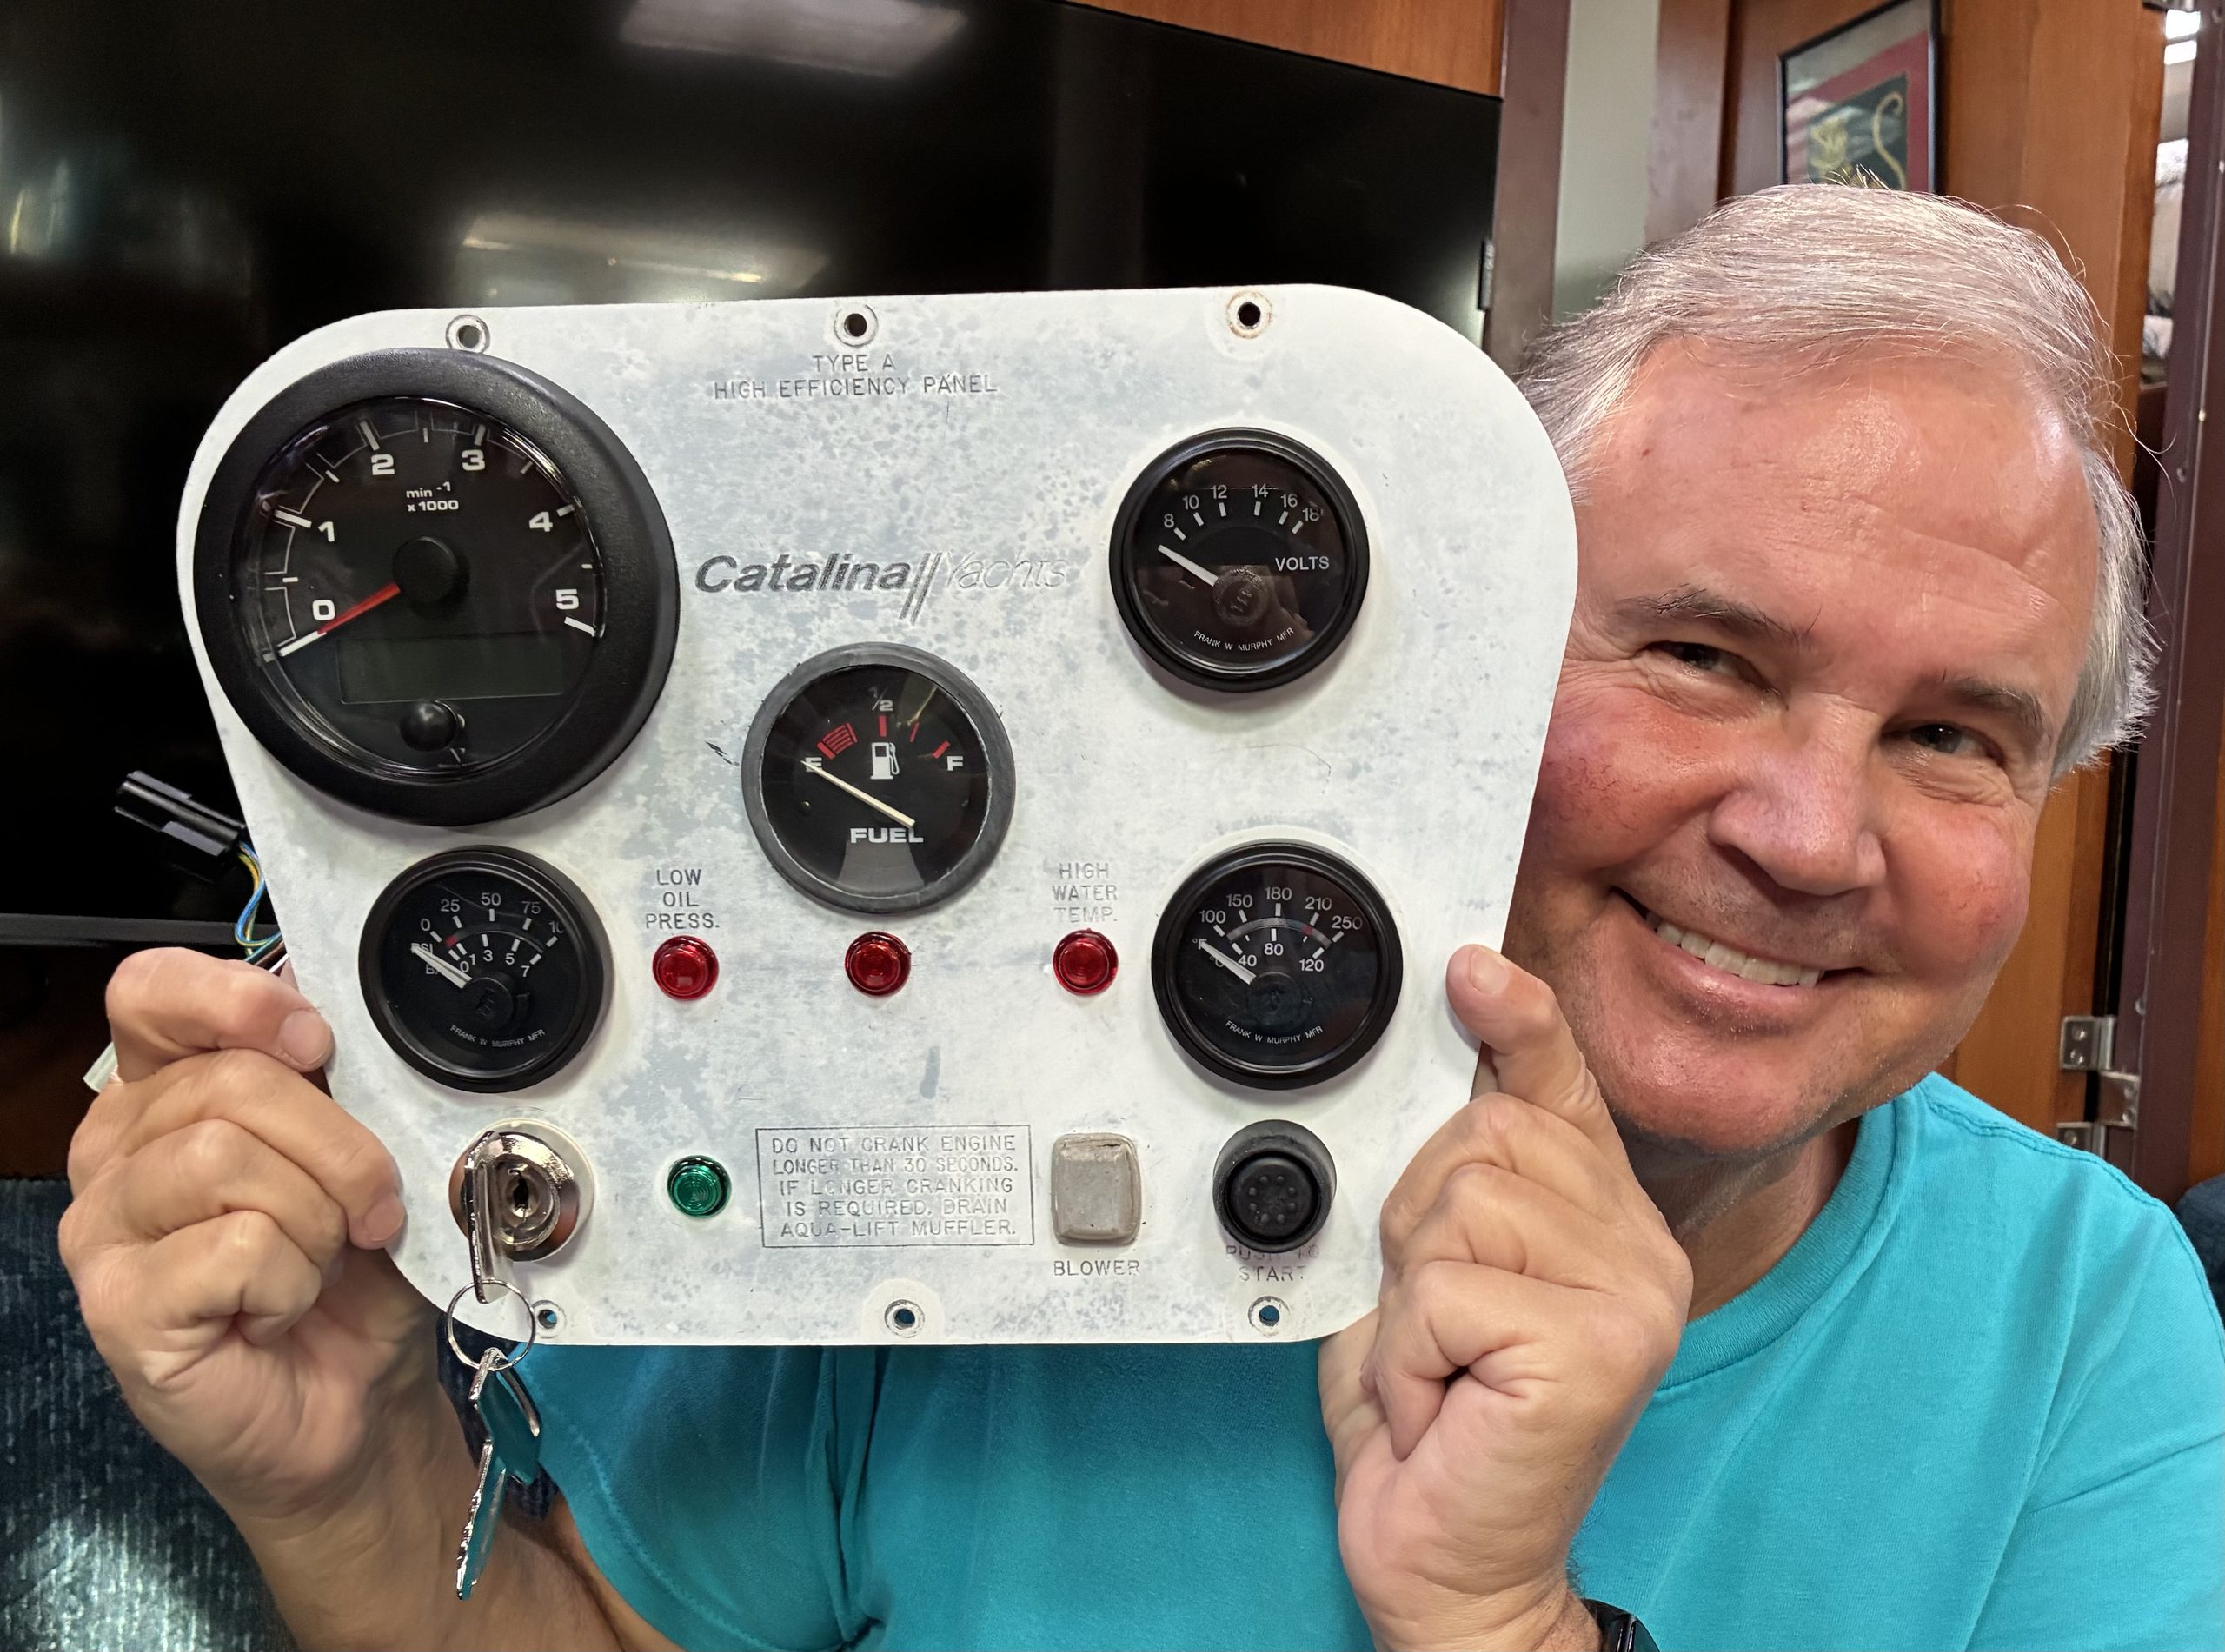
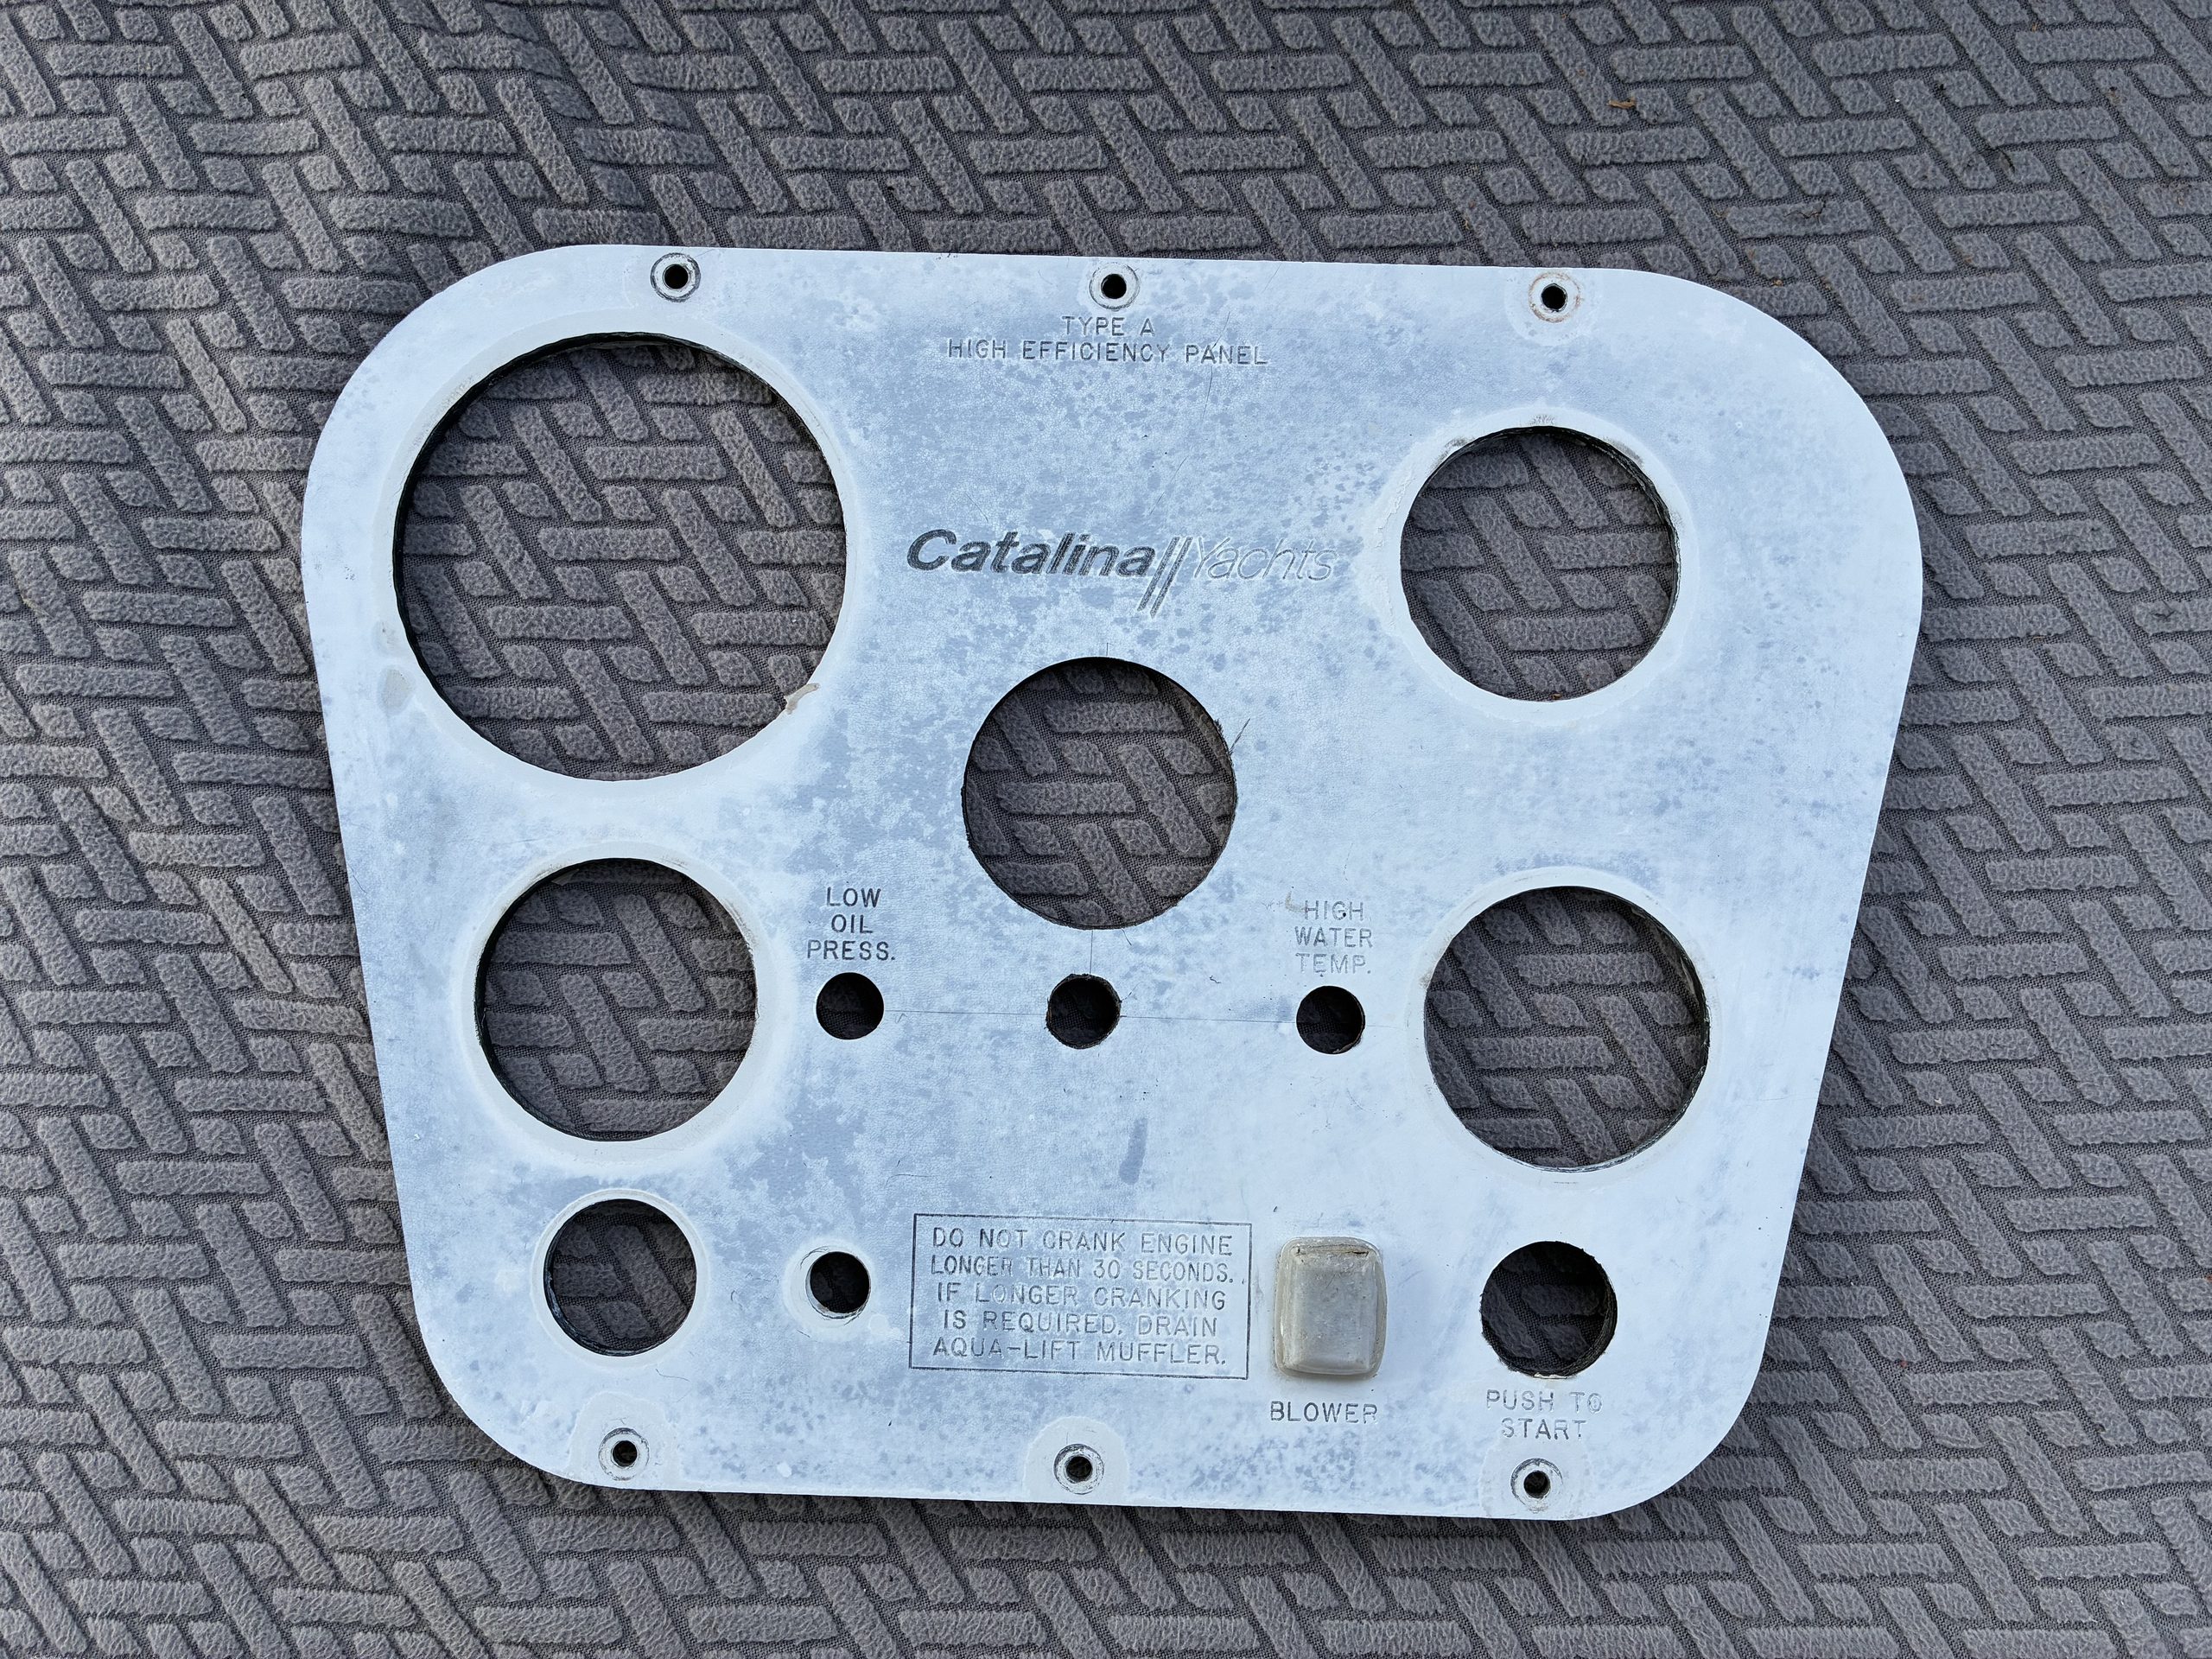
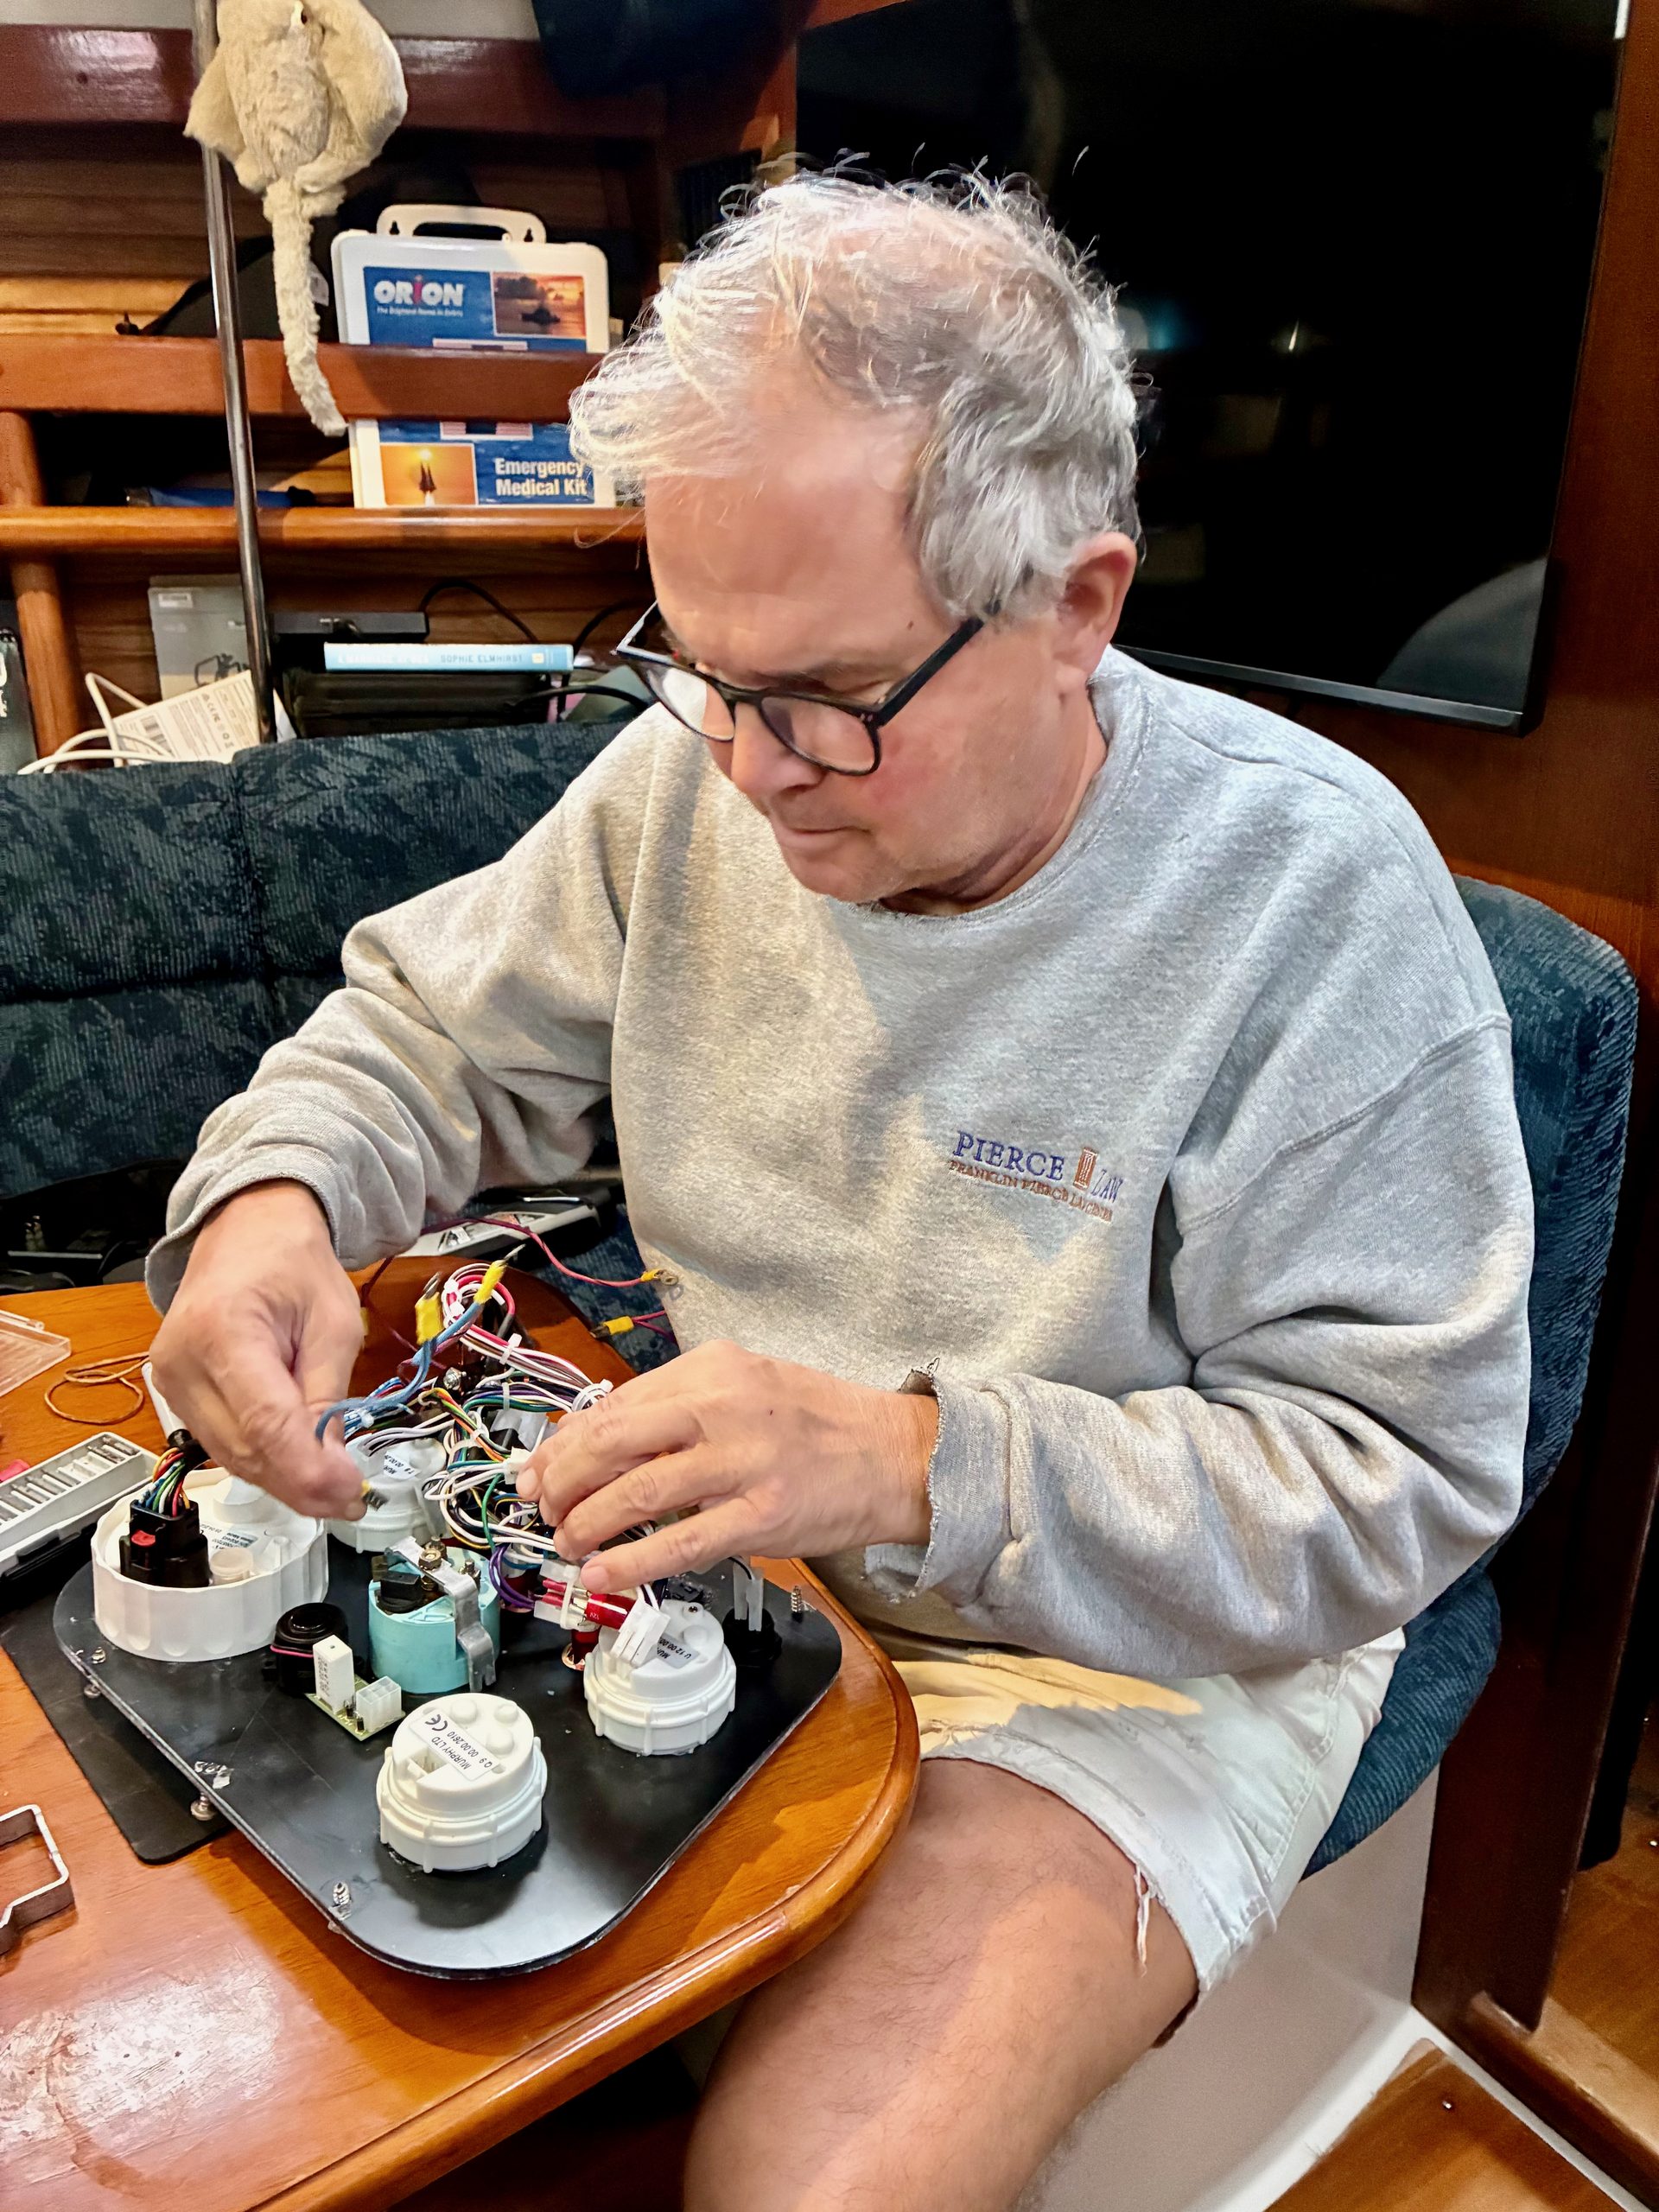
The Catalina 380 has a trapezoidal, not rectangular, engine instrument panel. Catalina Direct offers trapezoidal panels for Universal and Yanmar engines for about $650, but not Beta. I contacted Catalina Direct who offered to have a custom panel made for me, but I declined. Instead of having the mechanic install the new instruments, I took on the job myself to save money and reused the existing engine instrument panel.
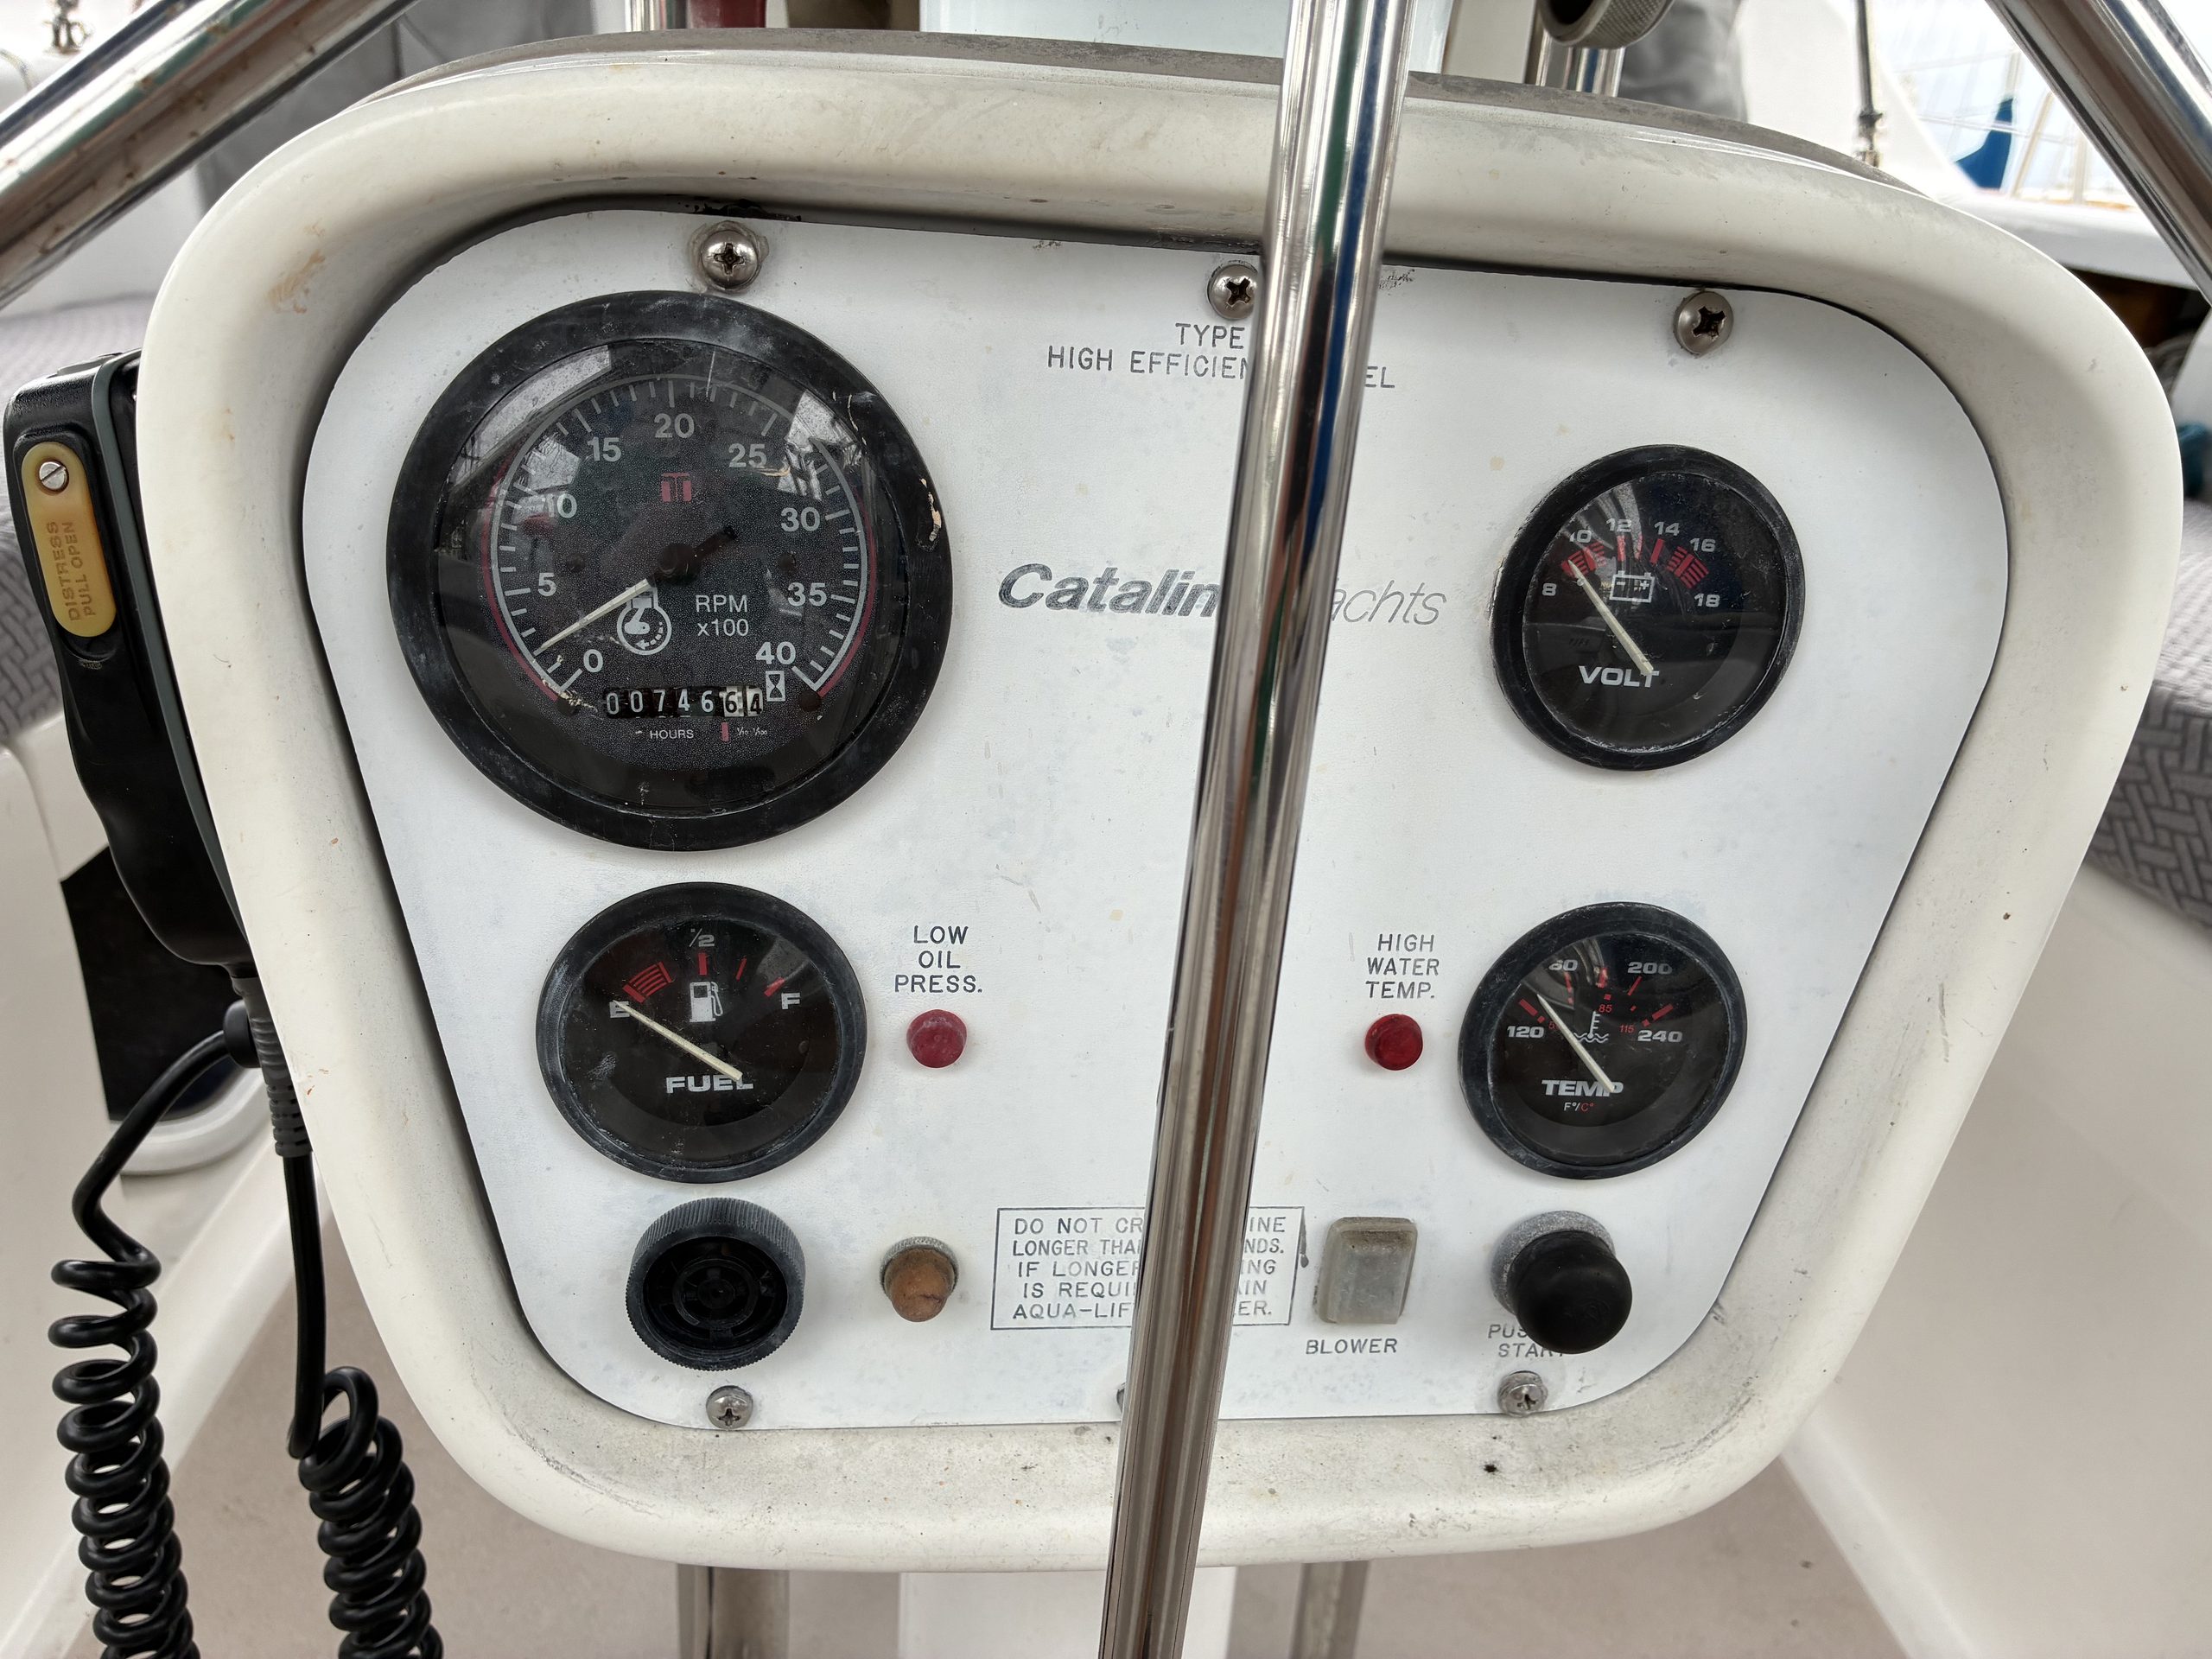
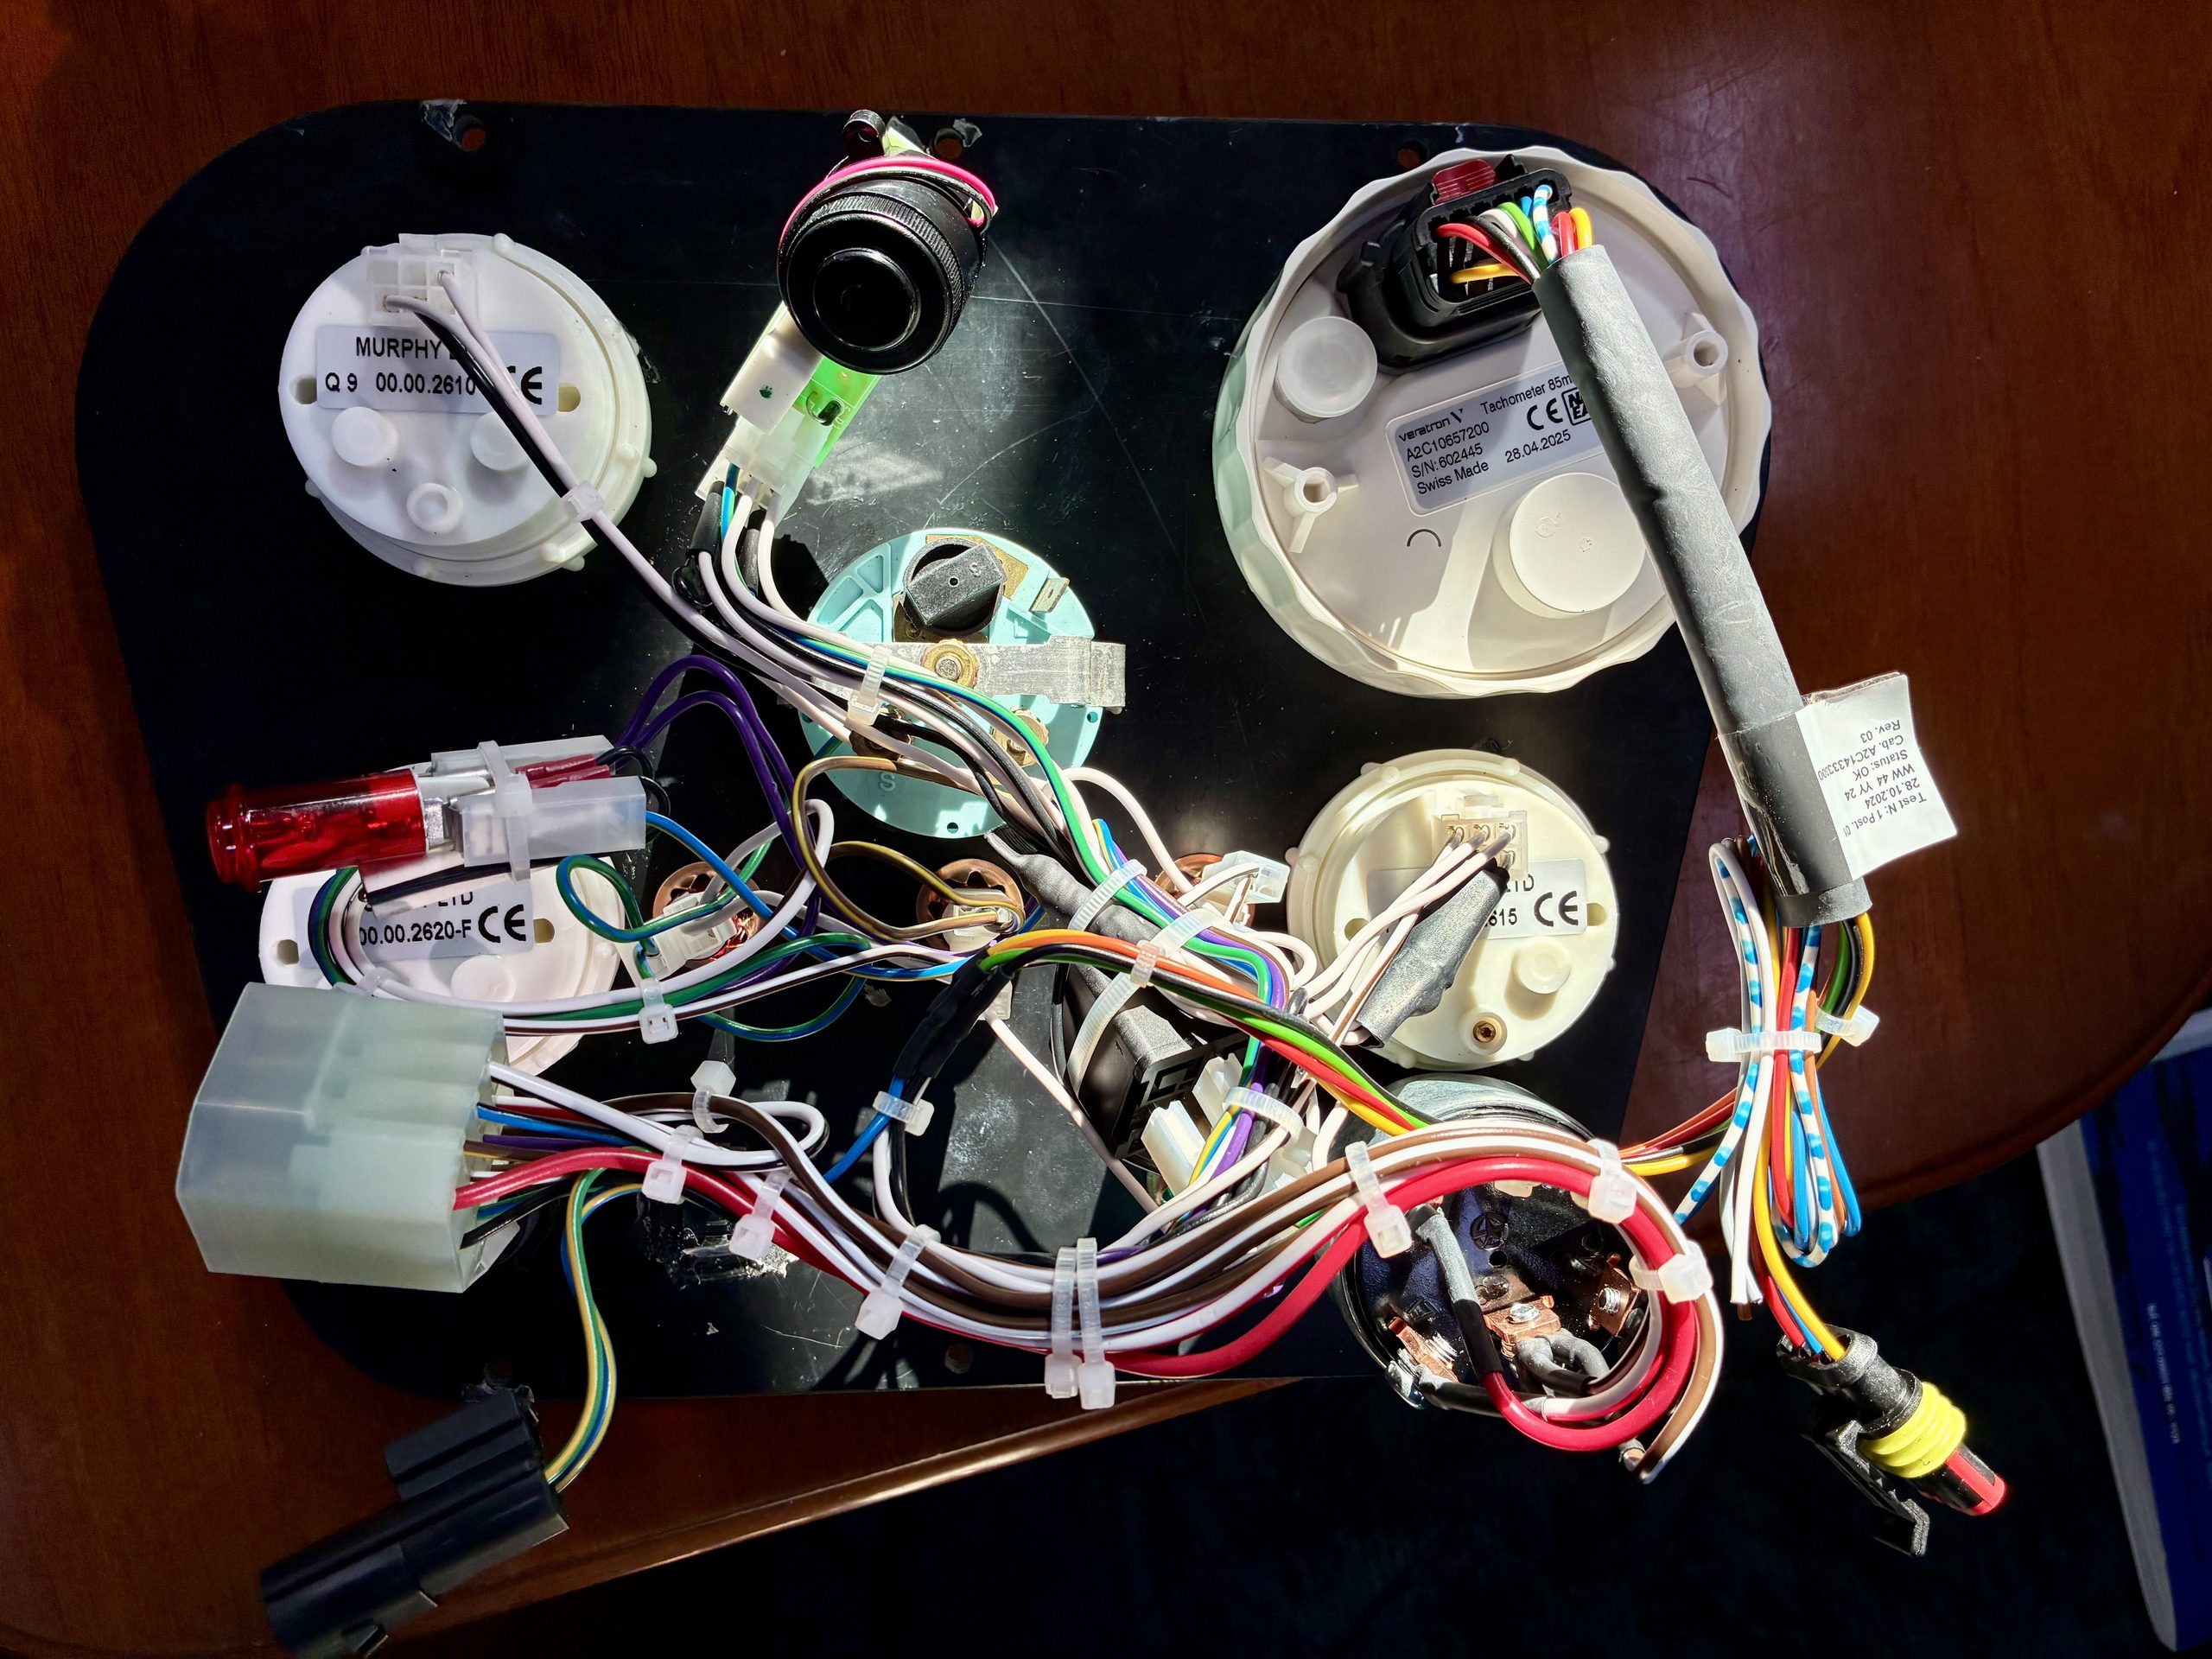
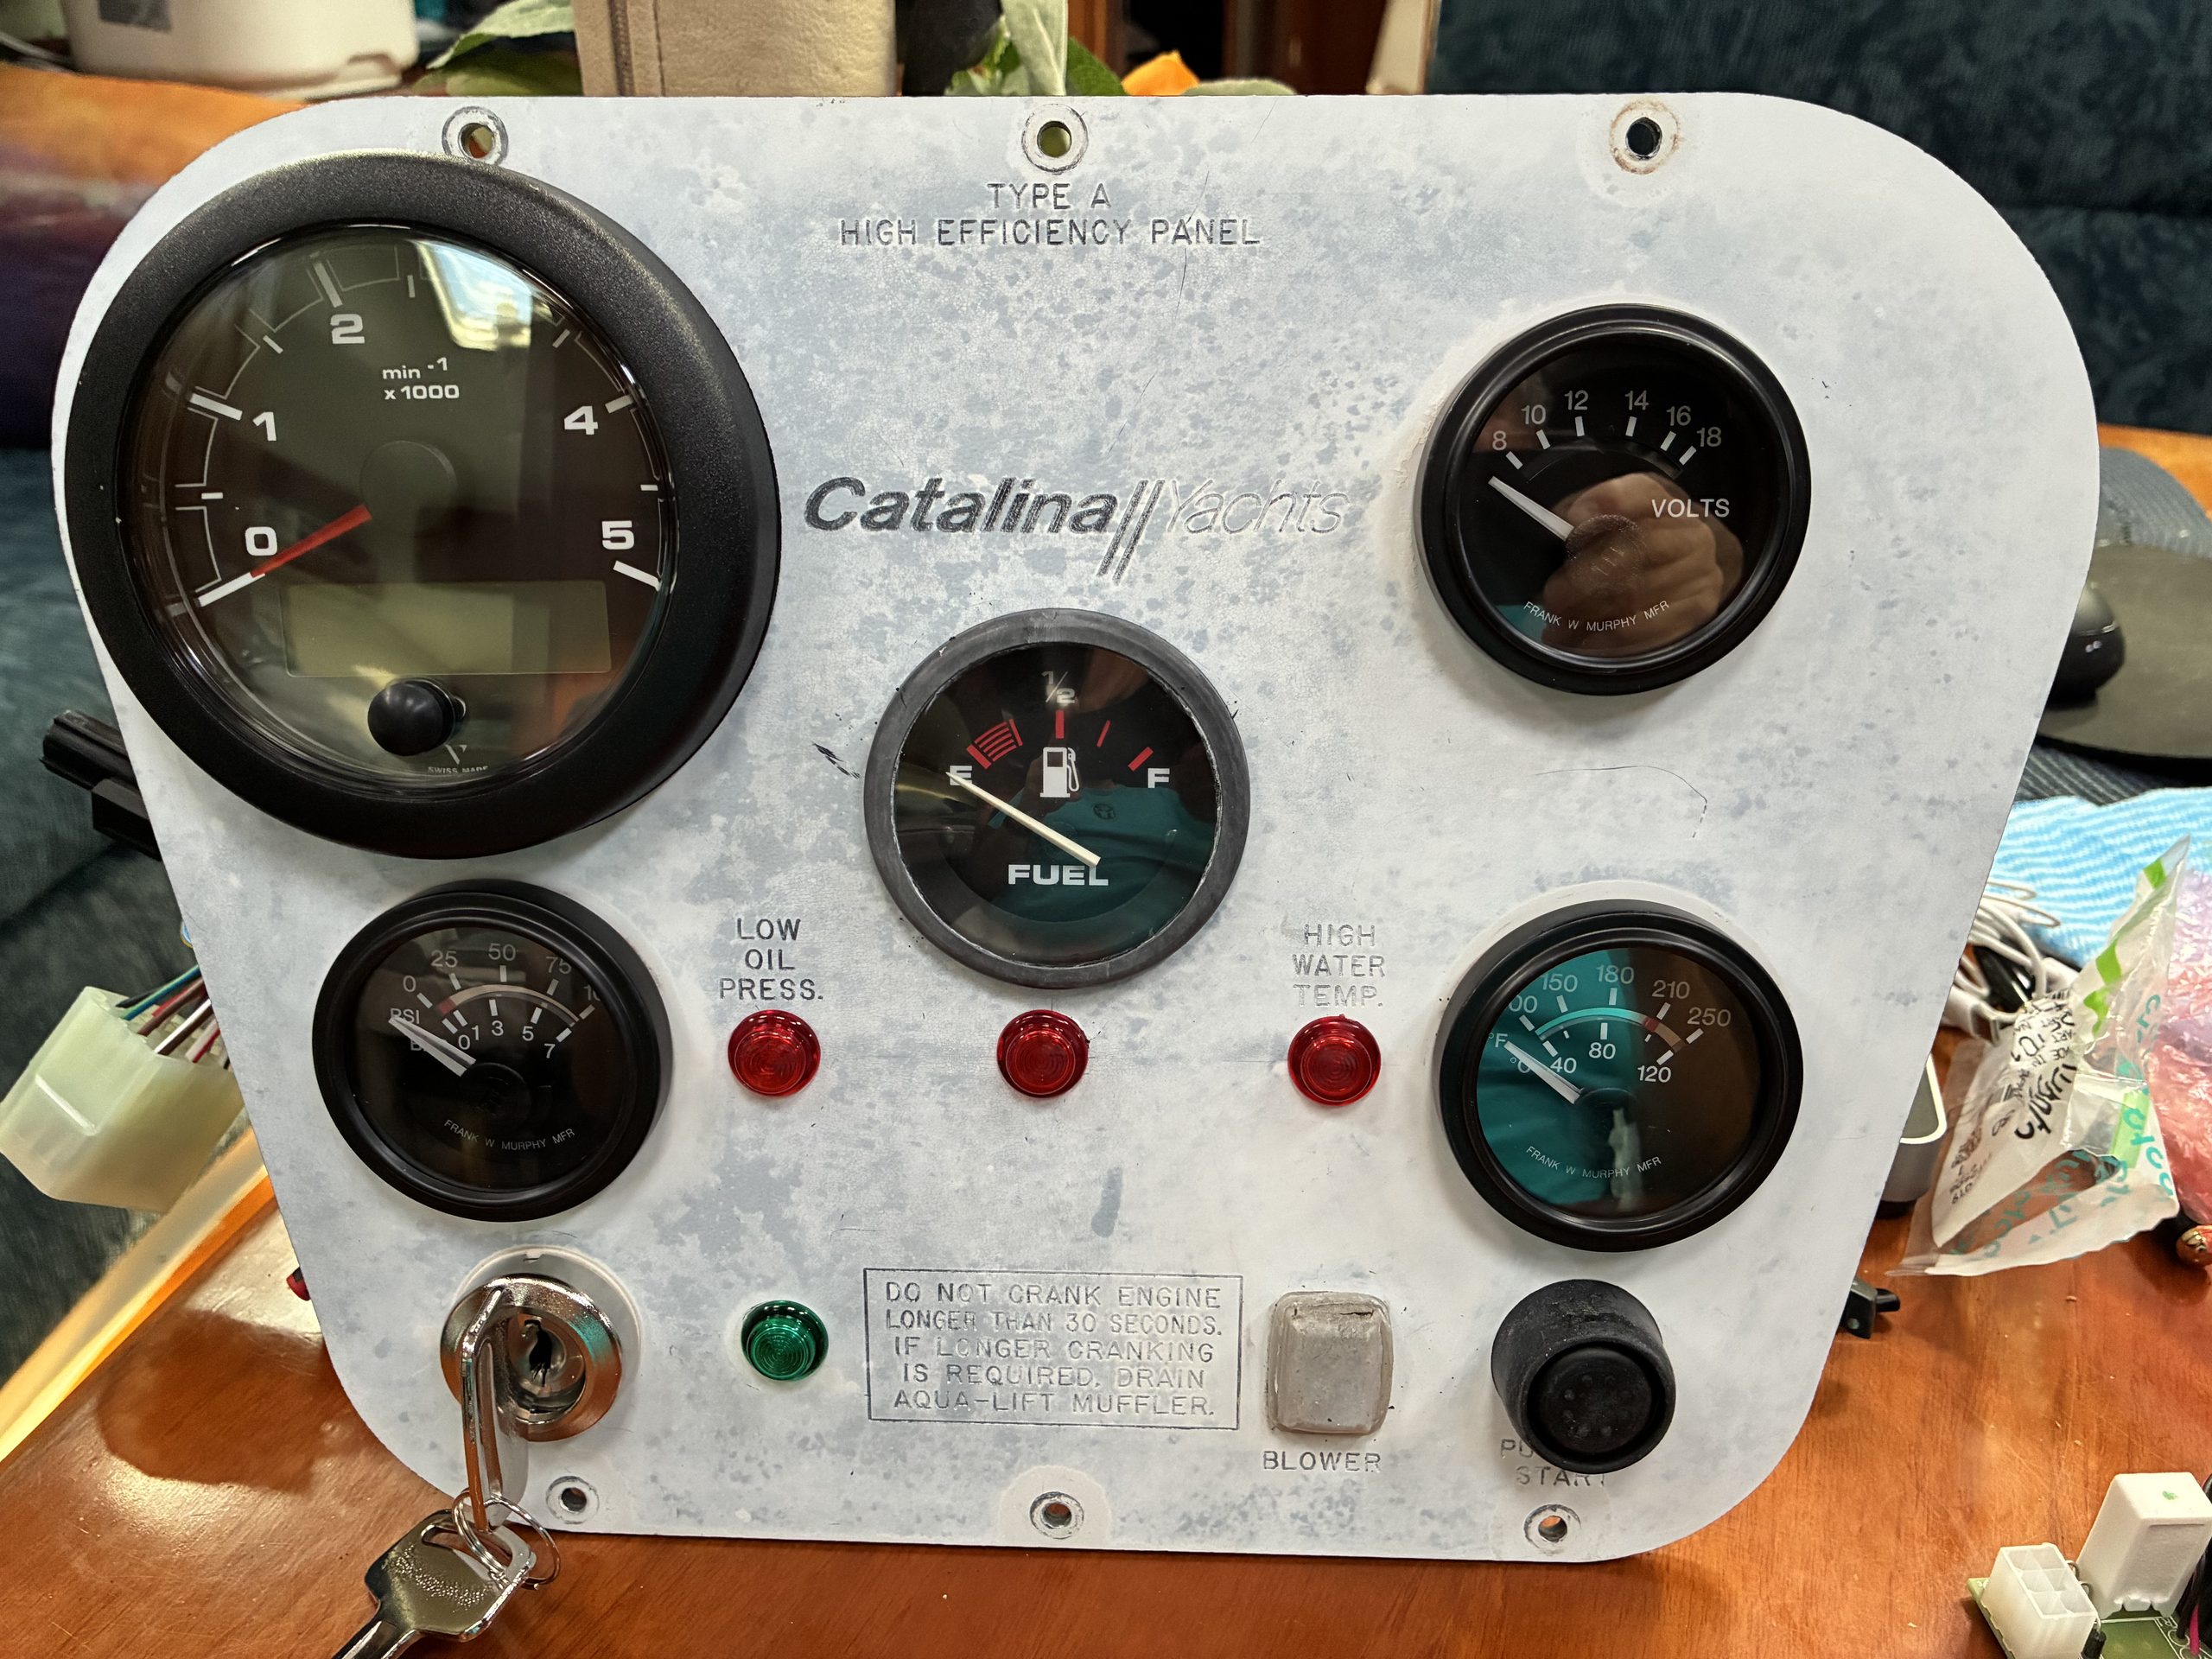
I reused the holes for the tachometer, voltmeter, fuel gauge, temperature gauge, temperature light, oil pressure light, buzzer, and push-to-start button. The new tach, voltage gauge, and temperature gauge went into the same holes as the old instrument arrangement. I put the new oil pressure gauge in the old fuel gauge hole, installed the new ignition switch into the old buzzer hole, and installed the new push-to-shut-off button into the old push-to-start button hole. The new instrument kit also comes with a light for a secondary alternator failure. Since I did not have a secondary alternator, I just hid the light behind the panel.
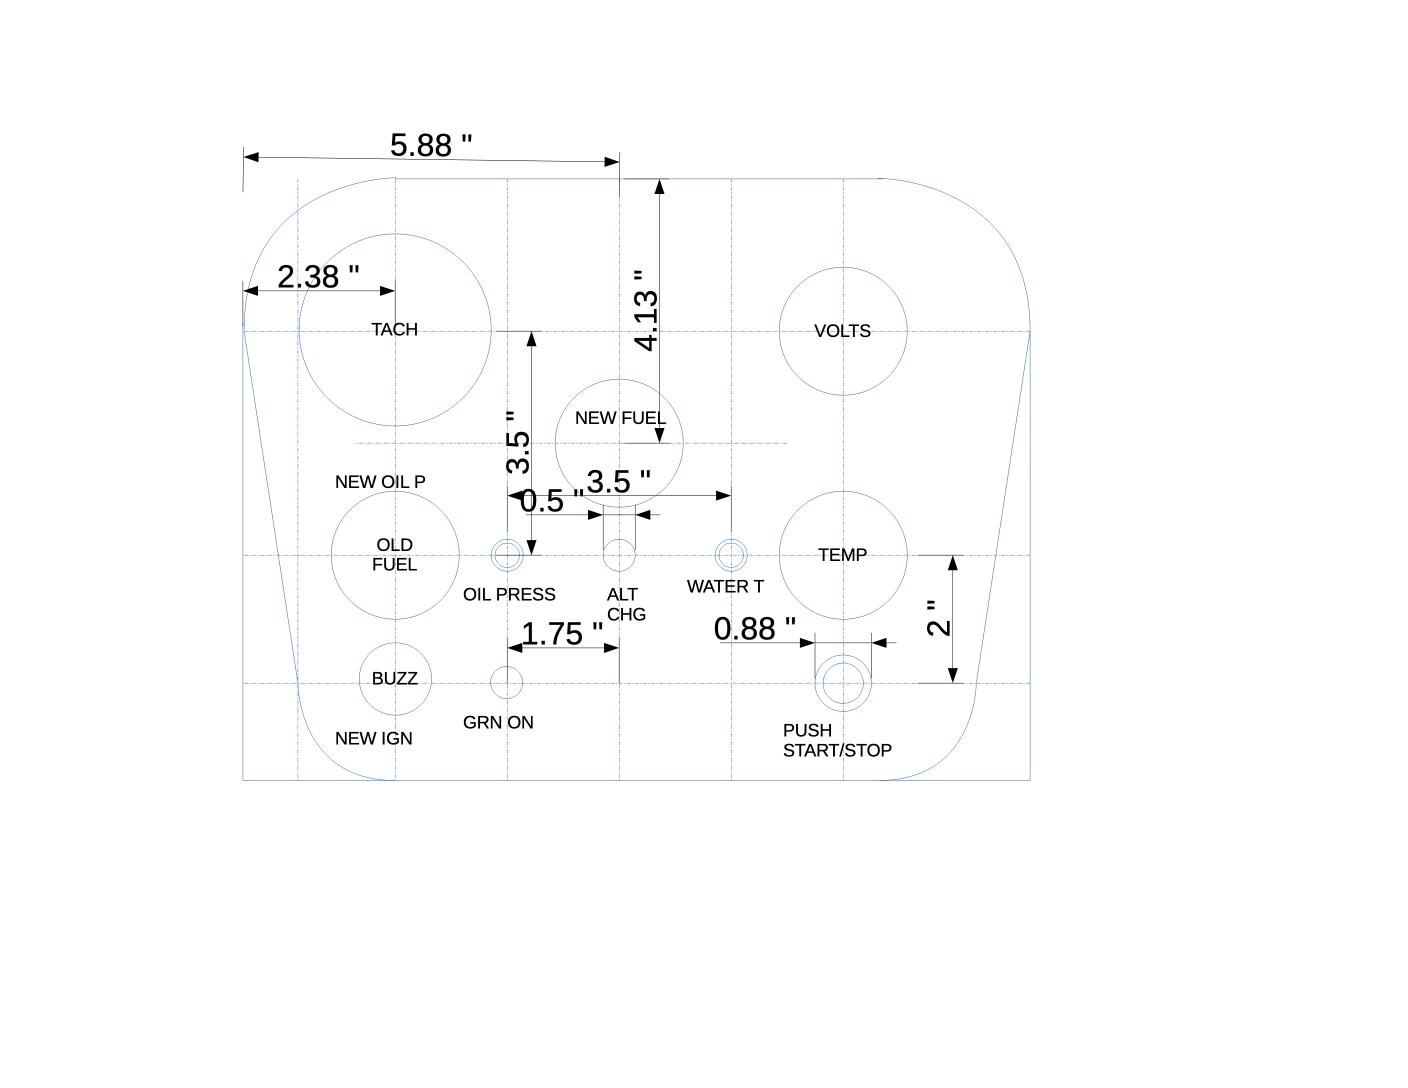
Using a two-inch hole saw, I made a new, central hole for the fuel gauge. Using a half inch drill, I drilled a hole for the new red “alternator failure” light and green “system on” light. Note that the fuel gauge in the new, central position on the panel can impinge on the bump formed by the pedestal inside the engine instrument bay. Therefore, one should cut the central threaded ground post in the middle of the fuel gauge to shorten it and make it fit.
Running the Wiring Harness from Engine to Panel
The wiring harness for the old and new engines runs from the engine to the instrument panel thusly: engine compartment → under the aft bed → into the starboard aft locker → then up into the steering gear space behind the head banger insert → up a 1-inch diameter, s-shaped pipe → then into engine instrument panel compartment on the pedestal.
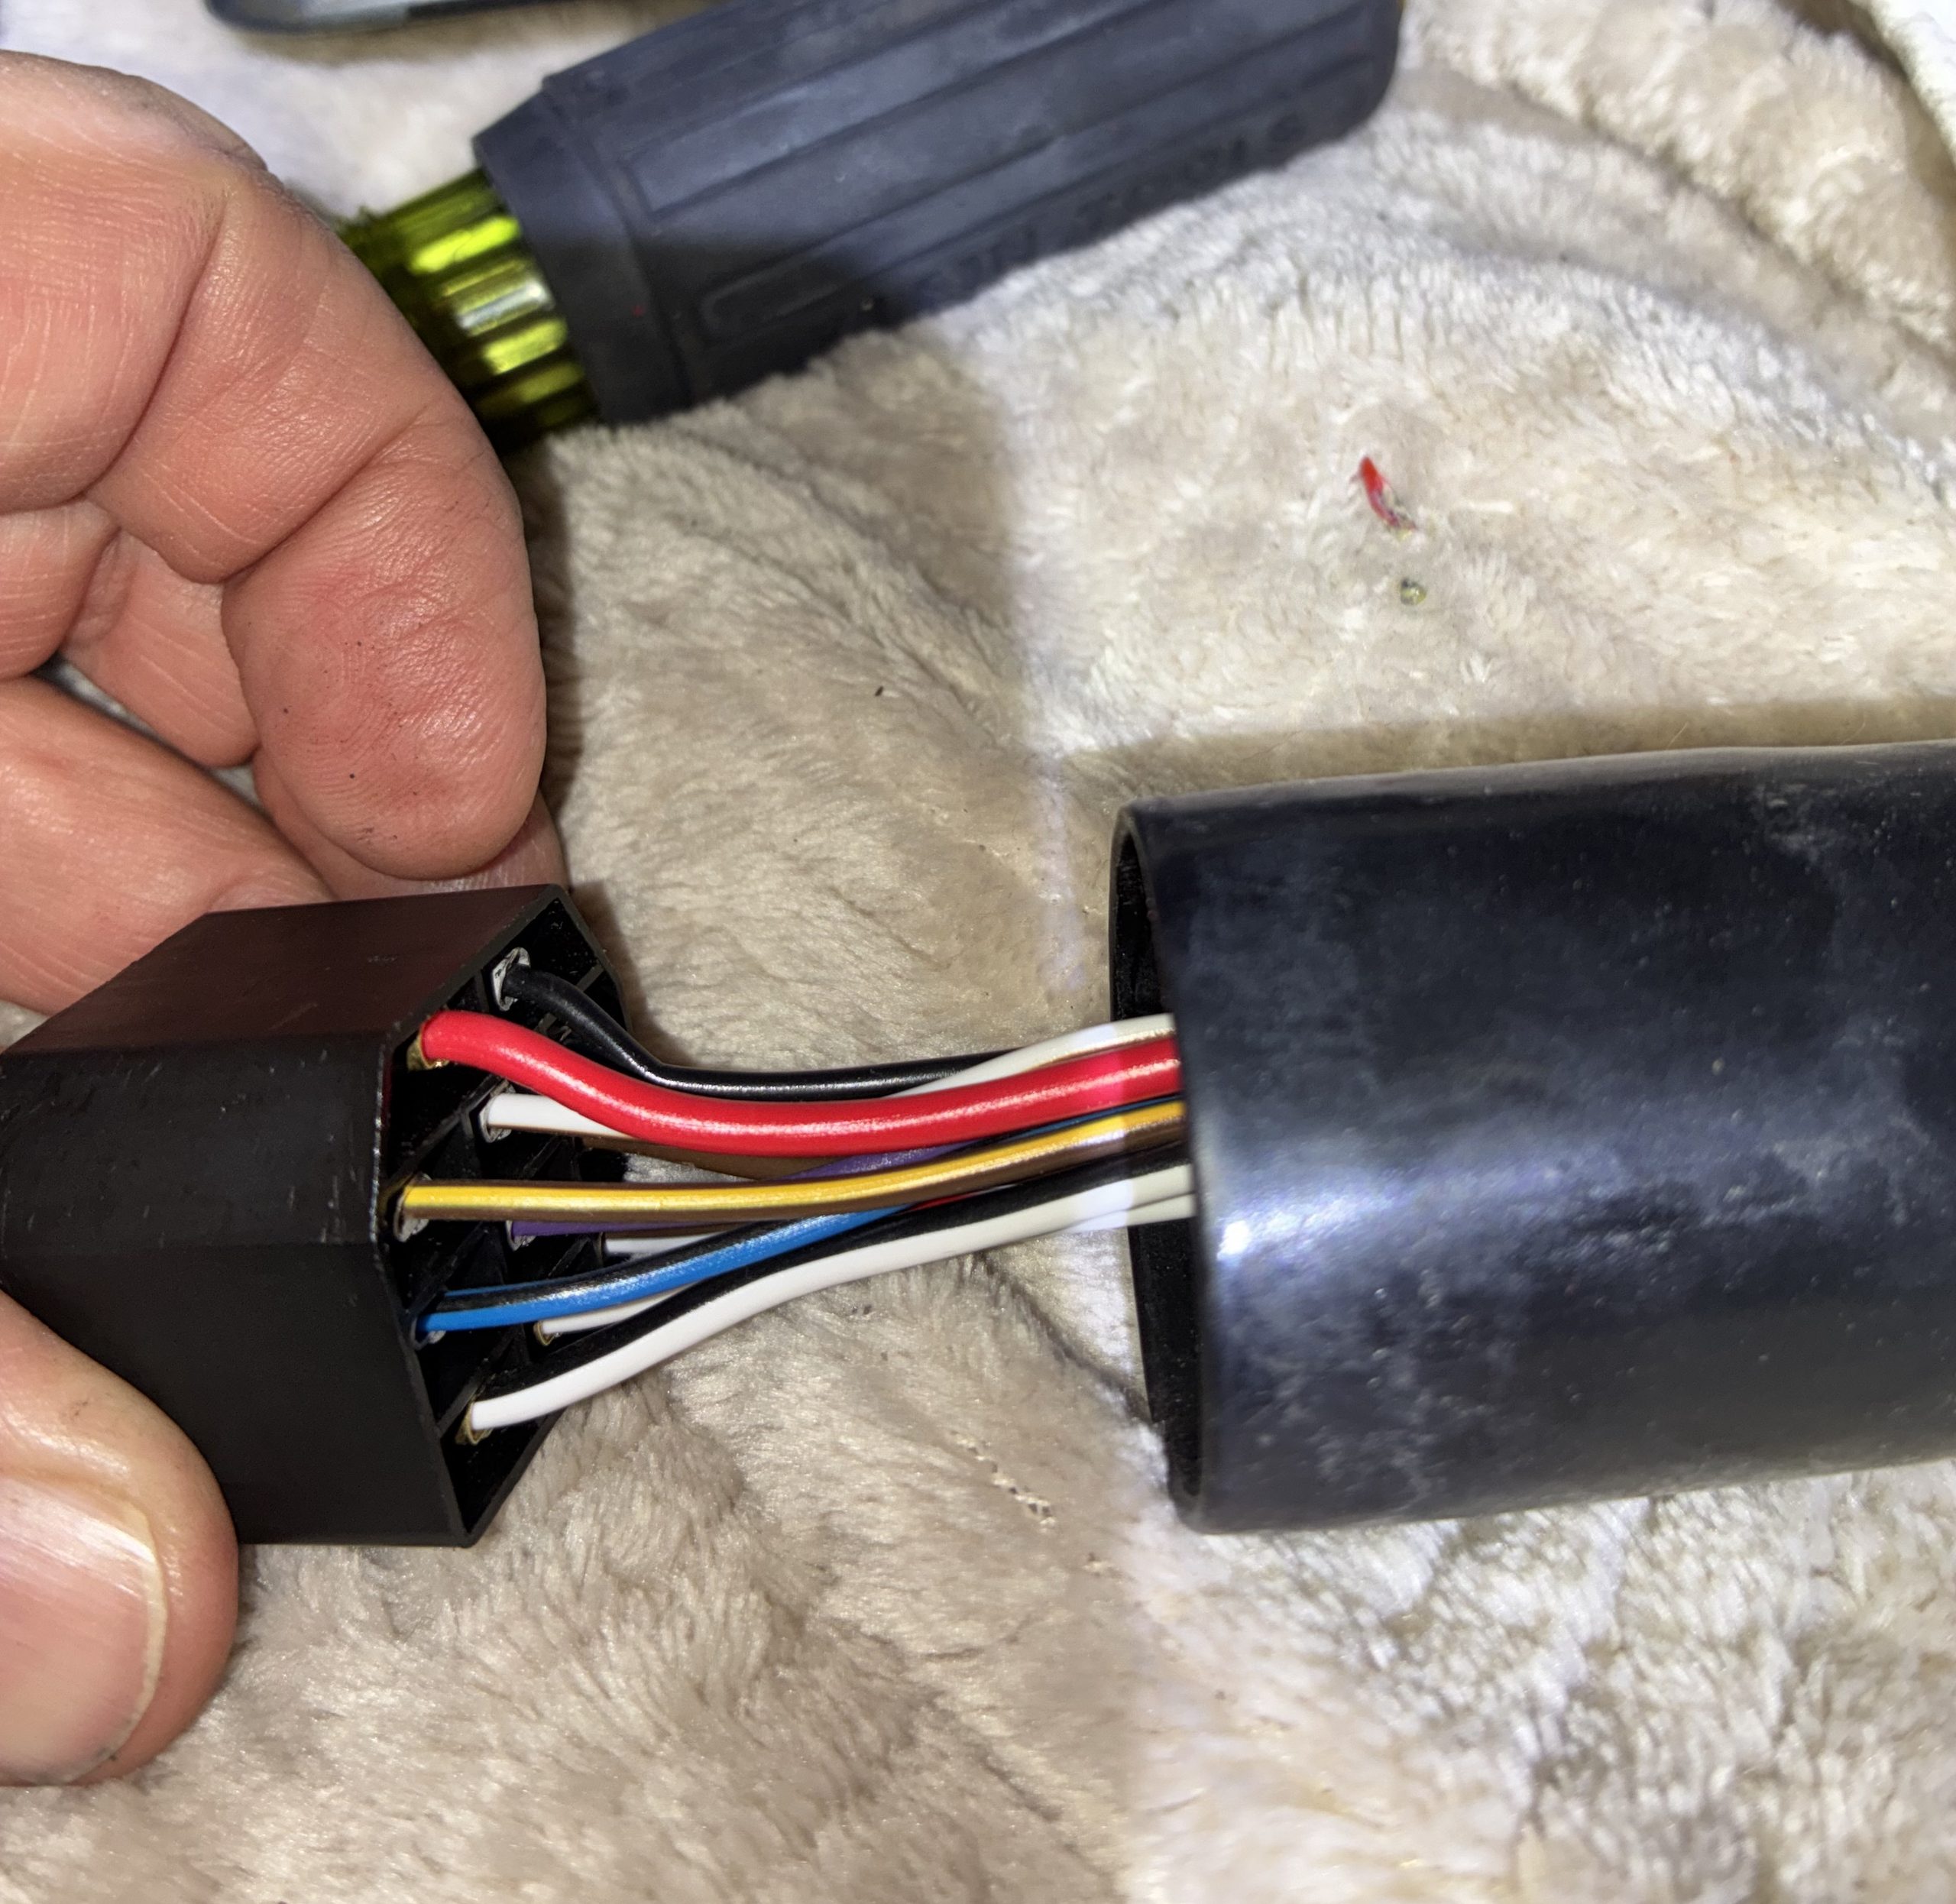
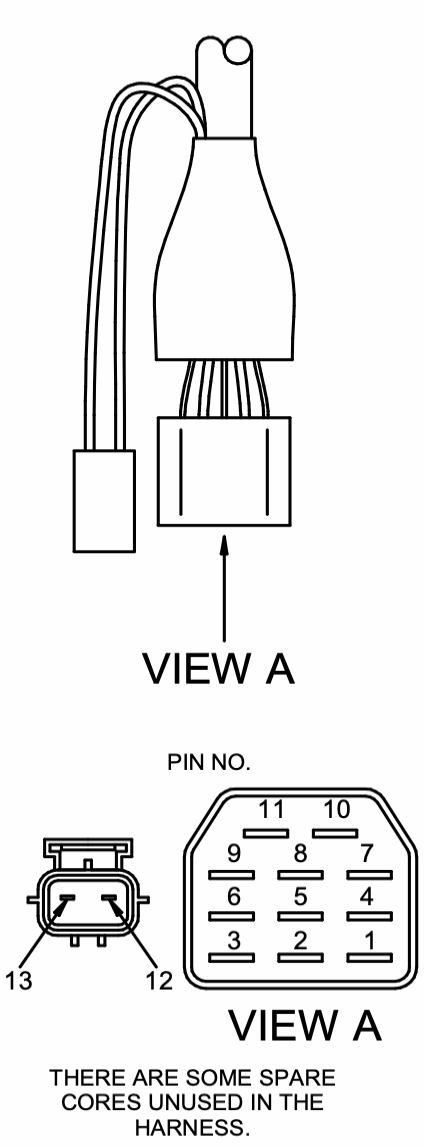
The 11-way wiring harness plug at the end of the wiring harness cannot fit through the pipe, and the plug must be removed before threading the wiring harness through the pipe. The plug is semi-rectangular shaped, and at least 1.5 inches across. Fortunately, one need to only depress a tab on the back of each socket to release each wire. Take photos that show the position of each of the 11 wires, say a little prayer that you can get them back together, and then use a very small flat-head screwdriver to depress each of the tabs and remove all of the wires. The latest Beta installation manual at page 114 describes which wire goes into which terminal in the 11-way plug.
Note that the wiring diagram shows an additional plug with two more wires. The additional plug is for that secondary alternator. If you do not have a secondary alternator, cut off the plug and put it your spare parts bin.
Next, tape the ends of the wiring harness together and attach it to the messenger line that you left when removing the old Westerbeke wiring harness. If you haven’t removed the headbanger insert already, now is the time. Thread the wiring harness under the aft bed, into the starboard aft locker, into the headbanger insert space, and then up the 1-inch diameter S-shaped pipe. The wiring harness cover outside diameter and pipe inside diameter are both about ¾ inch. It is tough to get it through. Cable lube can help.
After getting the wiring harness run into the engine instrument panel space, re-attach each of the 11 wires into the 11-way plug. Double check each wire with the schematic drawing in the installation manual. Attach the wiring harness plug to the plug from the instrument cluster, and close up the panel.
First Start-up and Sea Trial
Turn on the battery switch. Prime the mechanical fuel pump with a lever on the side of the fuel pump housing. Turn the ignition to ON, and make sure the lights, gauges, and alarms are working properly.
Crank the engine! The new Beta 38 started up immediately and ran very smoothly. Turn off the engine after running for a minute to check and top off fluids according to the installation manual.
The warranty requires a sea trial, and the engine must get up to 3400 to 3600 RPM, according to Beta. We were only able to get up to 3200 RPM. After reviewing the engine set up with the mechanic and Beta, we figured that our Max-Prop propeller may be slightly over-pitched. I do not know what the maximum RPM of the Westerbeke was – did not have a need to find out. At the time of writing this article, we are having our boatyard back down the pitch by one setting while the boat is on the hard. The Max-Prop manual says that reducing the pitch by two degrees can increase the RPM by 13% – 15%, which will put us at 3600 RPM.
At the time of writing this article, we have put 100 hours on the engine. We have changed the transmission oil, engine oil, and engine oil filter a couple of times. We have been very happy with the performance, and do not notice any decrease in power from going from a nominally 42 HP engine to a 38.
We broke down at Hilton Head Island at the Safe Harbor Skull Creek Marina in mid-November, 2025. We did not get the new engine installed and commissioned until early February, 2026. Then, we decided to wait a week or two until the daytime temperatures got up to 40 degrees F so that we would not freeze to death while underway. That would have been a bad look.
It took about three months overall. But, the boat finally has a new shiny red heart that kept us warm and powered-up all the way back to south Florida.